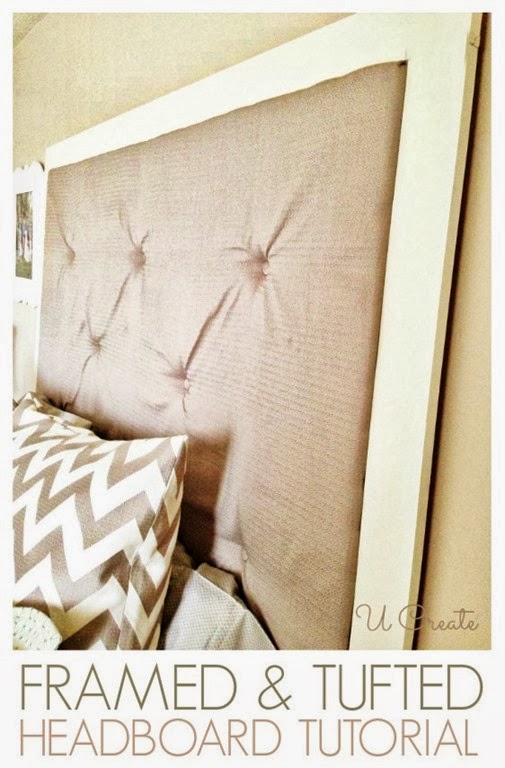
Many of you emailed me and asked where the tufted headboard tutorial was and I’m sorry for the delay but here it is!! You might remember that I participated in an HGTV HOME fabric challenge and remodeled my bedroom last month, well my new headboard was my very favorite project in this challenge.
I can’t take full credit for this project because my husband is amazing with his shop tools and did the building part. I asked him to take pics of the process and tell us about it. Here we go…
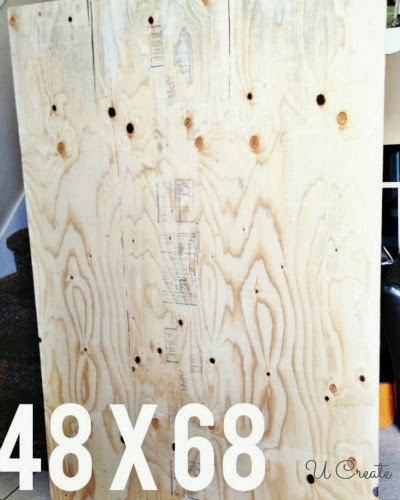 We started with a large piece of plywood and cut it to 48” x 68” to fit our queen bed. I wanted a very tall headboard so that’s why it will seem so long.
Next we took wood pieces that are 4”x1” and cut the following:
- Two 69” pieces
- Two 6 Ft pieces
Then we cut a peace of foam – we actually used a eggshell foam pad from Walmart and flipped it over.
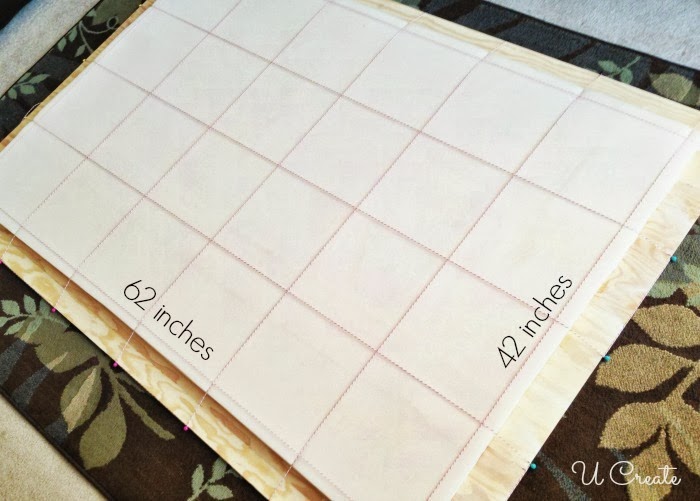
Cut to size 62” x 42”…
Draw your grid onto the foam. We did ours 10” apart but depending on the texture and poofy-ness you want you can do them closer or farther apart.
Then you are going to lay your fabric out (we used size 70” x50” so we would have plenty of room for tufting)…
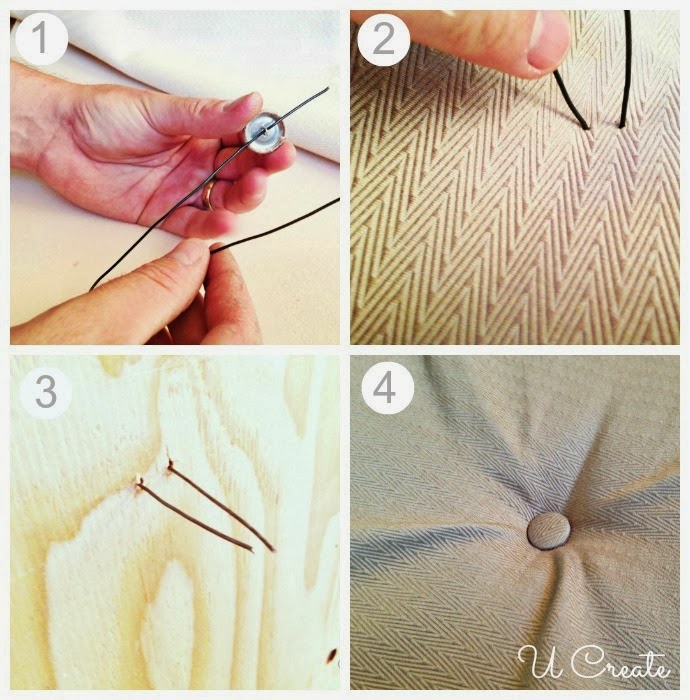
Next you’ll follow these 4 steps. Now, you don’t have to do your tufting using this technique, I know some people will use a staple gun and glue to covered buttons on, but my husband is a perfectionist (which I love!) and wanted something that would last for years! Here’s how Michael did this…
1. Cut a piece of wire about 6 inches and threaded the covered button.
2. Poke the wire through the fabric.
3. Poke the wire through the wood (he pre-drilled holes)
4. Tighten and twist and you have your first tuft. Repeat steps 1-4 until you have desired look.
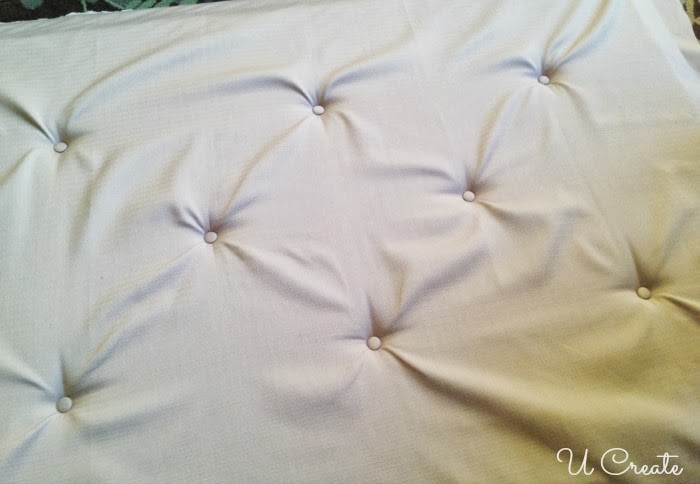
It will start to look like this…
Next we tightened the fabric to the edges and stapled with our staple gun. Cut off excess fabric about 1-4” away from staples.
Next we painted the long wooden pieces and used our nail gun to frame it in! We also painted it with Annie Sloan chalk paint in color Old White and finished it off with the soft wax in the same brand.
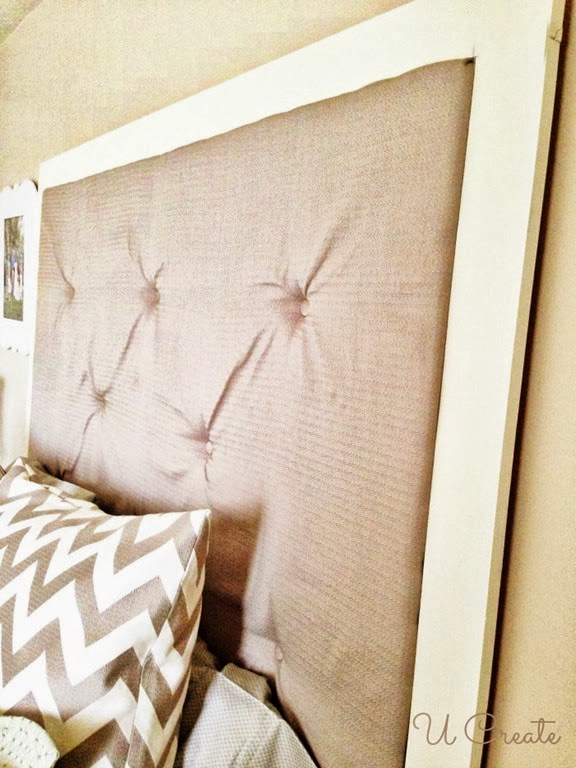
We are so happy with the finished headboard!! It makes our room look larger with the 6 foot high headboard and we no longer have a bare wall!
To see the rest of our room remodel with HGTV Home fabrics you’ll want to check out the following posts…
Master Bedroom Reveal
Reversible Throw Pillow Tutorial
European Pillow Sham Tutorial
Pintucked Throw Pillow Tutorial
How to Use Chalk Paint
How to Create a Duvet Cover
Post By:






This is so creative! Thanks for sharing this
xoxo Zoe
http://www.thatszoe.blogspot.com
about how much do you think you spent?
I absolutely LOVE how it turned out and would love to attempt it sometime soon! I also was wondering how much you spent, and also, what kind of fabric you used. Thanks. I love all of your creativity!
ONE day!!! I will make a Tuft something… Hopefully!! This came out so Lovely and I am a bit partial to Tufted Headboards, LOVE them!
xoxo
So impressed!
How did you attach the headboard to the bedframe
Hey Debbie, My husband actually hung the headboard on the wall. It is not attached to the frame. Sorry I should have clarified that!