I’m so excited to share the latest project I’ve been working on. I’ve teamed up with Deseret Industries and their fabulous team to bring you “A Piano’s Purpose” film. What an honor it was to play my little part by repurposing this beautiful piano.
You might cry. You might want to learn how to play the piano. You might see the hidden message behind the piano about giving new life.
I was so thrilled to get my hands on a gorgeous piano that needed a lot of love and today I’m going to show you how I transformed it and gave it new life with a step-by-step tutorial along the way.
Remember how it looked when I very first saw it at the thrift store in the film above? It had water damage, spilled paint, chipped wood, dents… and oh my goodness that bench needed help, too!
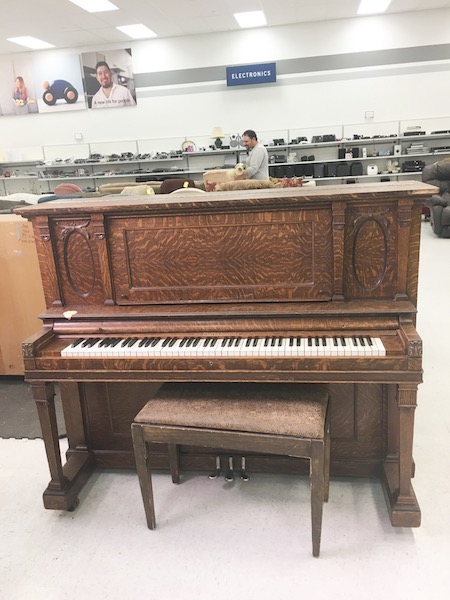
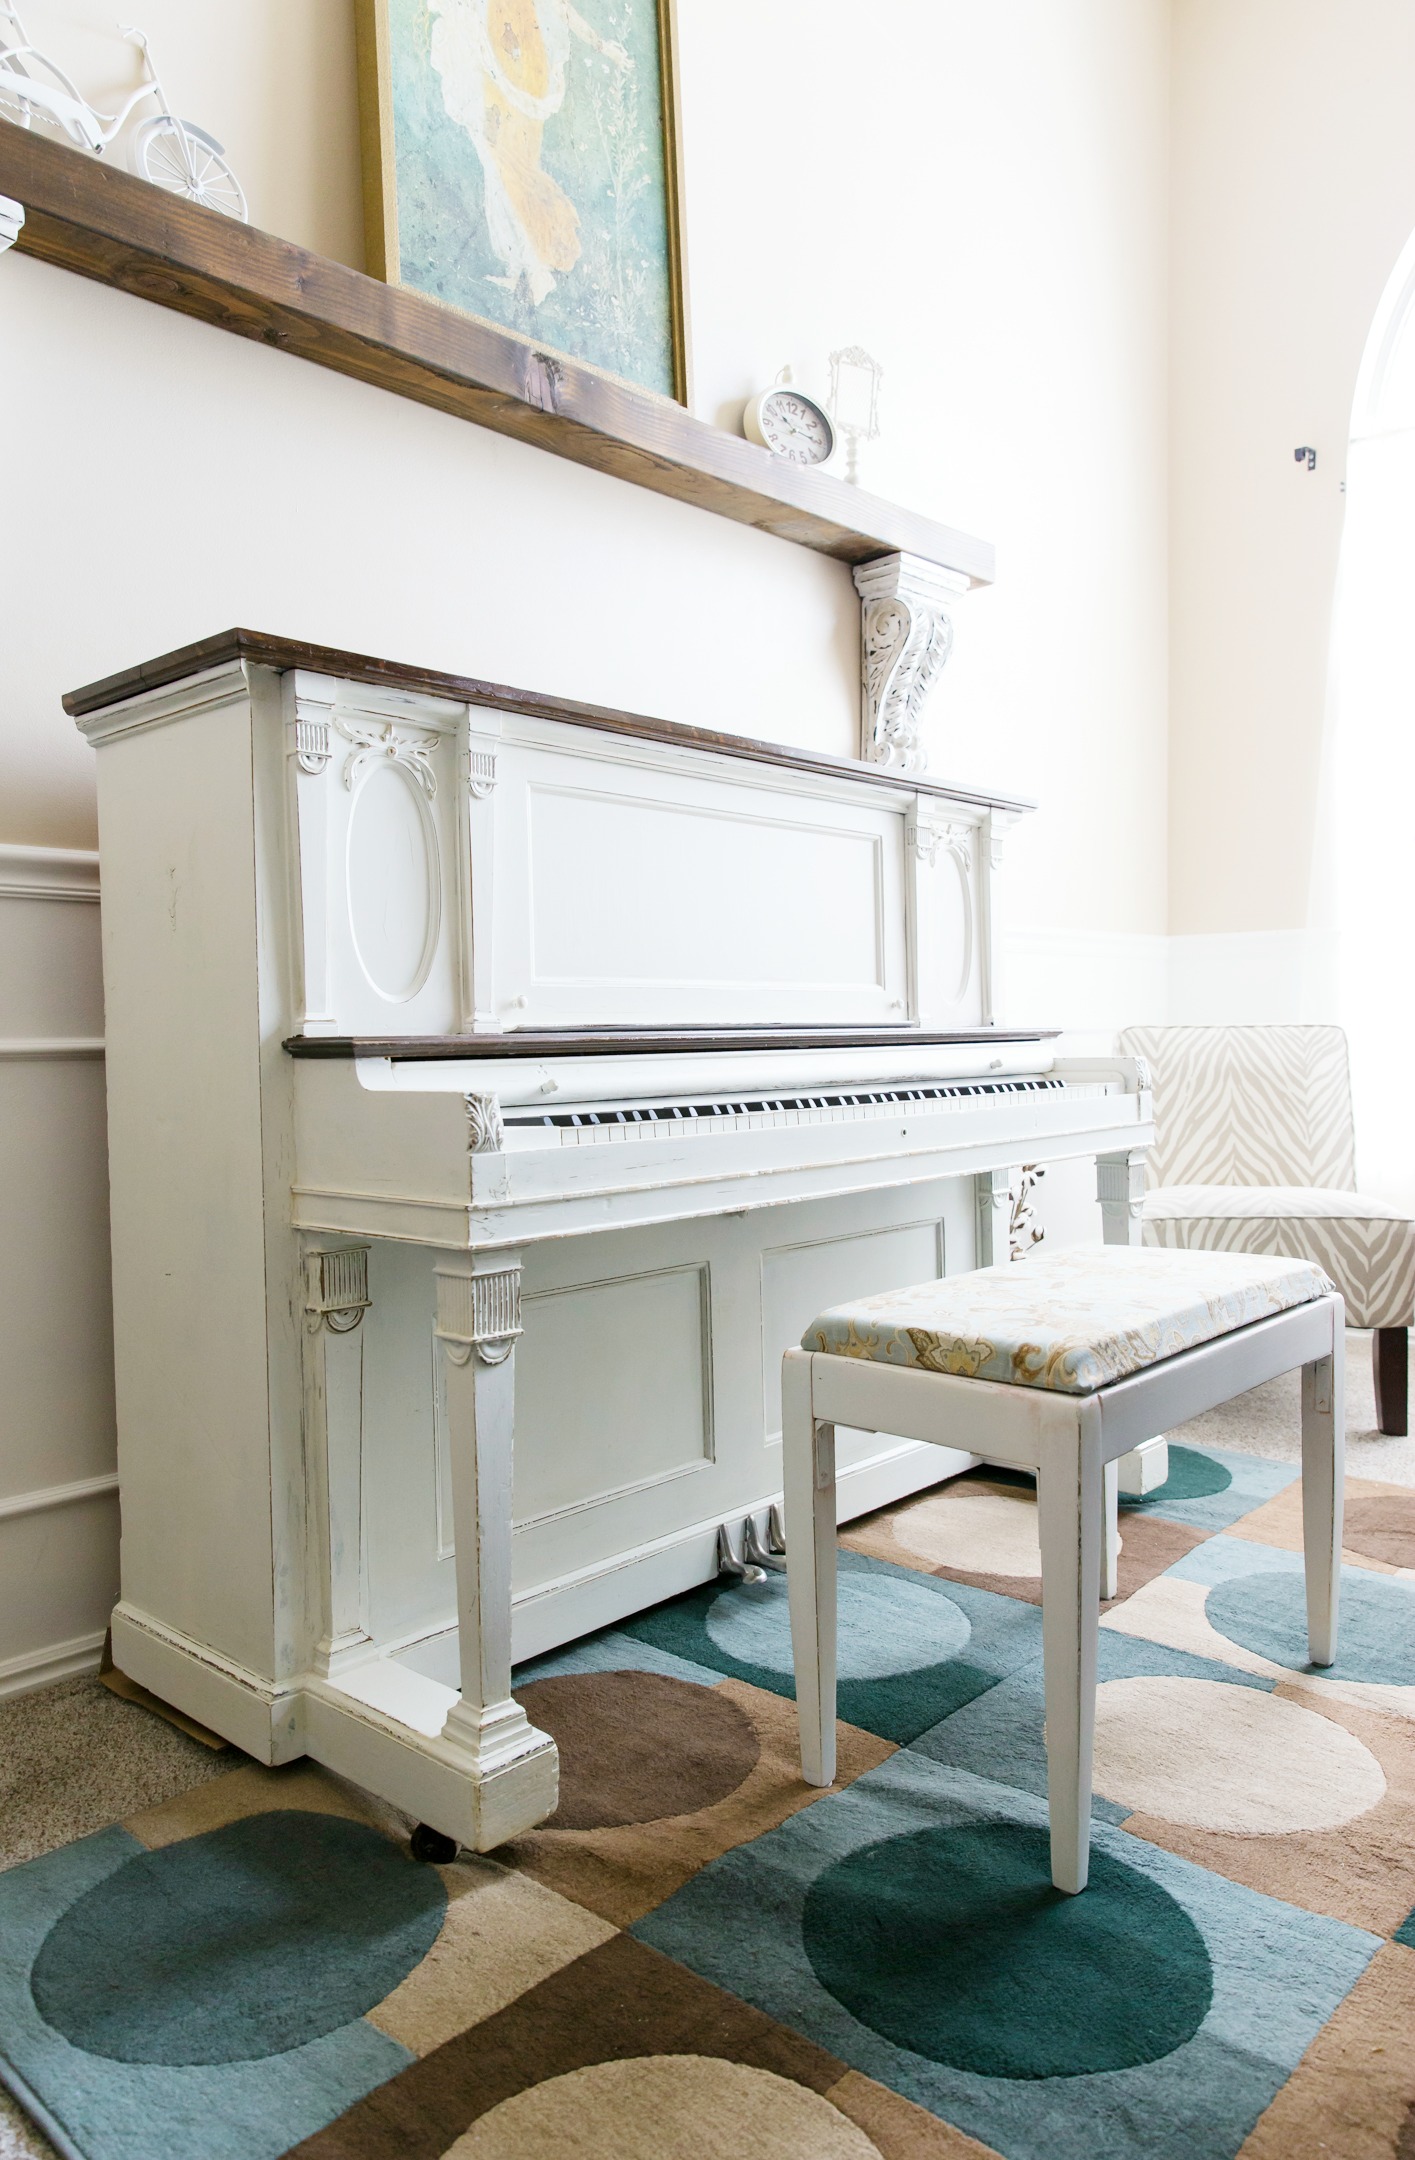
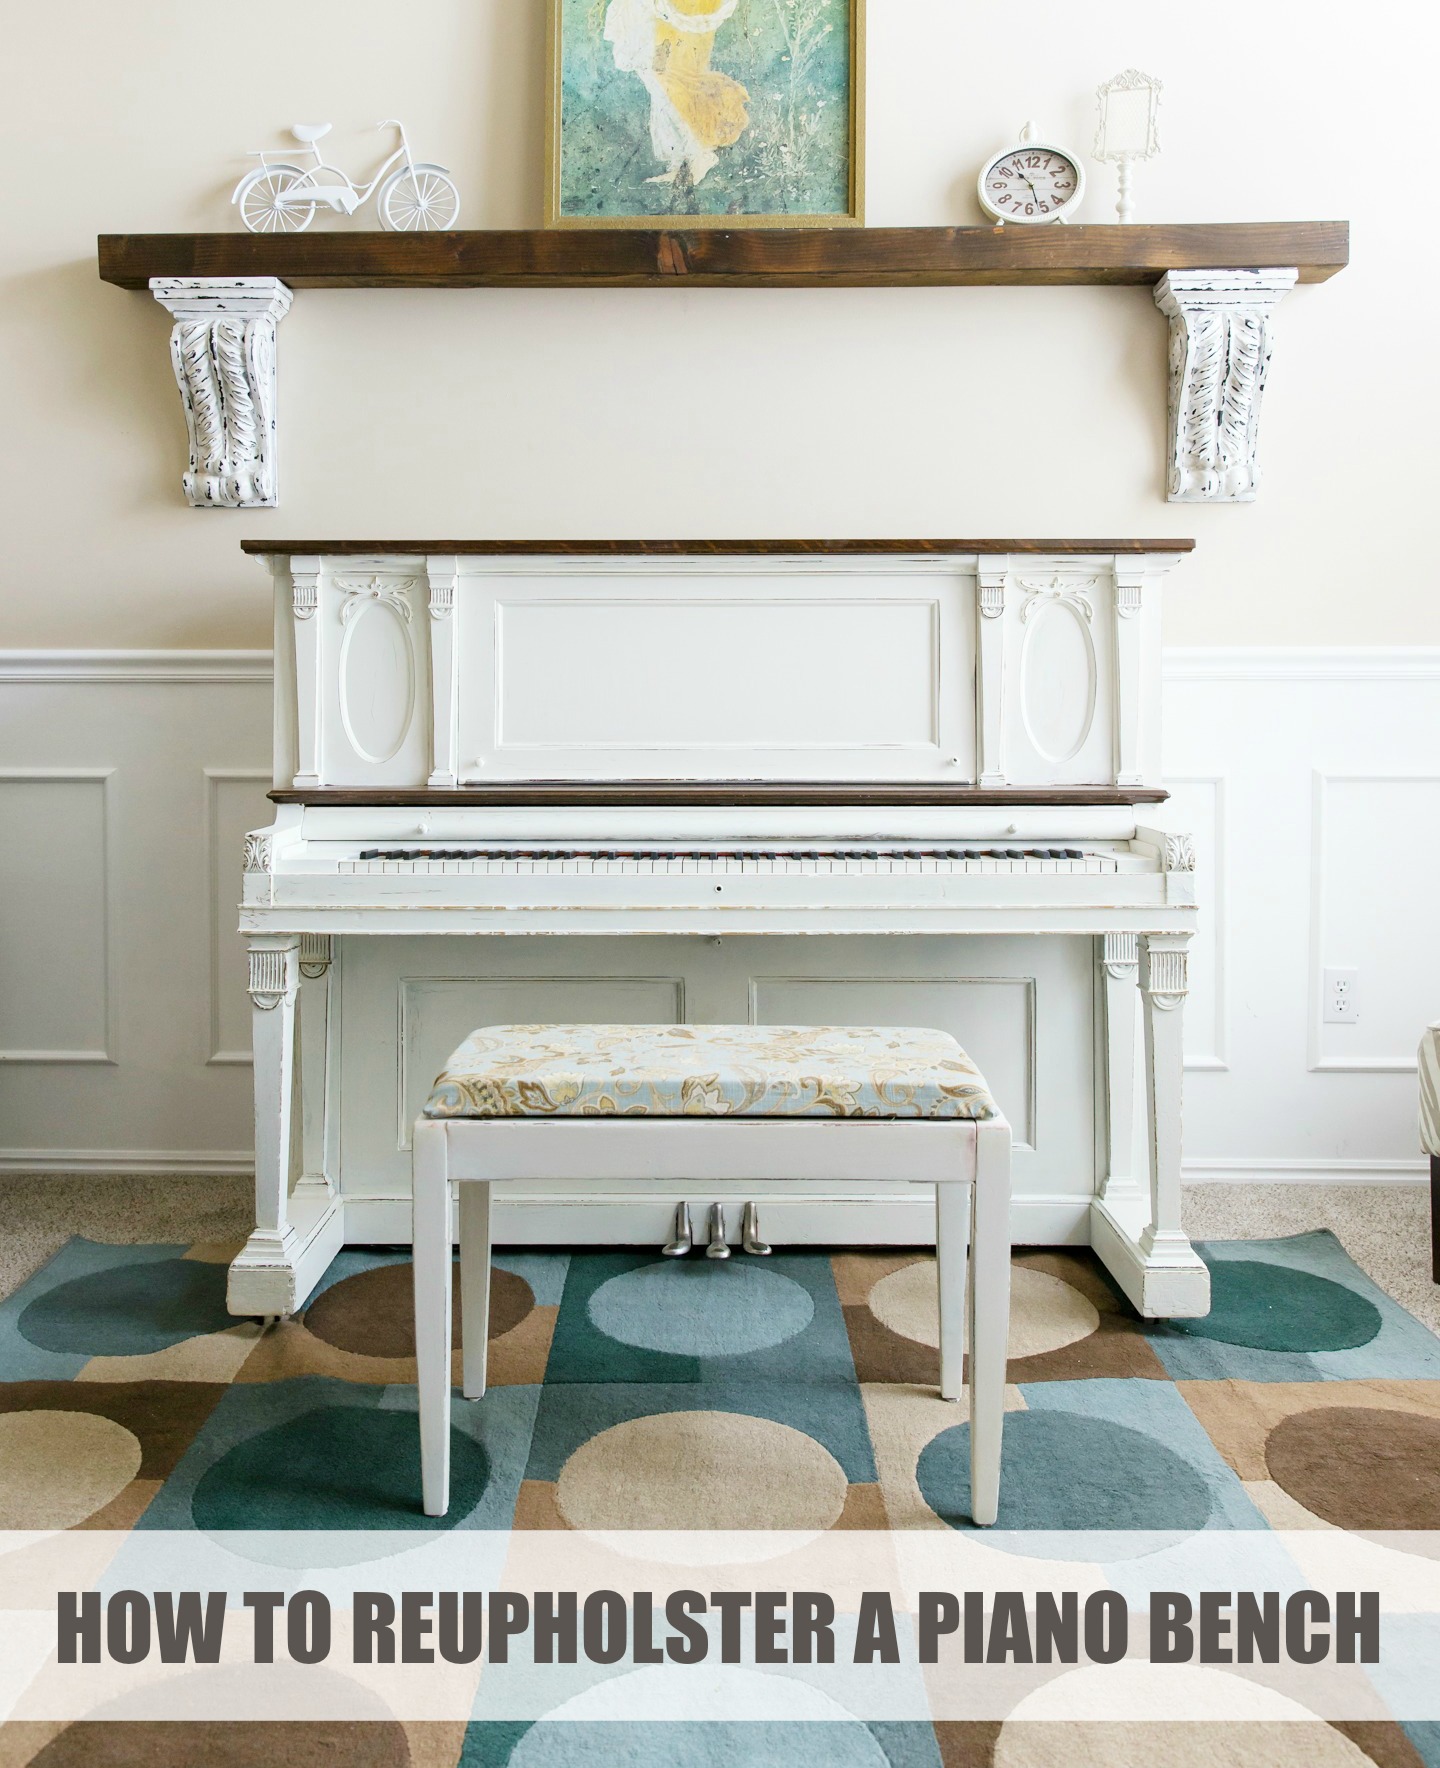
However, can we just take a minute, sit back and admire this piano? Look at all the wooden detail and the character this piece has. I could not wait to get my hands on this!
I knew I wanted to paint the piano and give it a new look – something bright, but not too bold. I debated painting it a light aqua color or maybe going with a white and leaving the top sections stained.
Okay, on to the fun part!
HOW TO PAINT A PIANO
SUPPLIES: (now your supplies will be slightly different than mine depending on the style and condition of your piano)
- wood filler (Elmer’s wood filler)
- scraper
- painter’s tape (Frog tape)
- coarse and fine sanding blocks
- chalk paint (Valspar Chalky Finish Paint in the color Kid Gloves)
- sealing wax (Valspar Sealing Wax in clear)
- paint brushes/rollers
- wood stain conditioner (Minwax pre-stain wood conditioner)
- gel stain (Minwax gel stain in color Hickory. I love this stuff because it doesn’t drip and is not near as messy as regular stain)
- rags for staining and wiping down dust
DIRECTIONS:
Wipe down the piano and bench with a rag to remove any dust.
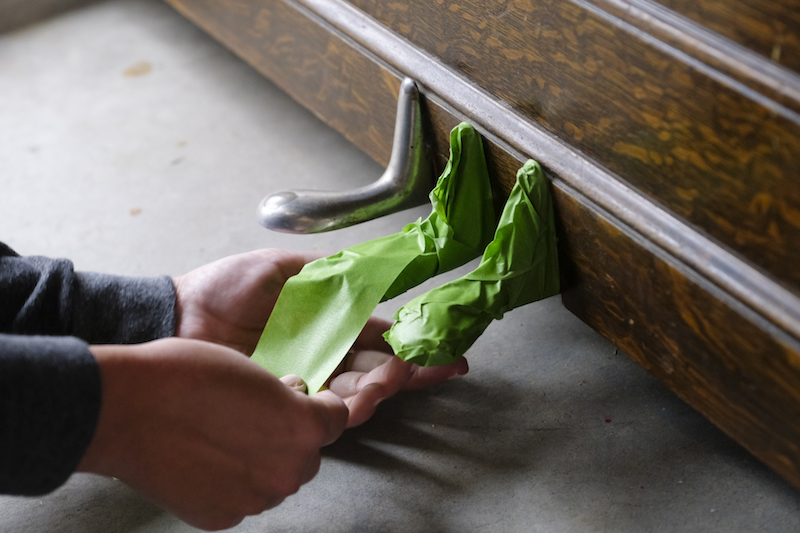
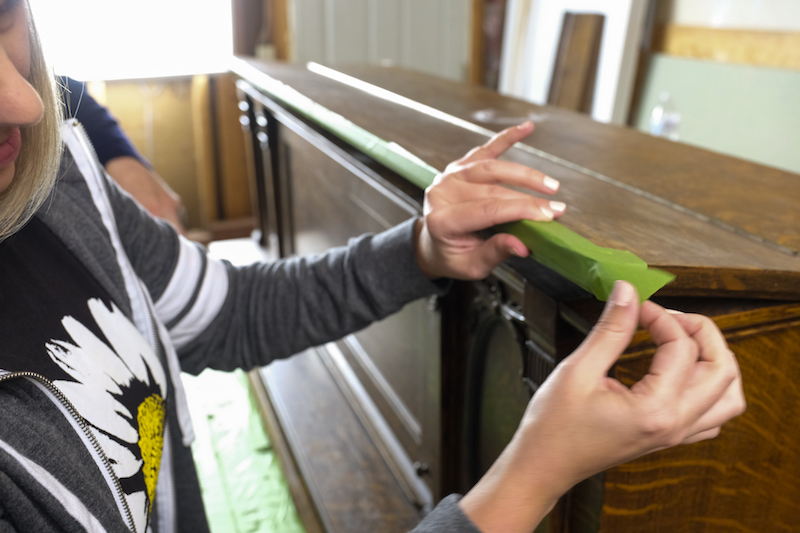
Next you’re going to want to protect those keys! Grab your painters tape and carefully cover each one. I press the piano keys down while I tape so I can get that little space behind the keys with a small brush. DIY TIP: “double” tape the piano keys to give that added protection from any dust or paint drips. If you have the knowledge and feel adventurous, feel free to remove each piano key and replace them when finished.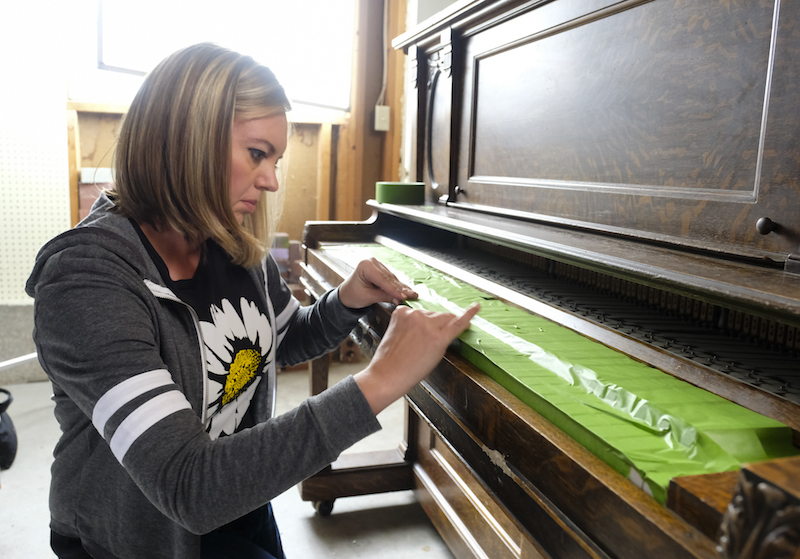 Make sure to tape up the pedals and wheels while you’re down there.
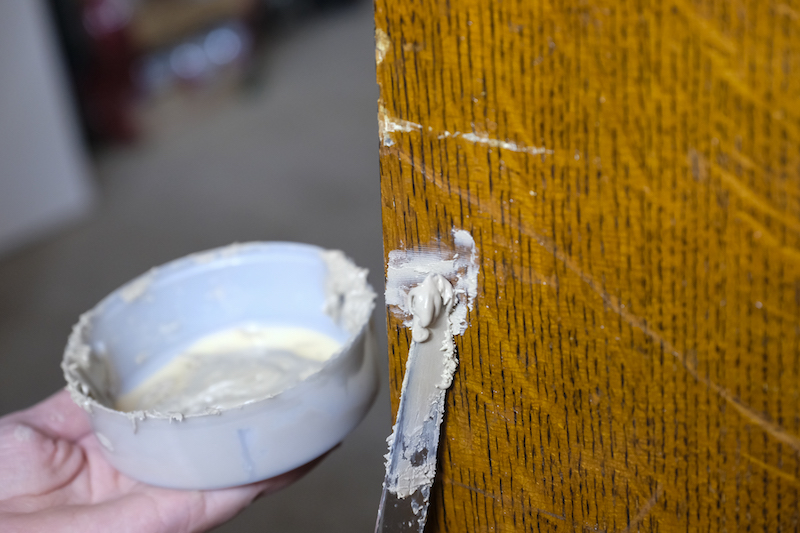
 Check for any major dents/scratches and fill them in with wood filler and a scraper. Don’t forget to check the piano bench, too! Follow the directions on the package and let dry completely. I know this might sound funny, but I actually used a butterknife because it’s small and easy to get into those tight spaces! The wood filler is NOT PRETTY. Later you will sand these off and you’ll never know the wood filler was there.
 While that’s drying, scrape off any build-up or major imperfections such as drips, damage, etc.
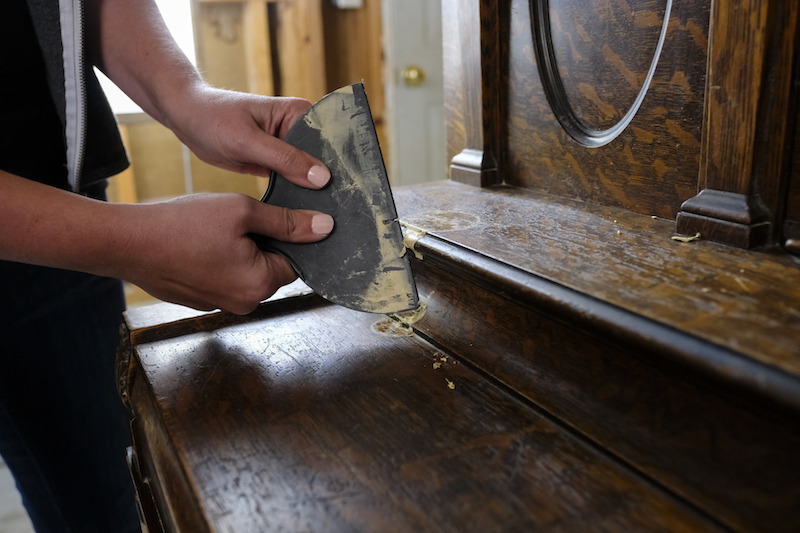 Now you can begin sanding the wood filler. I like to sand and feel it with my eyes closed so I can tell if it’s smooth enough. If you are staining areas, make sure to lightly sand those areas, too. Take a clean rag and wipe down the piano to remove any sanding residue.
 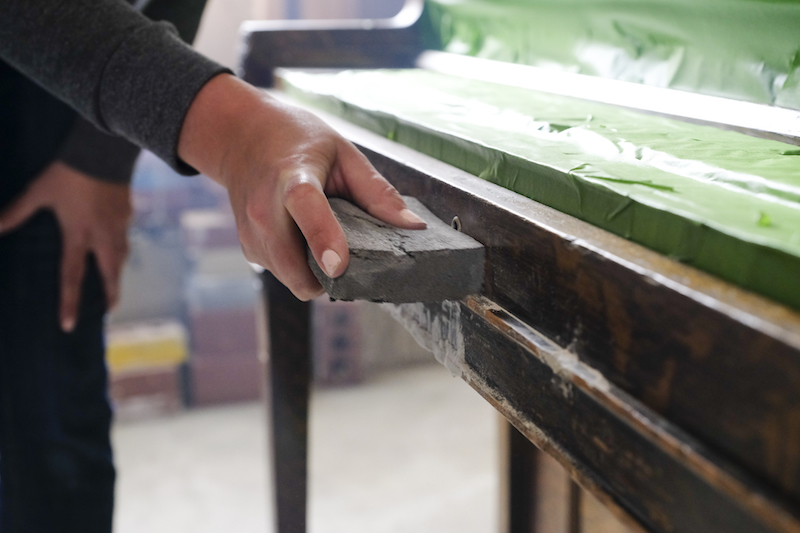 Now we’re ready to prep for painting/staining. Since I’m painting and staining, I’m going to tape off the areas that I’m not going to paint. Tape off any areas you’re not going to paint.
 Now you can start painting! Follow the directions on the can of paint you are using because each paint brand is different. If you are using chalk paint, keep in mind the first coat isn’t going to look very good. You will need at least 2-3 coats. I used three. I begin with a small brush to get into tiny places that a roller or big brush cannot reach.
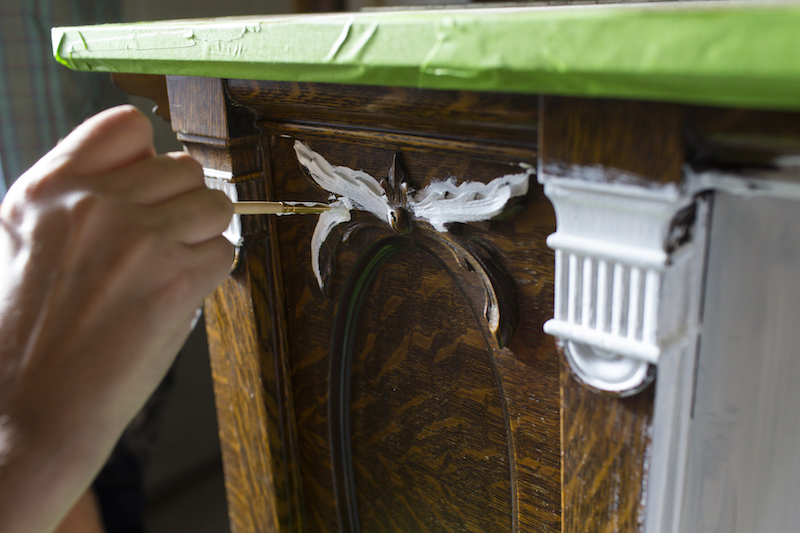 Next I used a medium-sized brush to “cut in” the corners and edges, similar to painting a wall. This is also the brush I used to paint the piano bench. For the sides and large parts of the piano, I used a cabinet roller (this covers large areas with a smooth finish)! Let paint dry completely between each coat.
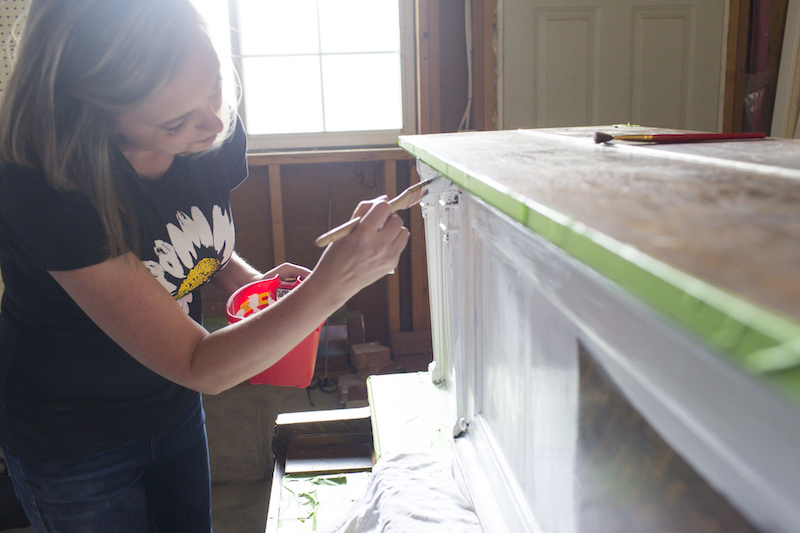 When your paint is completely dry and looks how you like it with a couple of coats, put on a layer of the clear wax to protect it. Let dry completely according to directions on the can.
Now we are ready to move onto staining. I like to use a pre-stain conditioner by Minwax because it gives the stain a beautiful, smooth finish. I used a medium sized brush and applied the conditioner over all the stain areas. Let it soak in and completely dry.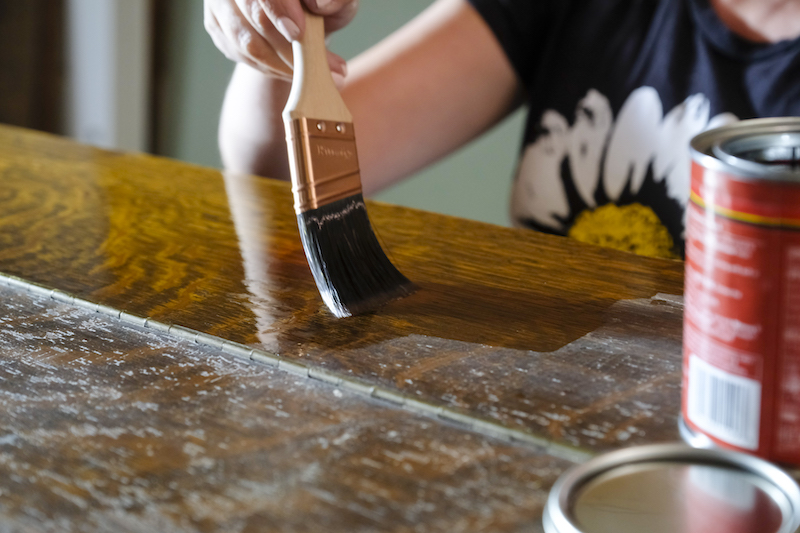 Now onto the gel stain. I like to use a kitchen tea towel to rub on my stain (you can use any non-piling rag). Generously wipe onto the wood. If wanted this piano to have a darker stain so I added another coat.
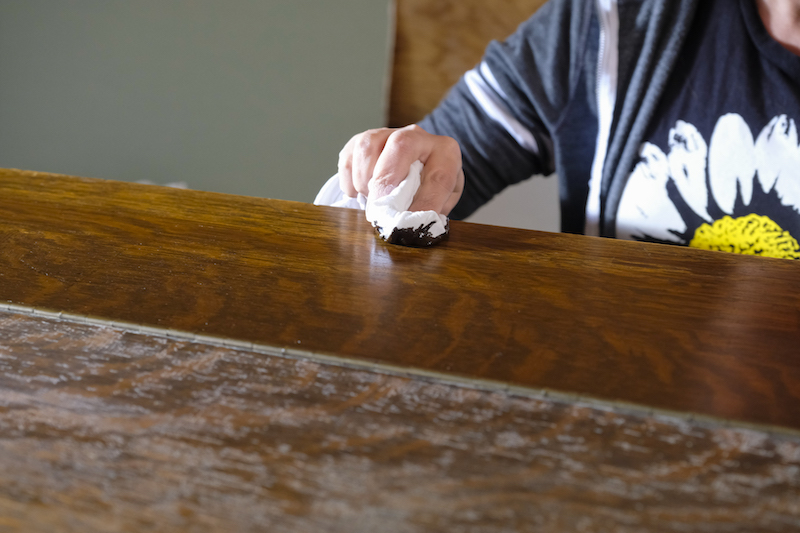
Let the piano dry completely. I sanded the edges of the piano very lightly because I wanted the little details of the piano to pop and I love the character the lightly, distressed look gives.
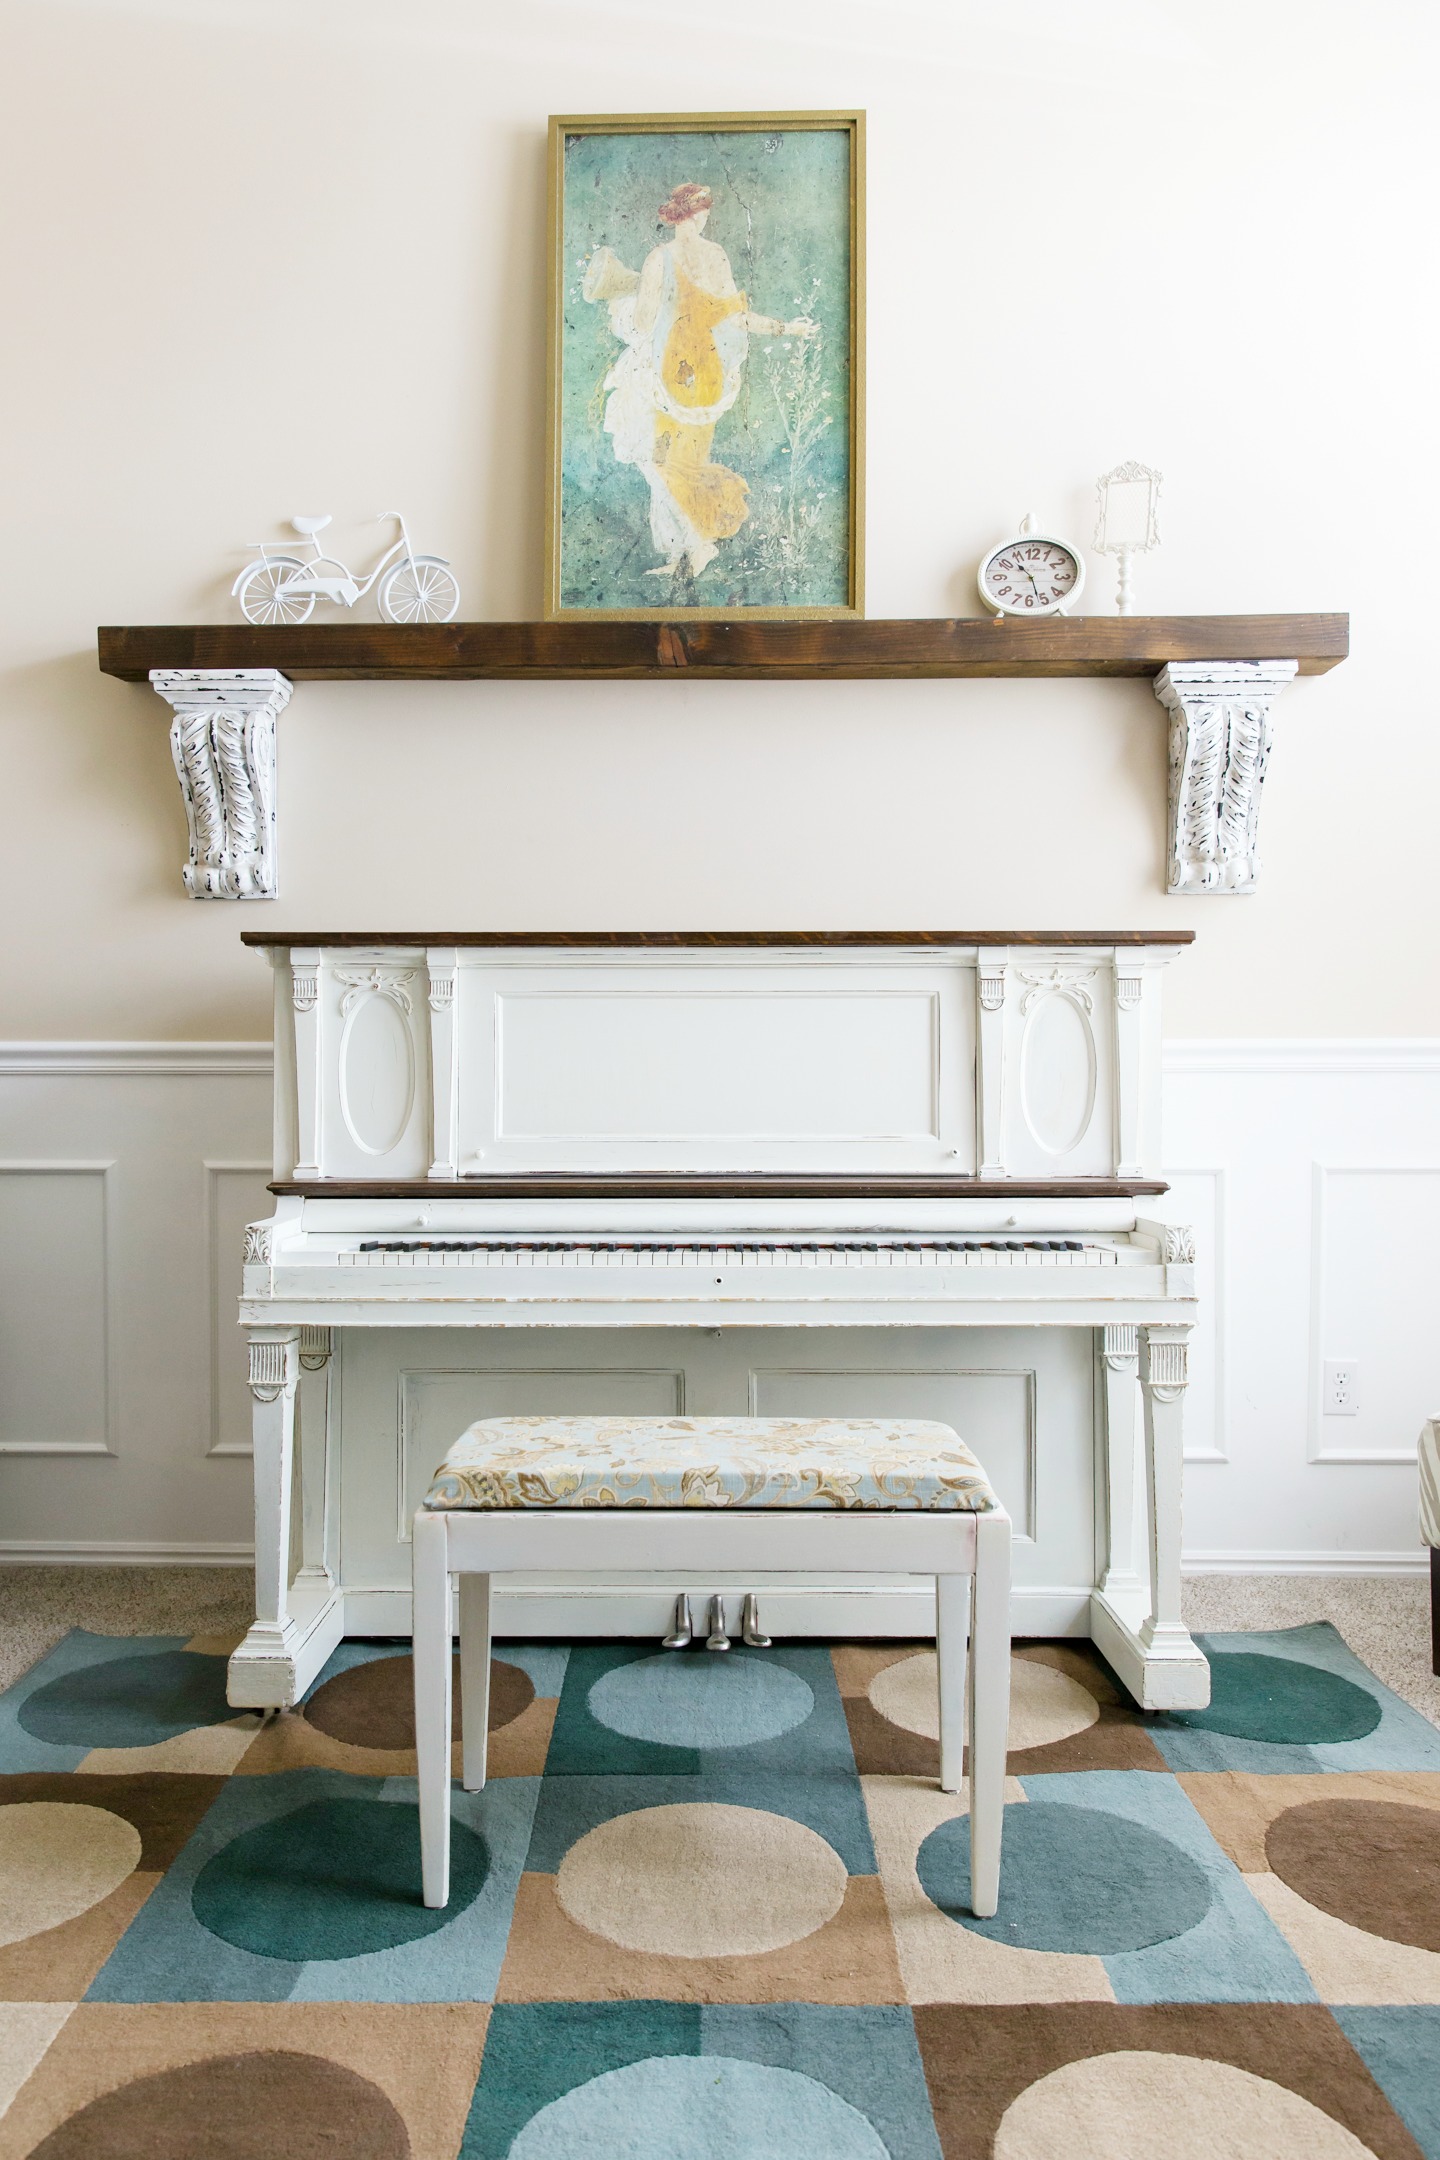
The final result? I have to tell you this is my favorite project that I’ve ever done. ever.
You can also see a video tutorial of my piano restoration on the Deseret Industries blog.
POST BY: Kari Sweeten





It turned out SO pretty! I’m still trying to convince my husband to let me paint our 70’s ugly orange wood piano. Maybe yours will convince him!
Thanks Caroline. This is definitely my favorite project I’ve worked on. I can’t wait to repurpose another piano!
I loved how beautiful the piano turned out. The video was really sweet. What is the name of the song played in your video?
Isn’t the music beautiful?
It was composed for the film by Phil Stokes.
The music will be available soon and I’ll make sure to share it with all of you.
…and thank you for your kind comments!
When I watched the video of this piano being painted, I almost died! That wood and piano was beautiful! I was hoping for a restore in the video, not a paint job! You did a wonderful job, and it’s cute, but I was personally so sad it lost that pretty elegant wood! But everyone has an opinion, and the work you did is beautiful!
Thanks for your kind comments Tiffany. As a team we decided the piano should be painted white and we knew ahead of time that people would either love it or wonder why on earth we would paint it. I’ve been putting my creativity out in the blogging world for 10 years and am used to the many different opinions on how something should be created. That’s what is so great about creativity – the possibilities are endless! I also agree with you that it would be beautiful as restored wood as well! Thanks for stopping by 🙂
I watched the video first, and when you first started painting the piano in the video I gasped out loud and died a little inside. I thought just what Tiffany did, that the wood was so beautiful, how could you ever cover it? Then–I saw the finished product and I literally teared up. It looks like it belongs in heaven. I want a white piano now. You hit it spot on.
Thank you for your sweet comment Wendy. It was an honor to work on this project with Deseret Industries!
Kari we are so proud of you! Yes we cried! You are amazing, friend! ❤️
Thank you Lolly Jane sisters! This was such a fun project to work on!
I know I’m a little late to the party here. I just saw this video on the church web site. I hadn’t watched it originally because I thought it was a video of how to restore it but when I saw it there I was like, “That’s the piano Kari was restoring!” That video was AMAZING! What an incredible project! The piano turned out beautiful and the video was just moving. Awesome work, Kari!
Thanks so much Cheri! It was truly an honor to participate in this film.
I saw this last month when it came out and have been watching and RE-Watching this over and over again about how to do this. I have a piano that I inherited from my grandmother that is over 100 year old and need to do this. BUT I’m so SO nervous to do it. I noticed at the end of your how-to you mentioned you’re looking for another piano to do. I’ve got one for you!! Serious!!
Hi Amand,
The producer and his team did such a great job on the film, it was an honor to play my little part in the film. So glad you enjoy it! Many people have told me they get nervous to paint their piano and after they do it they are always so happy they did. Let me say this though, I would suggest to do your research on an heirloom piano that has been in the family for 100 years. You might consider restoring it instead of painting it. Painting it is fun and usually gives it a new, different look while restoring it gives it a fresh, new coat and brightens it up without changing that heirloom look. What a priceless inheritance from your grandmother 🙂
Beautiful job! I love the video. Totally cried. It makes me wish we had room in our home for a lovely piano too. We are using a keyboard for lessons and the aesthetics are just not the same.
On another note, would you happen to have a tutorial for that gorgeous corbel shelf above the piano?
Thanks for your kind words Lindsey. This piano and film was one of my favorite projects I’ve worked on. As for the corbel shelf, I used to have a DIY post about it but when I switched my blog over to a different platform about 5 years ago the post was lost. Maybe I can recreate a tutorial. In the meantime, I bought two corbels at Hobby Lobby (these were actually black and I painted them white and distressed them). I stained the 2″x4″ piece of wood with Minwax color Jacobean and my husband hung it up, the corbels are attached underneath, but aren’t holding it up due to the heaviness of the shelf. I hope that helps. Let me know if you have any questions and I’ll try to answer them!
Honestly, I don’t know why, but I cry every time I watch this video and hear the sound track; good music always resonates with me and opens my heart.
I’ve sent the video link to family and friends for them to enjoy (my sister shared that she cried when the doll fell onto the street).
🙂
Thank you for bringing forth an inspired project.