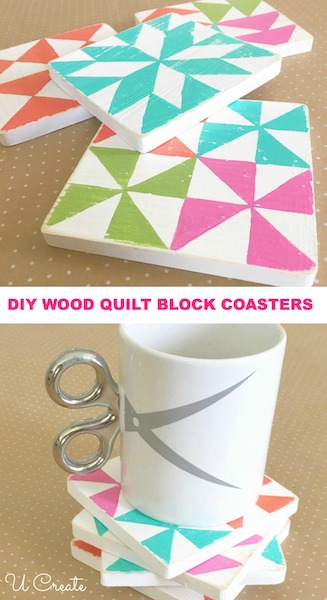
I was walking around the craft store trying to think of something to give my mom for Mother’s Day and I saw a set of 4 wooden coasters and had this idea! First I need to tell you that my mother is an avid quilter. She’s amazing at it and has such a passion for it. Let me show you this gorgeous quilt she gave me last year…
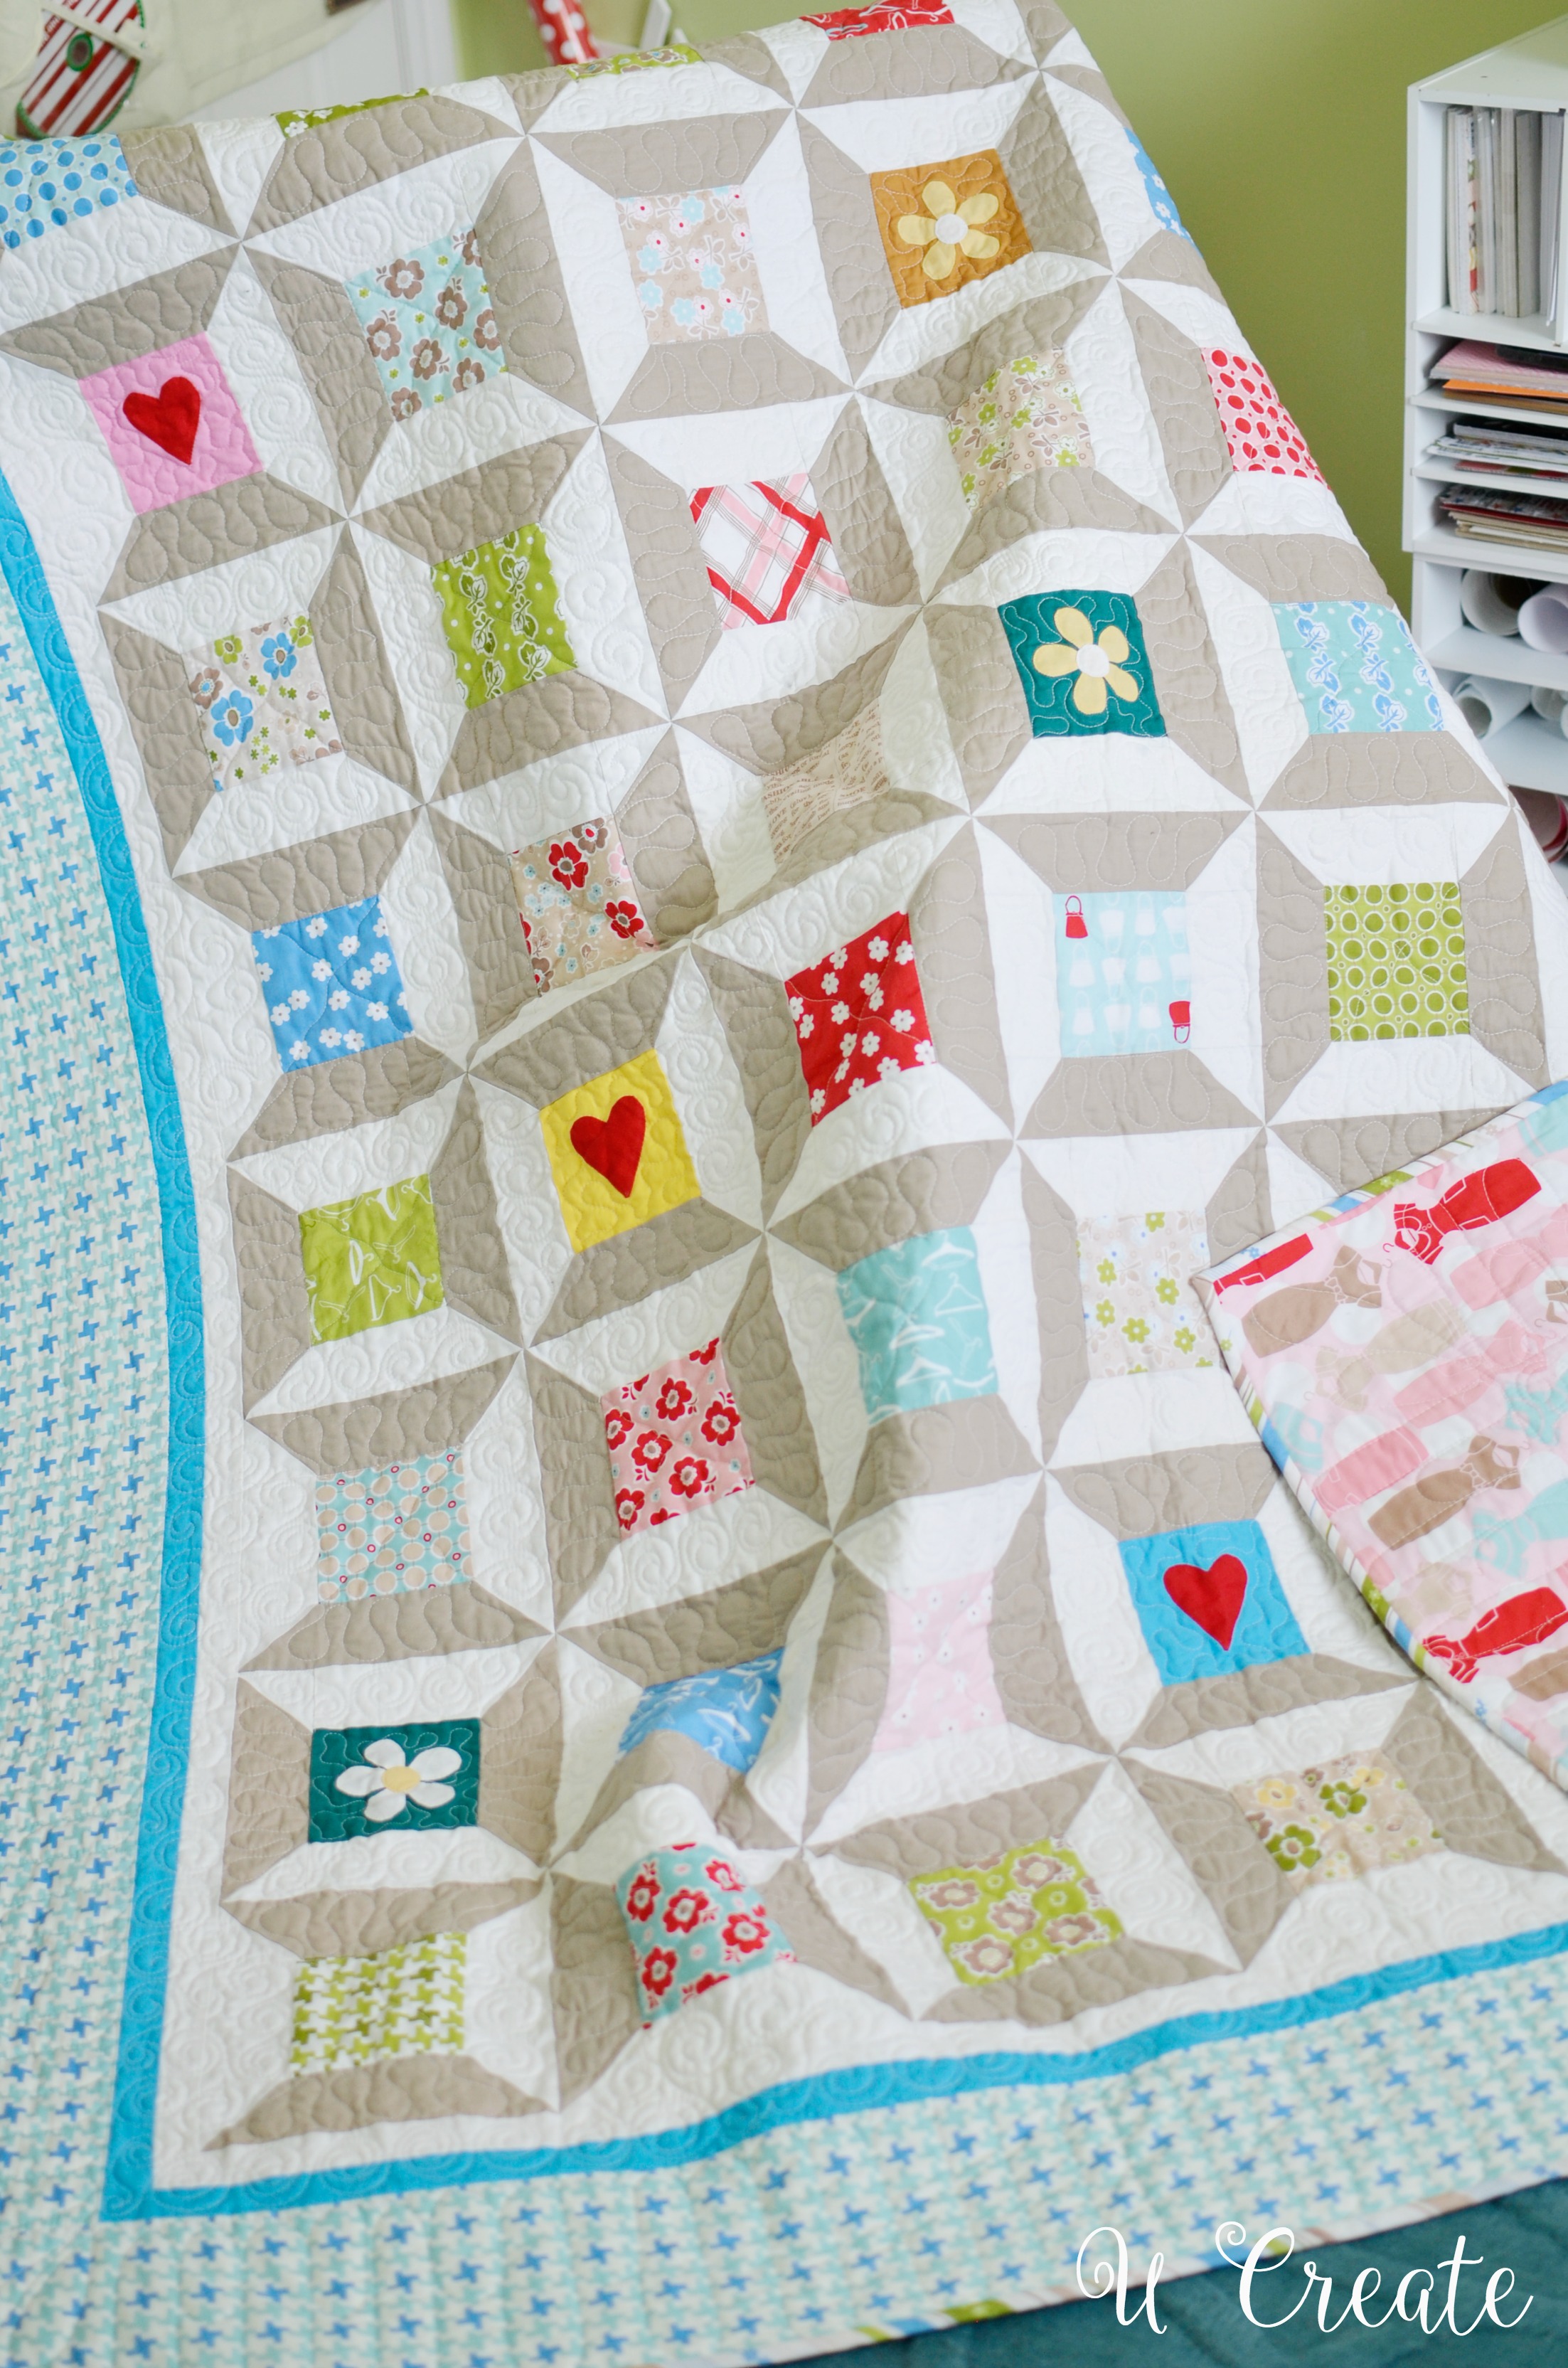
…I’m in love with it and I will cherish it forever. Isn’t she so talented? If there was a fire I would go straight for this right after the kids! It is now a family heirloom.
Okay, back to my idea. I saw these wooden coasters and thought I should turn them into mini quilt blocks coasters for mom!
The fun part? I loved how much fun they were to make that I’m going to play with more designs! I hope mom loves them.
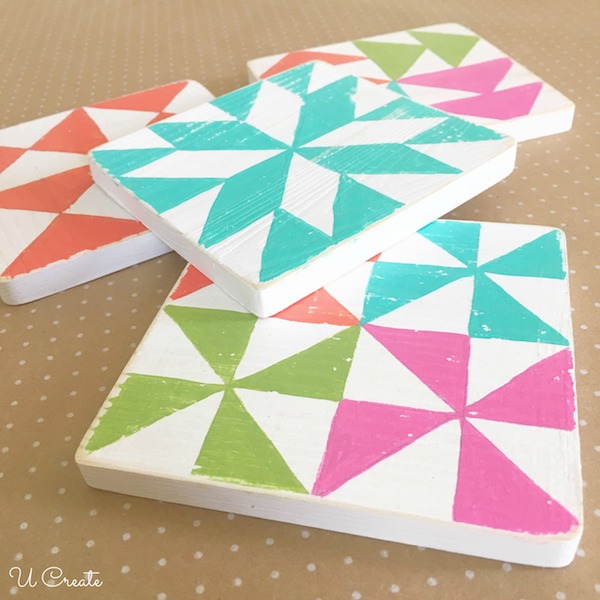
DIY QUILT BLOCK COASTERS
Supplies:
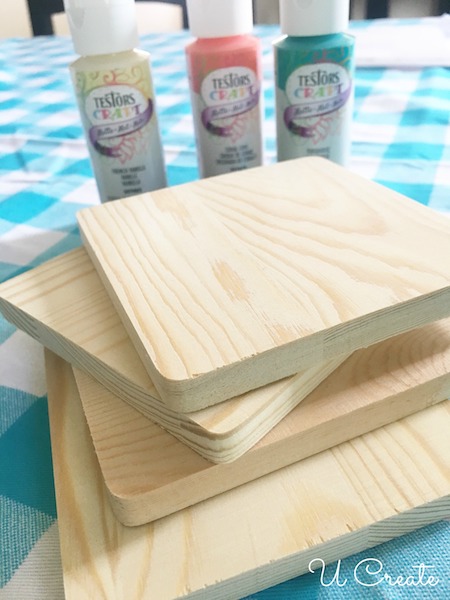
- wooden coasters (set of 4)
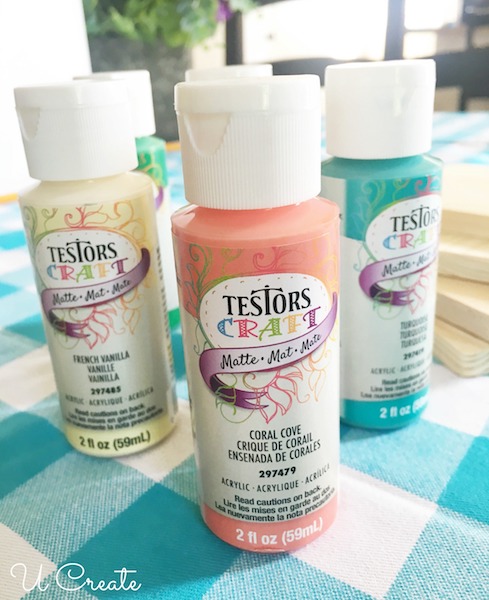
- acrylic paint (Testors paint found at Walmart, Jo-Ann, Hobby Lobby)
- ruler
- paintbrushes
- Mod Podge acrylic sealer
- pencil
Directions:
- I started by painting my coasters white. Front and back. 2 coats. Let dry.
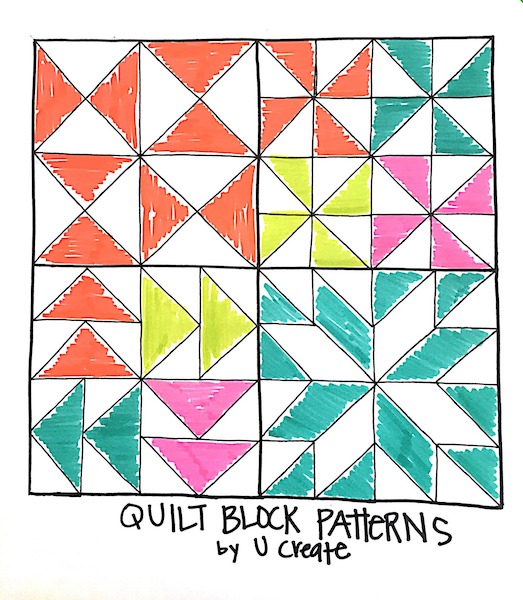
- Now you’re ready to draw on your design. If you want designs similar to mine I sketched the patterns below for you to follow.
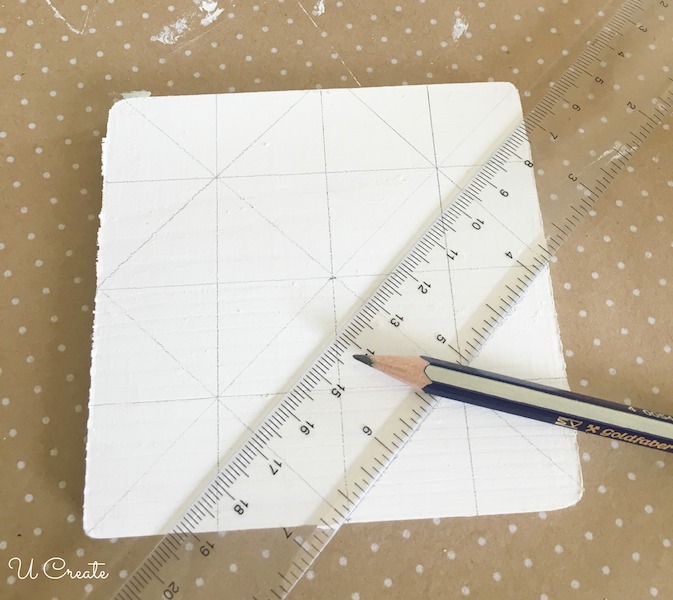
 I began by drawing one-inch squares and erased the lines I didn’t need – makes it so easy!
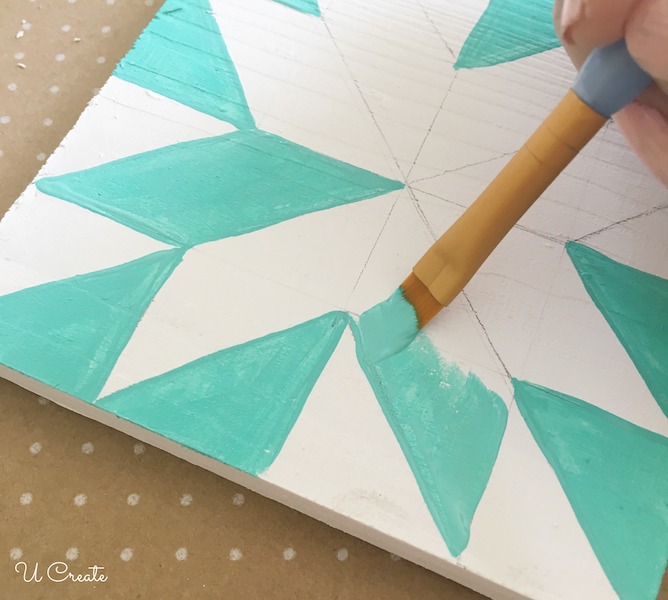
- After you draw your design you are ready to paint!
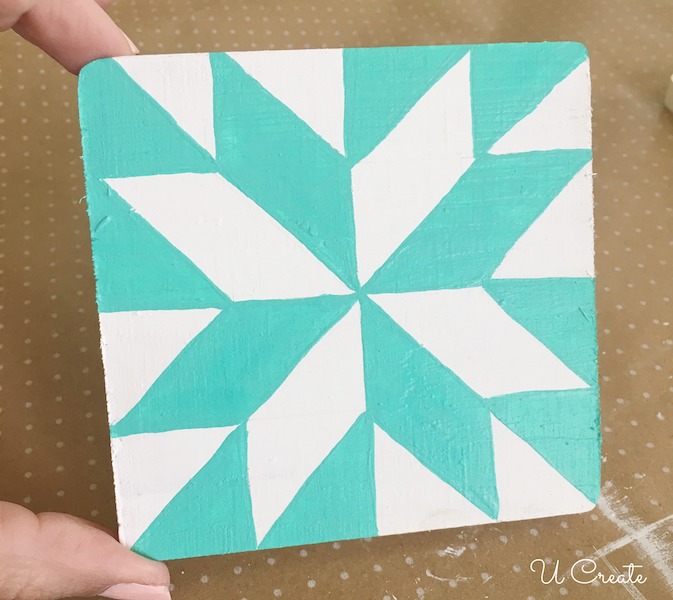
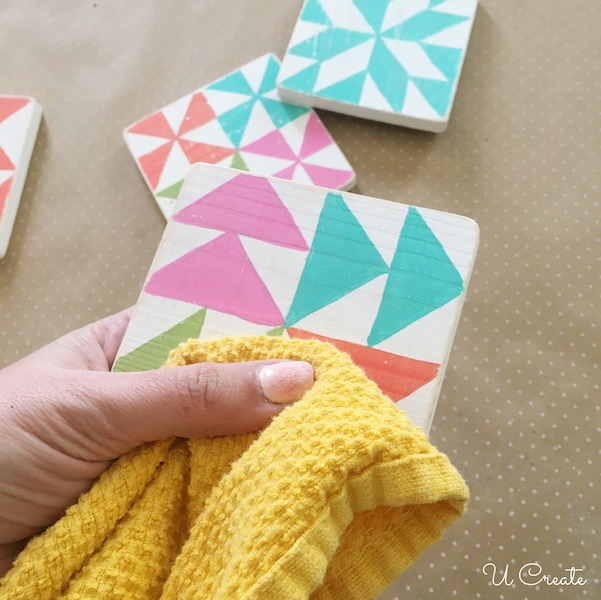
- When they’re completely dry you are ready to smooth the edges and surfaces!

- Make sure to wipe off all of the sanding dust!
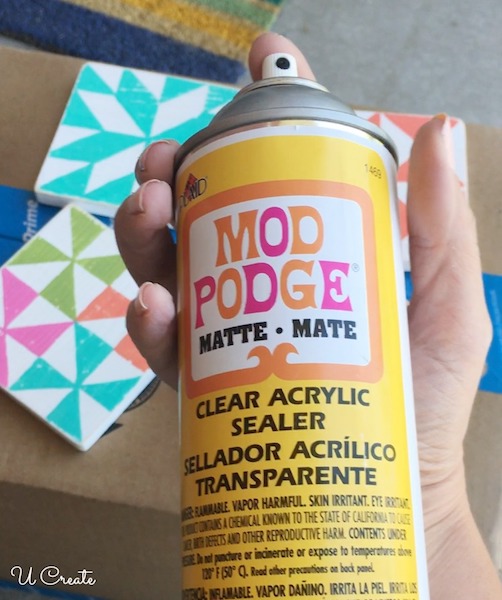
- The last step is to seal the coasters with an acrylic sealer (you don’t want to skip this step because coasters will get wet and spilled on and you want to protect them so they last!).
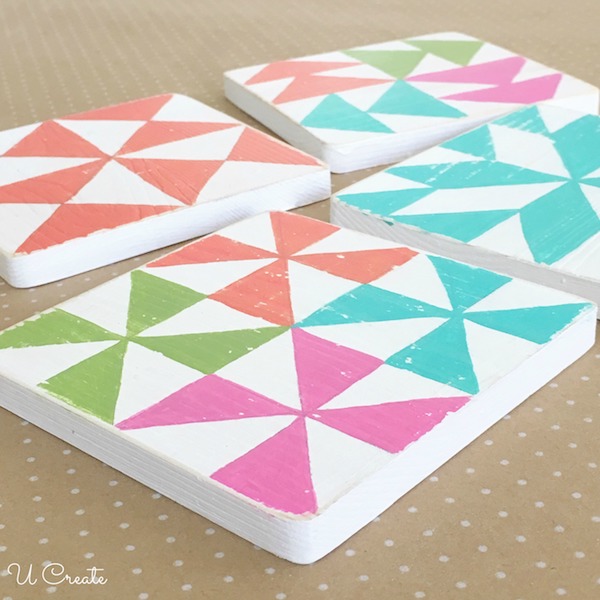
I’m going to put them in a cute little box and I have a gift for mom that she is going to love!
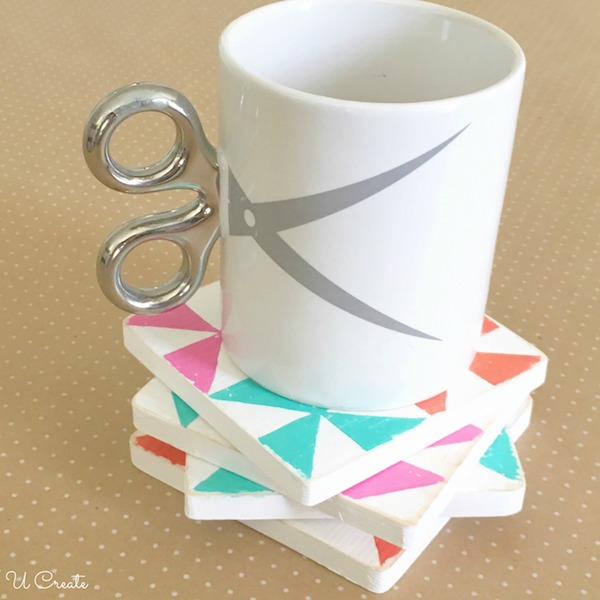
CRAFT TIP: You can use this same technique to make wooden quilt art to display as home decor, too. I have a 12×12 piece of wood I’m going to try this on next!
If you make a set please share them! Tag @ucreateblog on Instagram or feel free to send me an email!
POST BY: Kari Sweeten

Leave a Comment