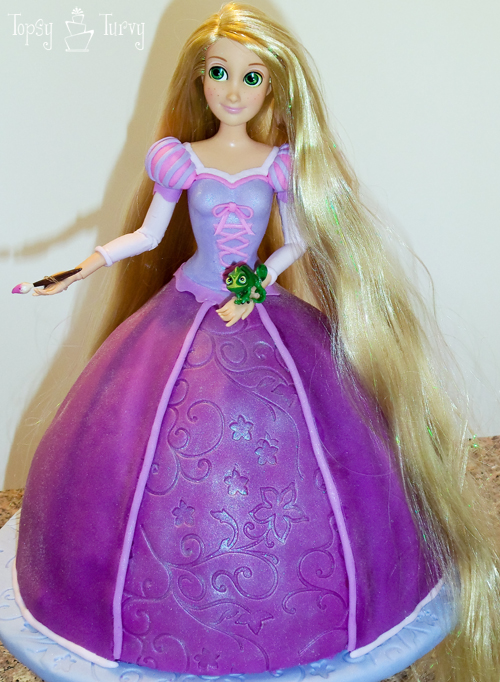
Here is the Rapunzel cake I made last week for a birthday party. The techniques I’m going to show you can work for any of the princesses or other women doll cakes you’d like to make yourself.
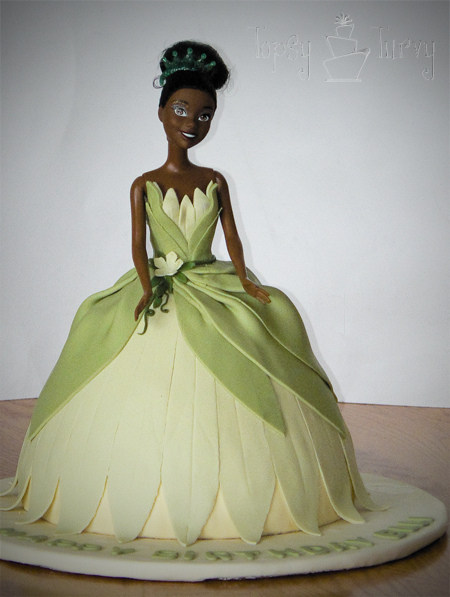
I used these same techniques to make this Princess Tiana Barbie Doll cake too!
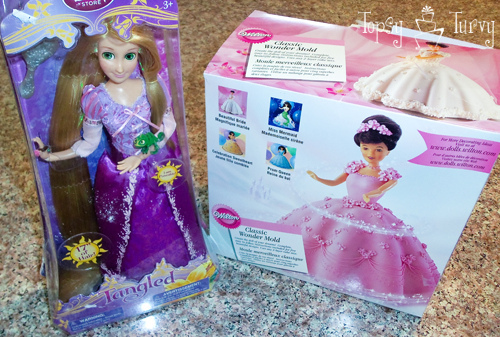
The main supplies are the princess doll you want to make, and Wilton Wonder Mold cake pan. This cake takes a while to cook because it’s so thick. Make sure you use the metal tube down the center for even cooking. If you leave it out the cake will fall. Not pretty. I’ve had this pan for years, But somehow in the last few month I lost a key piece, the screw on the bottom. I emailed Wilton and they immediately sent on to me! It was terrific service!
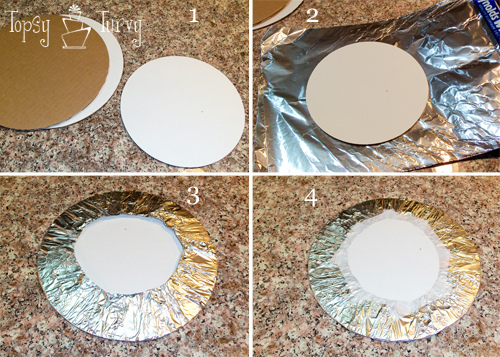
First we need to do the prep work. We need to cover some cake boards. We need one cake board the same size as the the cake itself. Then we also need 2 or 3 cake boards stacked together for the decorative board. Don’t use just one, it will be too thin and too weak. I’d make these 2-4 inches larger than the base of the cake, depending on how much of the cake base you want showing. You don’t want to put the cake directly on cardboard, it will get soaked. So I cover it with foil! Wrap it around the back, trim and then tape it down.
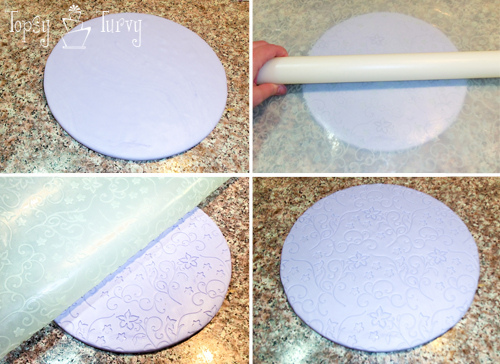
Let’s start with the decorative cake base. You want to start by covering it with fondant. In order to get it to stick and STAY on the foil covered board I use corn syrup. I rub in all over the board before I cover it! You can leave it like that OR you can make it decorative like I did. I used an Imprint mat, put it on the board and rolled the rolling pin over it! Peel it off and you have a detailed bake base!
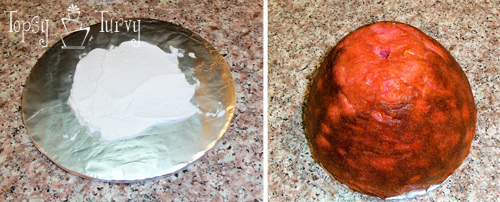
Take the cake sized cake board and cover it with some frosting so that the cake will stick to the board. And put the cake on the board! And frost the cake! I totally forgot to take a picture of that part! I always forget one picture in every tutorial it seems!
For any of the Barbie cakes what we need to start with is start at the inside/bottom and work your way out/up! So the underskirt is where we’re starting.
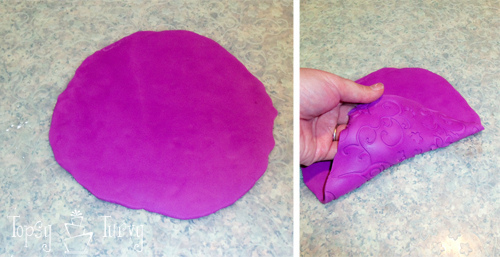
Rapunzel’s underskirt has a lot of detailing in it so I decided to roll the fondant out onto an impression mat and then used that to cover the cake! As you cover a cake the fondant tends to stretch a bit so to keep the details I just focused on keeping one section pretty, the rest I didn’t mind if the impression got stretched and warped.
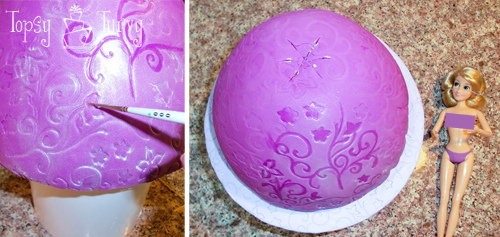
I covered the pretty section with some luster dust and then to bring out the detail I painted the lines with a paint brush and clear vanilla! (notice I rolled up her 16 inch long hair and using a twist tie kept it out of her face, and out of the way while I worked on the dress!)
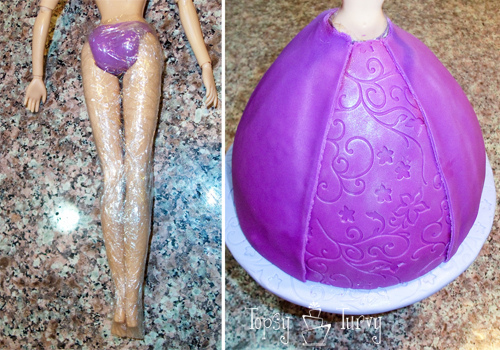
Now we need to add the doll and start working our way up! Usually I rip the legs off. But this was a higher quality doll and the legs couldn’t be pulled off without ruining them for the future. SO I decided to leave the legs on. I wrapped them with plastic wrap. The bad part about leaving the legs on is that when you push the legs in it kind of disrupts the cake a bit. Do it when the fondant is fresh so it has a bit of a stretch to it. I waited too long and it cracked the fondant. I had to do some repair work…
Back to the design, next on the out/up is the outer skirt. It’s the same purple, but it’s more simple. So I rolled it out and wrapped it around the base. Before I started wrapping I made sure to add clear vanilla to the base fondant so that the outer skirt would stick! Cutting it at the bottom and straight edges in the front. Don’t worry about the rough edges, we’ll cover them later.
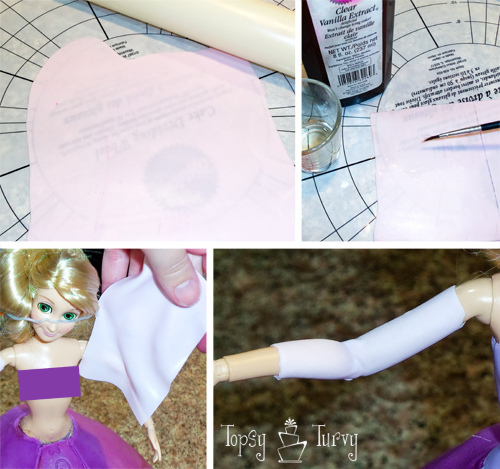
Next up? The sleeves. Her dress has sheer sleeves. Since I can’t get completely sheer I did roll it out as thin as I could, see… You can see the writing through the fondant. Cut it down to strips, about the width of the arm. Paint it with clear vanilla and carefully wrap it around her arms. Trim the edges under the arm!
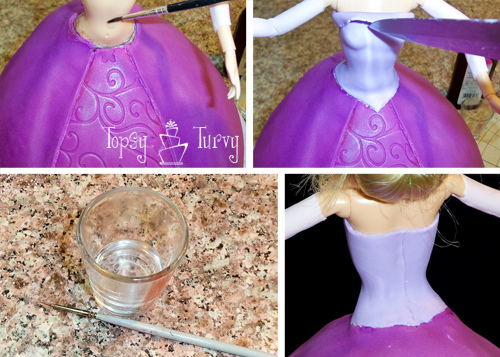
Now for the bodice. Paint her body with clear vanilla. I should mention why we’re using clear vanilla, or vanilla at all! Vanilla is mostly alchol and so it dampens the fondant and makes it sticky, but it also evaporates quickly so it dries quickly too! If you use regular vanilla the brown could dye or show up if you get it on any of the fondant that shows!. The clear vanilla won’t leave any marks!
Now using a sharp knife trim the bodice into shape! Remember you can do any princess you want, so use the colors and bodice shape of the princess your trying to make.
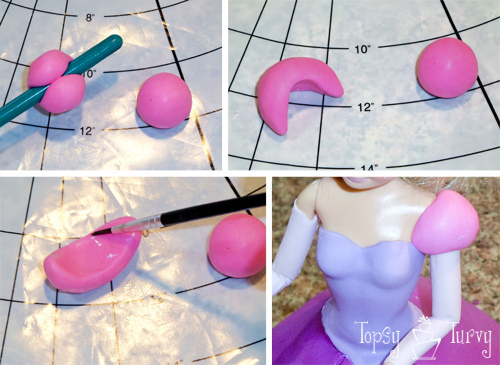
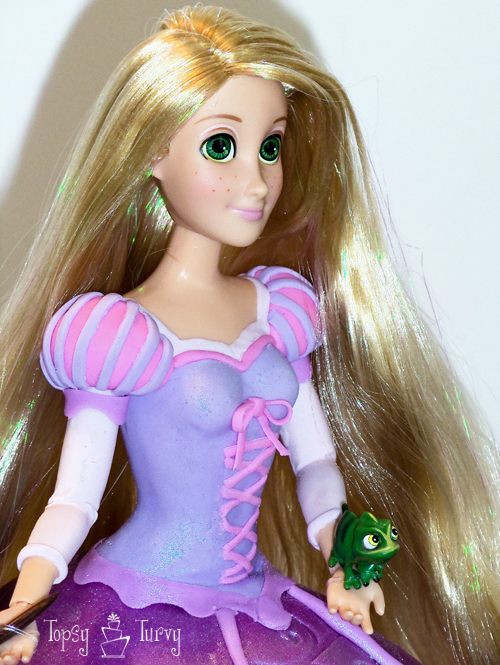
Her puffy sleeves. I started with 2 fondant balls to make sure they are equal and match. Then I started shaping them! Add the vanilla and add it to our princess! Now we have the base design complete. You could leave it here for a decent cake, but to take it over the top it’s time to start working on the details. That’s what really makes the cake.
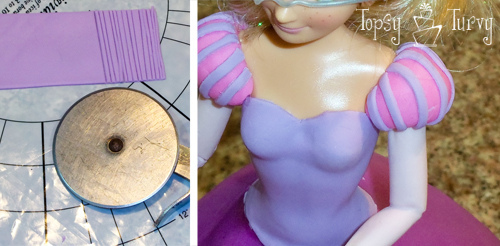
Stripes for her puffy sleeves
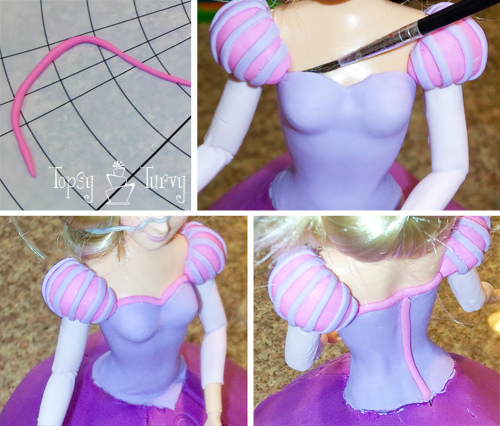
The pink trip details around the bodice neckline an cover the seam line in the back.
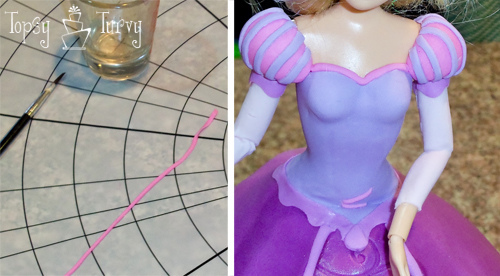
Cover the seam where the bodice and skirt meet… And now time to add the criss crossing of the ribbon onto the bodice. I rolled out the pink really thin, and then using a pizza cutter cut it really narrow. This way I didn’t have to try to roll it evenly into such a small snake! I painted the bodice with clear vanilla (see, you can’t even see it!). Now one strip at a time start cutting and building the criss crossing!

And for the final details: I added a bit of white around the neckline, added some purple between the puffy sleeves and “sheer” sleeves, some detail at the ends of the sleeves, the edges of the outer skirt, the base of the dress AND the bow at the top of the criss cross lace up front!
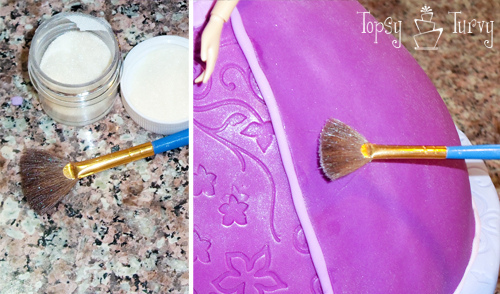
Her skirt is all shiny, so using a brush (not one you EVER use with paint or make up or anything, JUST for food!!! Anyway, use the brush and edible glitter, or luster dust! I brushed it all over the skirt, bodice, etc… It adds that final shine/glow to the dress.
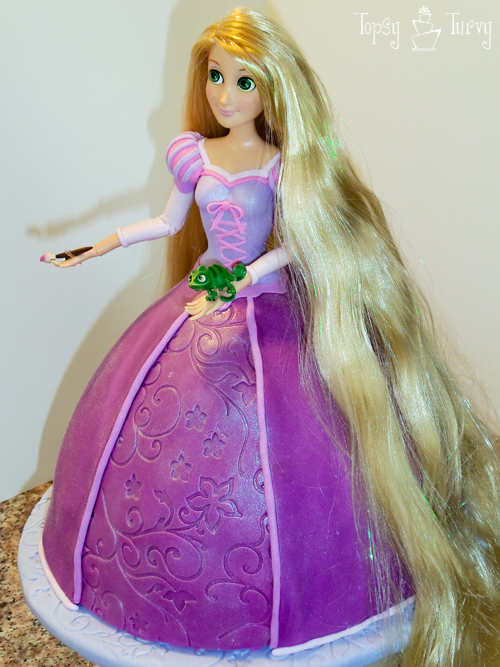
Undo her hair, add her tiny gecko and paint brush and Presto! She’s done and gorgeous!
And she’s done!
I’m Ashlee, from Ashlee Marie Cakes AND (because I’m totally insane) Topsy Turvy Shop!. I love to sew, crochet, knit, tile, paint, build things and I collect tools (power tools- LOVE THEM!). I love to craft, cook, bake and decorate cakes.




Awesome! My little girl is going to have a princess birthday party in March– this will be PERFECT!
Great job Ashlee. The attention to detail is excellent!
amazing… really, you make it look so easy! love it
Wow! I mean…wow! That is amazing. Love all the little details and I am glad to see you kept it clean with the censor bar…LOL! You are very talented!
incredible!!!
The details on that cake are amazing! I’ve never had the desire to make a doll cake (maybe that’s because of having boys), but now I kind of want to! Very nice – my nieces would love this if I ever tried it!
You did an amazing job! Thanks for the fabulous post!
So happy I have found your website. This is fabulous. Even untalented Grandmothers like me have hope!!
This is awesome…My friend asked me to make one for her daughters birthday coming up next month. Where did you get the impression mat??
Those are the most beautifully and tastefully done doll cakes I’ve ever seen. Absolutely charming!
You did an awesome job my soon to be 3 yr saw me looking and she wants to for her cake. Wish me luck 🙂
Thanks for sharing
OMG – Ashlee, this is beautiful! I am so happy to have stumbled across your site, after months of scouring for an idea that I liked for a Rapunzel cake (my 5yo birthday girls theme next week) and think yours is superb! You have paid so much attention to detail, it is exquisite! I can’t wait to get gathering my supplies now, and fingers crossed, that there is a ‘resemblance’ to your work. At least the step by step guide is so clear and concise, it will be a joyful challenge! Thank you so much! (PS Can you tell I am excited about your post?)
Ciao for now, Cat (from Brisbane, Australia)
Thanks for sharing. Its just beautiful. Can’t wait to make my little girl’s cake in october
I love this! Thanks for all the tips!
~Amber @ Dessert Now, Dinner Later!
so beautiful! thanks for sharing!
So awesooome!