I’ve needed a new bathroom shelf for a while and this fun idea popped into my head!
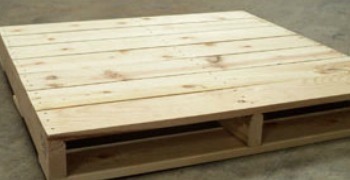
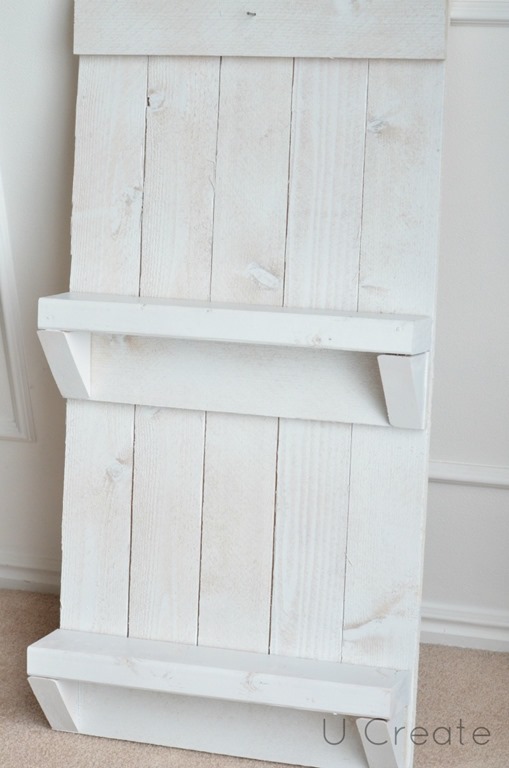
Let me show you how I turned this…
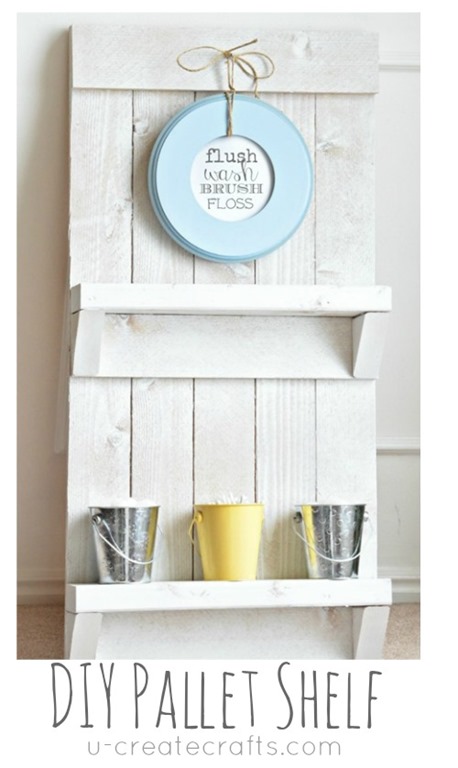
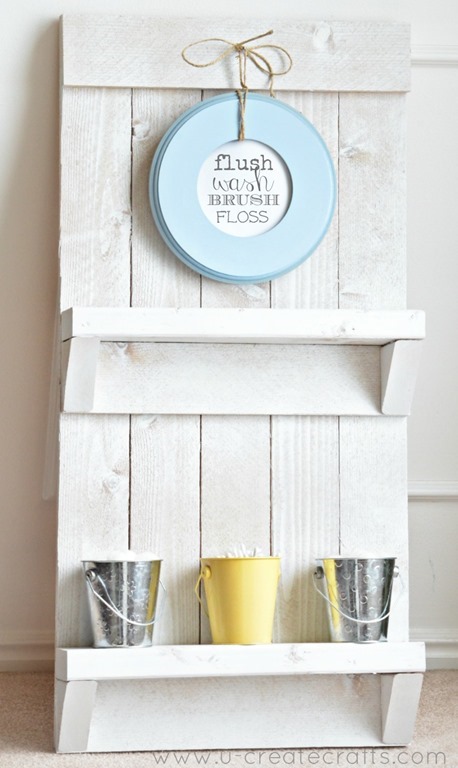
into this…
Oh, and I’m also giving you a free printable that I used, too!
Supplies Needed…
Pallet or long wood pieces
Saw
Tape Measure
Nails {used a nail gun}
paint or stain
Step One:
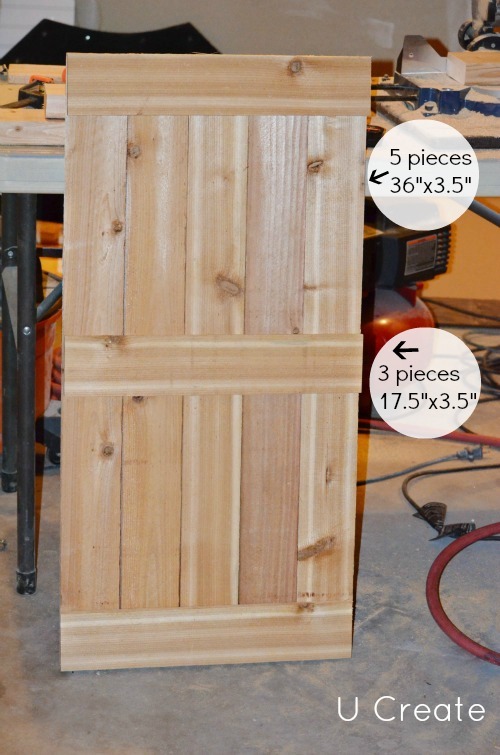
Cut wood for the shelf.
I used 5 pieces side by side that measure 36”x3.5”.
Step Two:
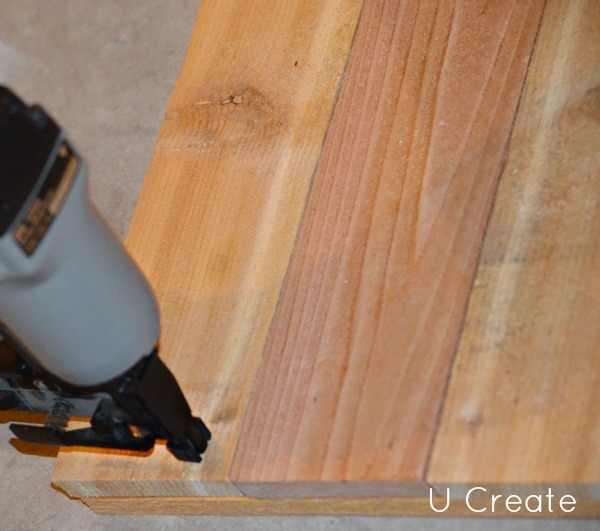
Lay the three pieces on top {one on top, bottom, and middle} and nail securely.
Step Three:
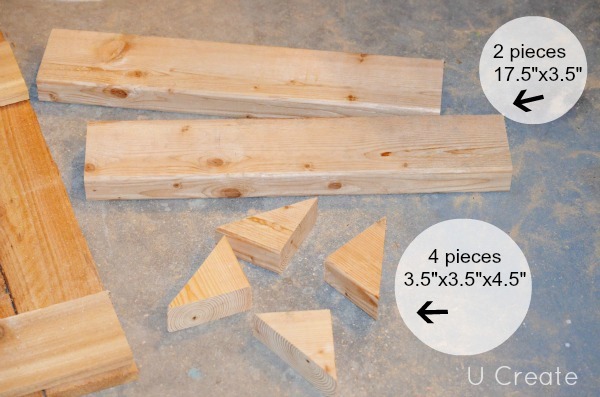
Cut wood pieces for the shelves.
I used two pieces that measure 17.5”x3.5” and 4 triangles measuring 3.5”x3.5”x4.5”.
Step Four:
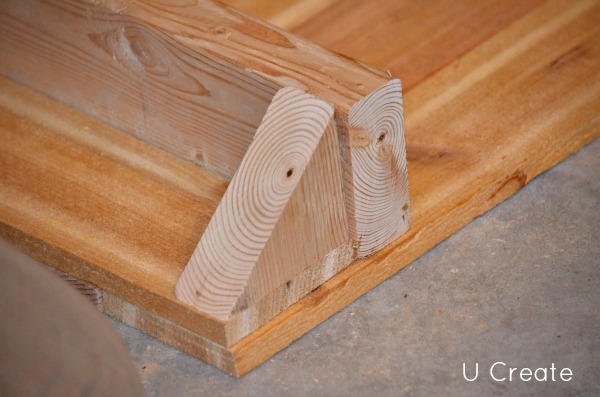
Nail triangles on to support the shelf, place the shelf on top and nail down securely.
Step Five:
Paint or stain your new shelf however your heart desires!
I used the Krylon spray paint primer in white, and painted with Krylon Flat White spray paint.
Decorate and you are done! We are always using cotton balls and q-tips, so I grabbed a couple of tin buckets and filled them up. Way easy!
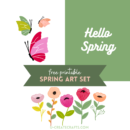
For those interested, here is the free download to the bathroom one I used above!
Oooooooh – this is SUPER cute!
Love it!
Happy Friday!
xoxo
Thanks Jennifer!
I just hung this up in my bathroom and can’t wait to show everybody the full remodel!
Oh it’s so cute!! I love it!
Thank you Rachel!
Wonderful idea. Love it!
Thank you so much!
Great idea. Adorable!
I can’t wait to show you all the rest of my bathroom makeover!
This is geat!
I love all of the fun ideas people are coming up with for old pallets!
http://happinessiscreating.com/
So cute! Thanks for the idea! Where can I get that adorable frame as well?
I love this idea! Pinning 🙂
Going to try to make one of these for my home