Supply List:
1 yard knit fabric for main body of skirt.
1/2 yard knit fabric for the trim and hem.
other sewing essentials
Lay out your main fabric {blue} and fold in half…if it’s not already folded from the fabric store.
Determine the waist size you want the waist and divide it in half. My model: 27/2 = 13.5”
Add a half inch for seam allowance on each side which means you will add an inch to your final number. My number: 14.5”
So with your fabric laid out nice and flat, find your number {from above} on your measuring tape and let’s get cutting.
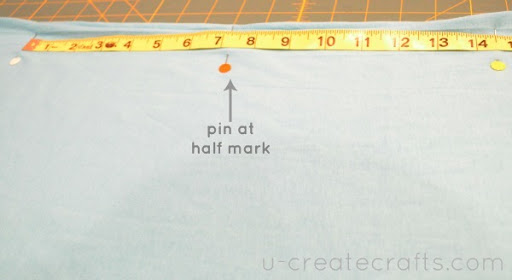
Lay your measuring tape on the fabric centering your number like this:
Divide the number {14.5”} by 2 to find the middle of your measuring tape. Mine: 7.25” Put a pin at this mark.
Remove your tape measure and fold the fabric where you just put your middle pin mark making sure the 1” pin and the 14.5” pin touch.
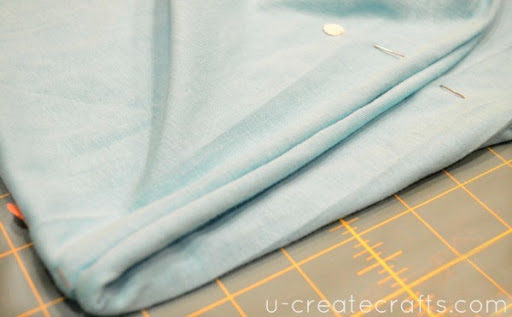
Straighten it all out and let’s cut the angle of the skirt now.
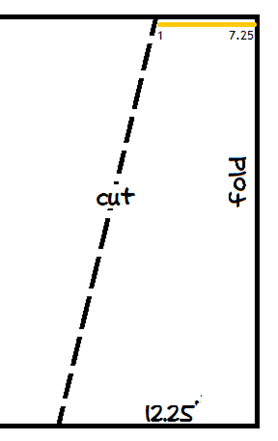
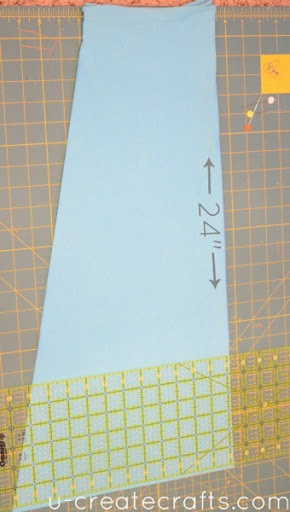
There is no fancy math required here. I just added wanted a slight angle so I added 5 inches to my 7.25. So the bottom would be 12.25 inches.
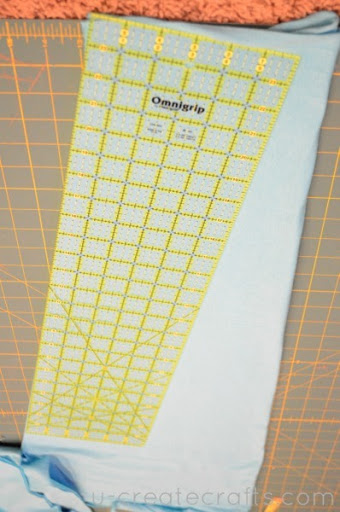
Measure down the length you want your skirt; mine was 24”. At the 24” mark measure 12.25” from the fold and lay your ruler down connecting the 1” mark at the top of the fabric with your 1” mark at the bottom and cut.
Now for the hem and the waistband.
I cut the waistband 7.25 {folded} x 3.5”. I kept it straight in line with the waist, but the hem I cut it so the angled cut kept going.
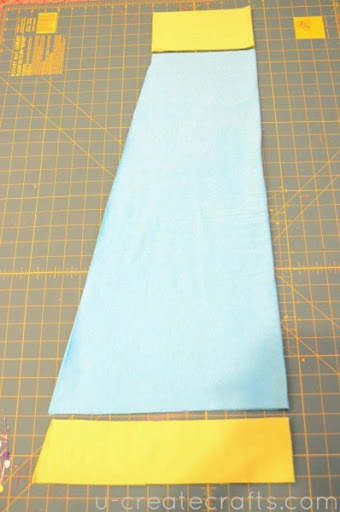
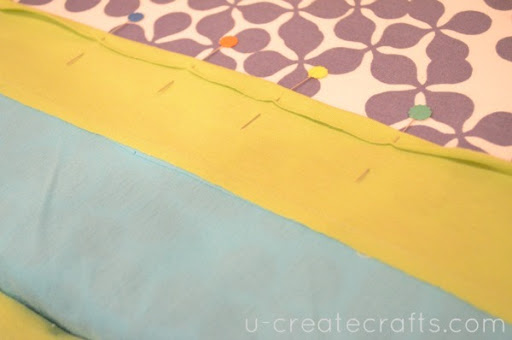
Pin the hem piece to the main body {right sides together} and sew a 1/2 seam. Do this to both pieces.
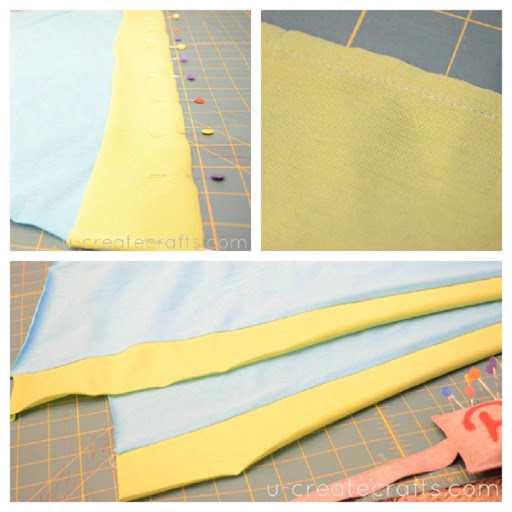
Line up the seams and pin one sides of the main body and the hem with right sides together. We are going to do a 1/2 seam up each side.
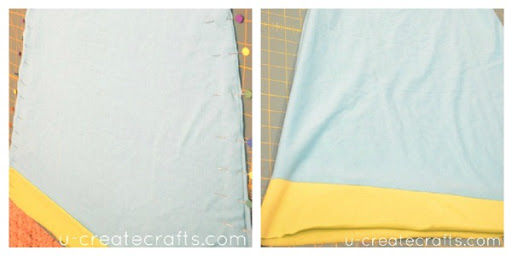
Because you are using knit, you don’t have to hem it. I really wanted a finished look on this maxi skirt so I hemmed it.
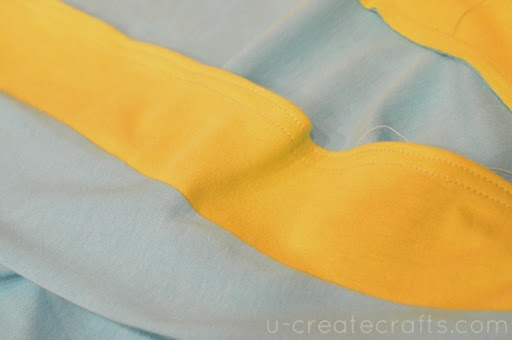
Iron the hem down a 1/4 inch and pin. Sew a stitch a little less than a 1/4 inch and then sew another on about 1/8 inch from the hem.
Looks great, right?
Let’ do the waistband. Pin the sides right sides together and sew a 1/2 seam down each one. Now you have a circle.
Fold it in half and attach it to the top of the main body with plenty of pins. Sew a 1/2 inch seam around and iron flat.




This is lovely! I will try this at home 🙂
Dropping by from http://www.fashionbysai.com
Sweet, thanks for the tutorial – I’ve made skirts in the past but this is super simple I think I’ll try it.
LOve the Maxi Tutorial! I’m excited to try it once my kids are in school!! :))
Having a JUNIEblake Giveaway ( New Trendy Modest Clothing line) GIVEAWAY and a MyMemoiries give away. GO check it out! :)http://dejavucrafts.blogspot.com/
So cute! I want to make some maxis for the fall – thank you for the lovely tutorial! 🙂
so cute, and lovely, thanks for sharing,
How much fabric did you use? Did I miss that part? Thanks!
nice one thanks for yr tutorial
This skirt was fast and easy and it turned out beautifully.
Awesome! I would love to see pictures!
Glad you like the tutorial
Great tutorial! If I were to upsize it for a larger waist, would I add more than 5 inches for the slight angle?
Yes, add the inches to the angle that you would add to the waist. That way it enlarges it in both places.
Great question!
Looks like something I could do!
http://www.ArtGiftsEtc.com