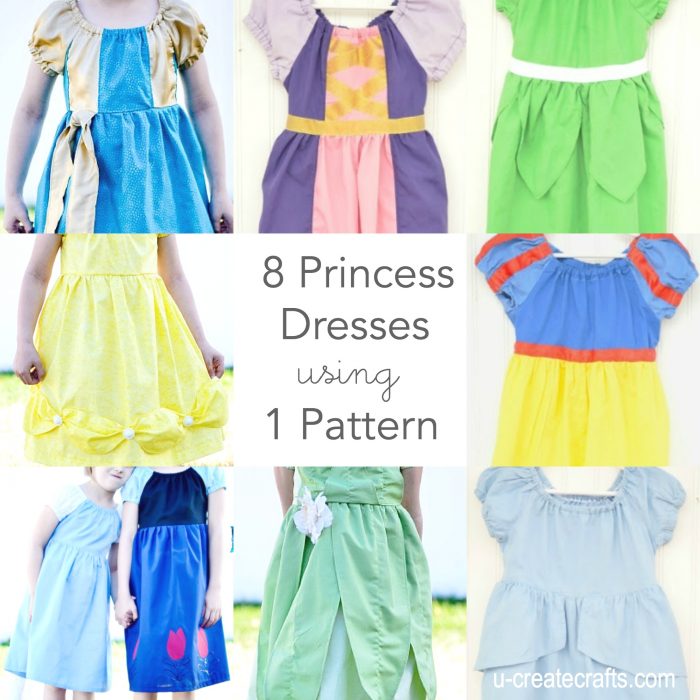
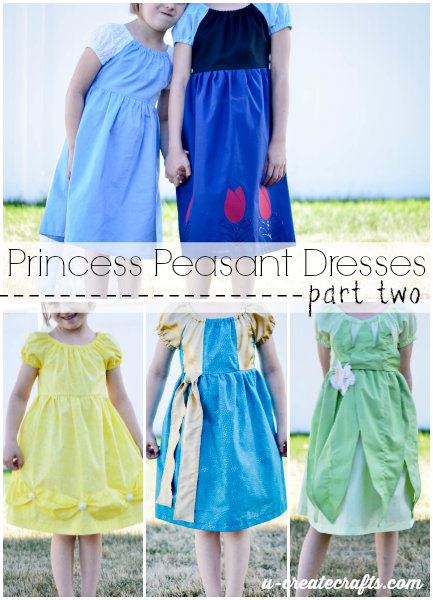
 In 2013, I showed you some Disney Princess peasant dresses I made for our surprise trip to Disneyland. My girls loved those dresses so much! Naturally, my girls have sprouted up in the last 3 years and the Frozen fury has taken the world by storm since then. So, for our Throwback Thursday Tutorial I decided to make 5 more Disney Princess dresses!
 First off, you will need the Simplicity 2377 pattern or your favorite peasant dress pattern and 1/2″ elastic for the neck and arms.
I have made 14 of these dresses now and have some tips and tricks:
-Because kids grow so quickly, use inexpensive fabric and embellishments.
-Keep in mind these are play clothes. Don’t use fabric or embellishments that need special care…unless you want to provide that special care. {Personal note: don’t use satin!}
-Cut all pattern pieces out first and create piles of EVERYTHING you will need to make each dress. Especially if you are making a lot of different sizes and styles. This way you don’t have to make multiple trips to the craft store…unless you want to.
Let’s get started!
Princess Belle’s Dress:
What you need:
1/4 yd MORE of the bright yellow fabric
3 large round buttons
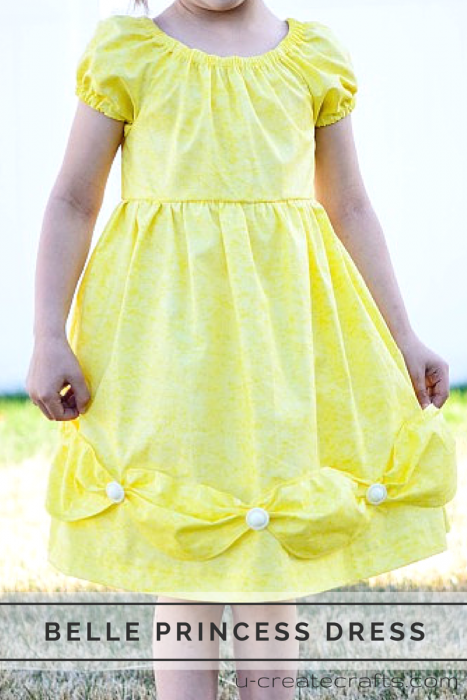
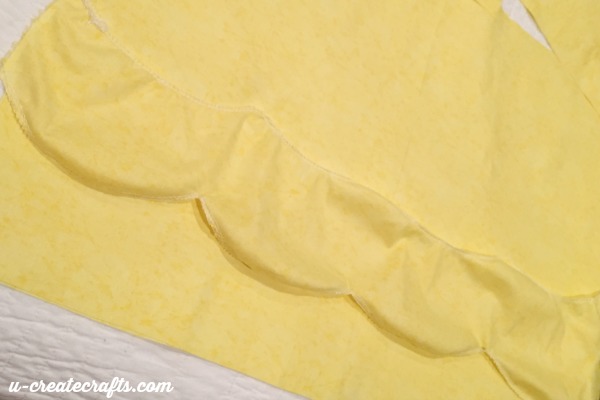 Belle’s ruffle was created with less than a quarter yard of fabric. I seriously eyeballed the scallops lightly traced with a pencil, then measured up about 3 inches and repeated the scallops. Cut it out and serge or zigzag stitch the raw edges. Turn the edges on the top and bottom under 1/4″ and stitch down.
Before you sew the skirt together, gather between the scallops and pin the gathers to the front of the skirt. I then sewed the gathered parts to the skirt front. Next I sewed the skirt front and back together and followed the rest of the pattern.
 Lastly, I added the large round buttons on top of the gathers. My little girl wanted big red rose buttons, but had to settle for traditional round ones. Life is hard when you’re six, huh?
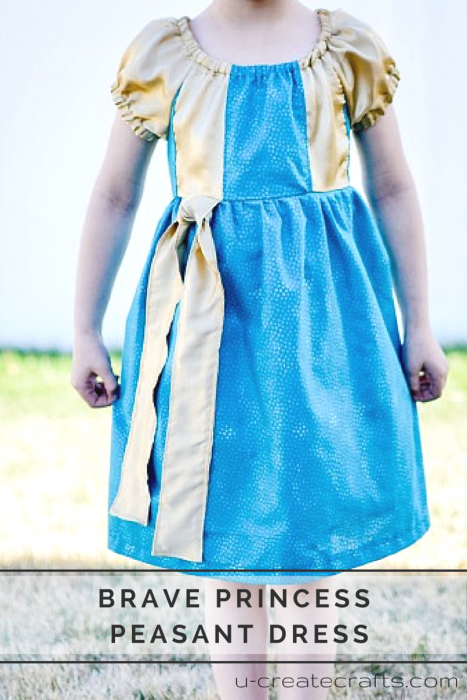
Princess Merida’s Dress:
What you need:
1/2 yd of gold fabric…not satin!
Okay, so in an attempt to use up my stash, I decided to go with gold satin for the Merida princess dress. That made things difficult for two reasons…
1. It’s super slippery! It slides all over the place making it hard to cut and sew. I may have dropped a couple of minor swear words during the process.
2. Satin snags on EVERYTHING. I snagged it on the sewing needle, the end of my table, with my fingernail, and even on my dry flakey skin. That was kind of annoying.
Now that my rant on satin is over, we can continue.
I made the skirt and back of the bodice according to the pattern. To create the front of the bodice, I cut two 3″ strips of gold fabric and three 5″ strips of greenish fabric and sewed them together. I ironed it and then laid the pattern for the front of the bodice on it and cut and assembled according to the pattern.
For the tie down the side, I cut a 5″ x “length of the fabric” strip. I folded it in half with right sides together and sewed down one side creating a tube. I turned it right side out, ironed it and turned the open ends inside the tube about 1/2″. Then I stitched around all sides creating one big long sash.
Find the middle of the sash and pin in to the front of the skirt…where ever you would like it. Sew into place and tie a loose knot. I sewed the knot down so it wouldn’t come undone.
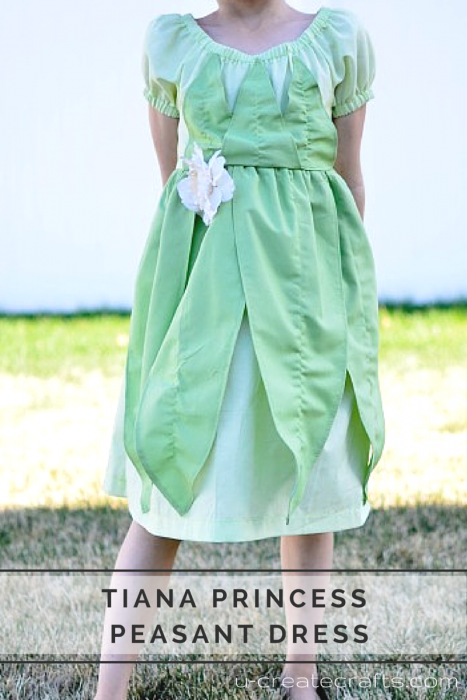
Princess Tiana’s Dress:
What you need:
– 3/4 yd of green that is just darker than the dress fabric.
-one white posterboard
-large white flower with a brooch pin (or take a flower and attach a safety pin)
Assemble the skirt and bodice according to pattern instructions, but don’t sew the bodice to the skirt yet.
Create a 2 leaf shapes on the white poster board. One that is about 18″ long x 8″ wide (at the widest part) and one that is 6.5″ long x 4.5″ wide. Cut them out and lightly trace 4 long leaves and 3 small leaves. Cut the leaves out of the green fabric and zigzag stitch or serge the raw edges.
Turn the sides of the leaves under 1/4″ and sew down. Now that you have hemmed the leaves, increase tension on your machine so that the fabric will pucker when you sew. Sew a straight line from the tip to the wide end of the leaves…the puckering will make it look “leafy.”
Arrange the long leaves on the skirt piece and pin into place along the top (raw edge) of the skirt. (Note: I only did leaves on the front). Arrange the small leaves on the front of the bodice, lining them up with the bottom of the bodice (at the raw edge) and pin into place. I secured the small leaves to the bodice by sewing the point of the leaves in place. I didn’t do this to the large leaves because I wanted them to be flowy.
Attach the bodice and skirt according to pattern instructions. Pin the flower to the dress; make sure to take the flower off when you wash it though…thus the reason for the pin.
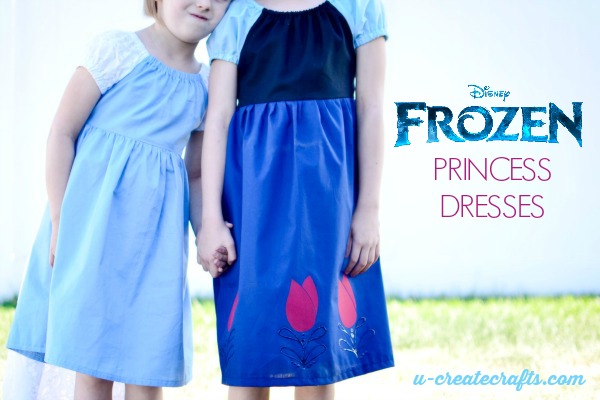
Princess Anna’s Dress:
What you need:
-Black fabric for bodice (yardage according to pattern)
-Light blue fabric for sleeves (yardage according to pattern)
-Dark blue fabric for skirt (yardage according to pattern)
-Maroon FAT QUARTER for flowers.
-Heat and Bond for applique
-light blue puffy paint
-white pencil or chalk
-pencil
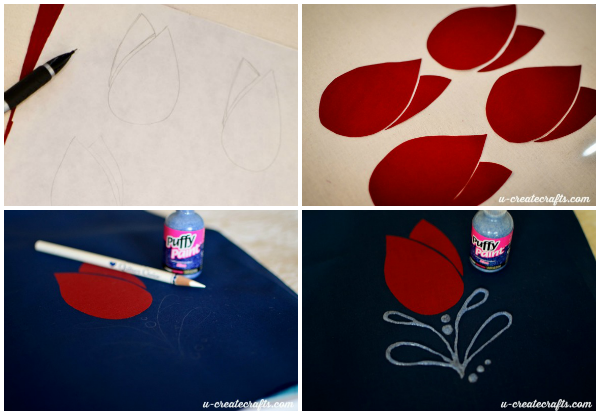 Creating the flowers on Anna’s dress was pretty simple. I didn’t want to do something to ornate so I made big tulips and added the stem with puffy paint. (Totally had an “I Love the 90’s” moment.)
Make the flowers:
#1: First, I ironed the Heat and Bond to the maroon fabric. Then, I freehand drew the tulips.
#2: Cut them out and arrange them on the front of the skirt. According to Heat and Bond instructions, iron on to the front of the skirt.
#3: Using a white colored pencil or sharpened chalk, draw some kind of pretty stem.
#4: Trace stem with puffy paint and let dry!
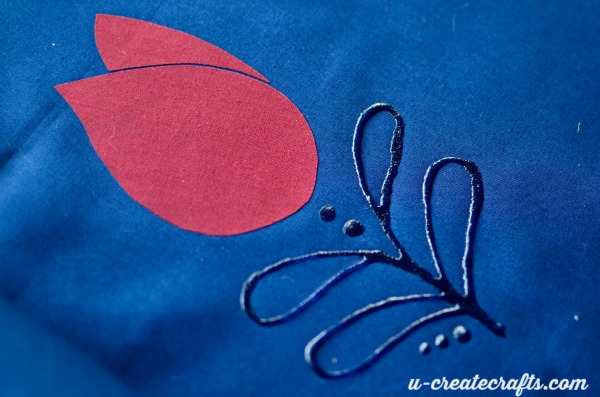 I like how the puffy paint dried clear, although I didn’t plan on that. It looks pretty cool.
Now assemble the dress according to pattern instructions.
Princess Elsa’s Dress:
What you need:
-1 yard of some white lacy/floral fabric; this is for the cape and sleeves.
Cut sleeves out of the white fabric and then cut a 30″ x 24″ rectangle for the cape. Serge or zigzag stitch all the edges of the cape EXCEPT the top, and hem under 1/4″.
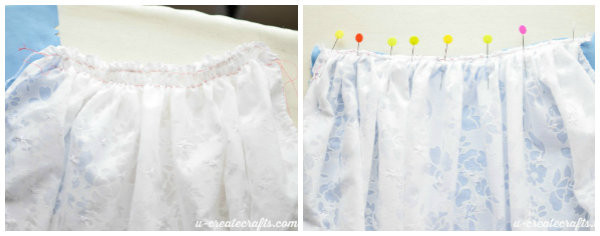 Step #1: Using the longest/loosest stitch on your machine, sew a straight line across the top of the cape about 1/4″ from the top. Then do it again about a 1/2″ down from the last seam. Pull the bobbin threads from the lines you just sewed and the cape will start to gather. Once you are happy with the gathers, set your sewing machine back to a regular stitch and sew a straight line in between the two gather stitches. This will secure the gathers.
Step #2: Pin the gathered cape to the top of the back bodice piece.
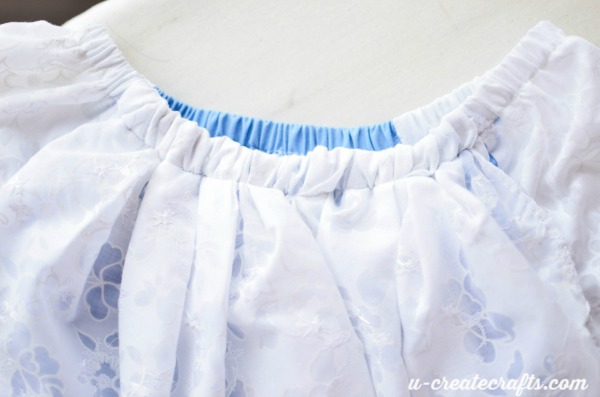 Assemble the dress according to pattern instructions. Once you add the elastic around the neck, the cape will gather even more.
 So there you have it! That’s how to make 5 Disney Princess peasant dresses from 1 pattern. These dresses are perfect for Disneyland trips because they are not restrictive nor are they expensive so you can easily let your little princess have a great time without fear of ruining a pricey dress.
{By the way, if you haven’t seen the surprise video it’s hysterical…my girls have a very unexpected reaction!}
In case you issed Part One of the Princess Dresses…



Here is an easy PDF peasant dress pattern with tutorial and variations.
http://www.scatteredthoughtsofacraftymom.com/2012/11/howtomakeapeasantdress.html
THanks! That’s a great find!