Hello friends! My name is Amy Smart and I blog about my sewing adventures at Diary of a Quilter. I’m so excited to share a quick and easy project using one of my favorite cuts of fabric, the Fat Quarter. (Are you wondering what is a Fat Quarter? This will explain!) Fat Quarters are such a great way to collect some of your favorite pieces of fabric, without having to invest a lot of money. I love that Kari and Becky started this series to show of lots of great ways to use them.
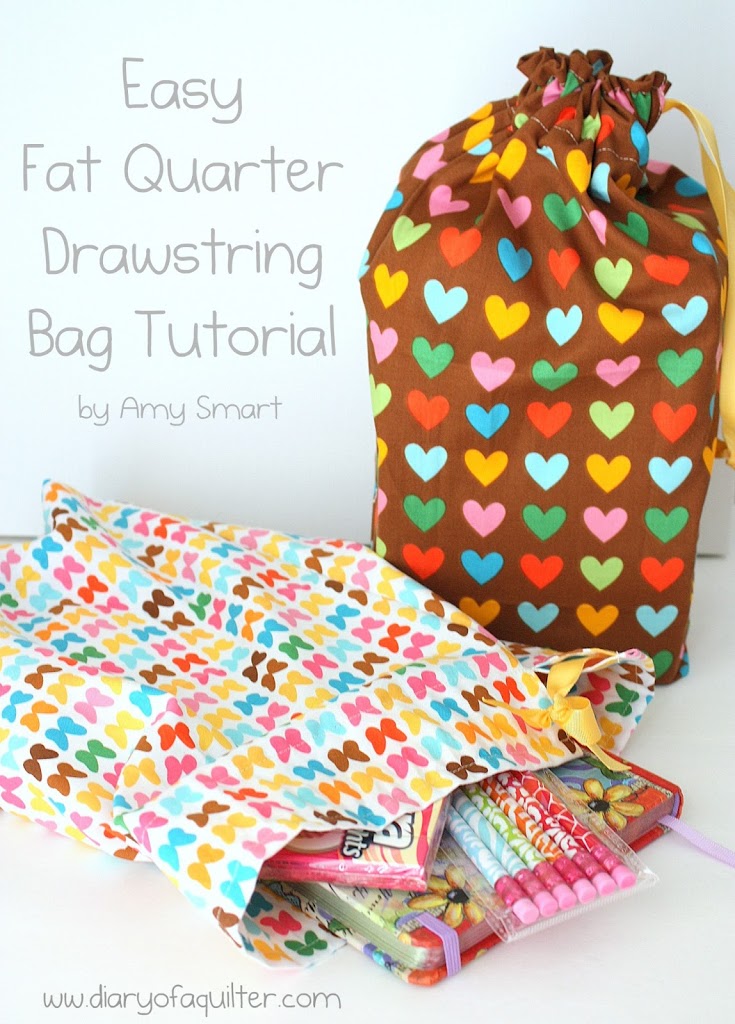
Today I am going to show you how to make a SUPER EASY drawstring bag using one Fat Quarter and about 25″ of ribbon. These come together so quickly and would be a great beginner sewing project as well as a good project for teaching kids to sew…
Start by trimming any selvage edges off the fat quarter. You will be left with a roughly 18″ x 22″ rectangle of fabric. (It’s okay if it’s not exact.) Fold down the top edge about 1/2″, press, and sew in place.
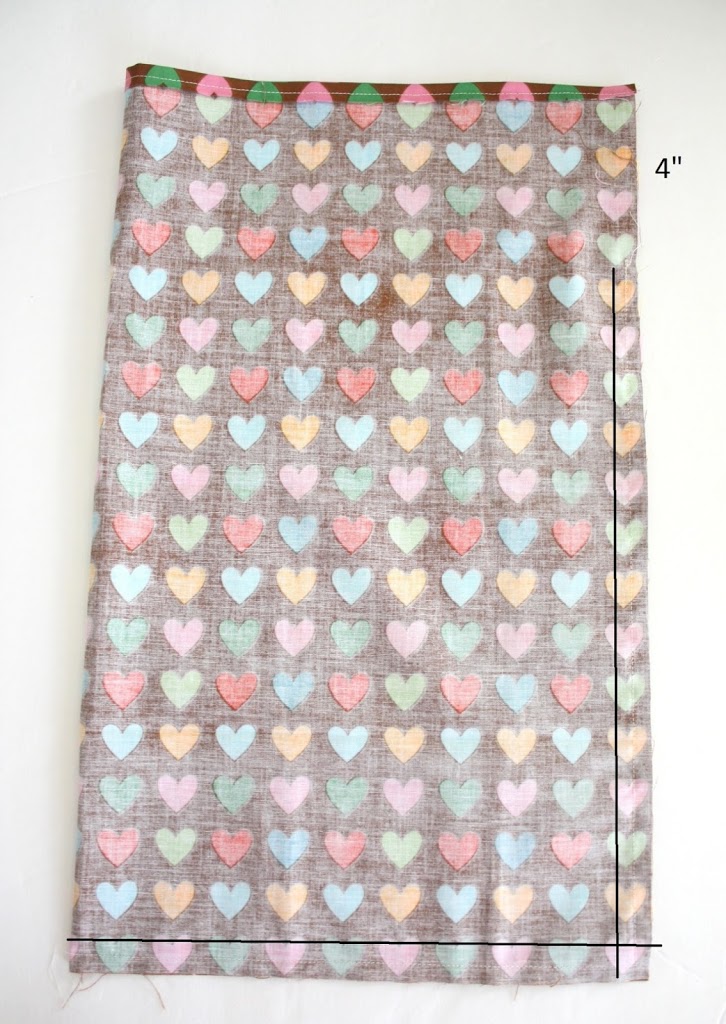
Fold the fat quarter in half width-wise with right-sides-together. Sew bottom and side edges together using a 3/8″ seam allowance. Stop and backstitch about 4″ from the top.
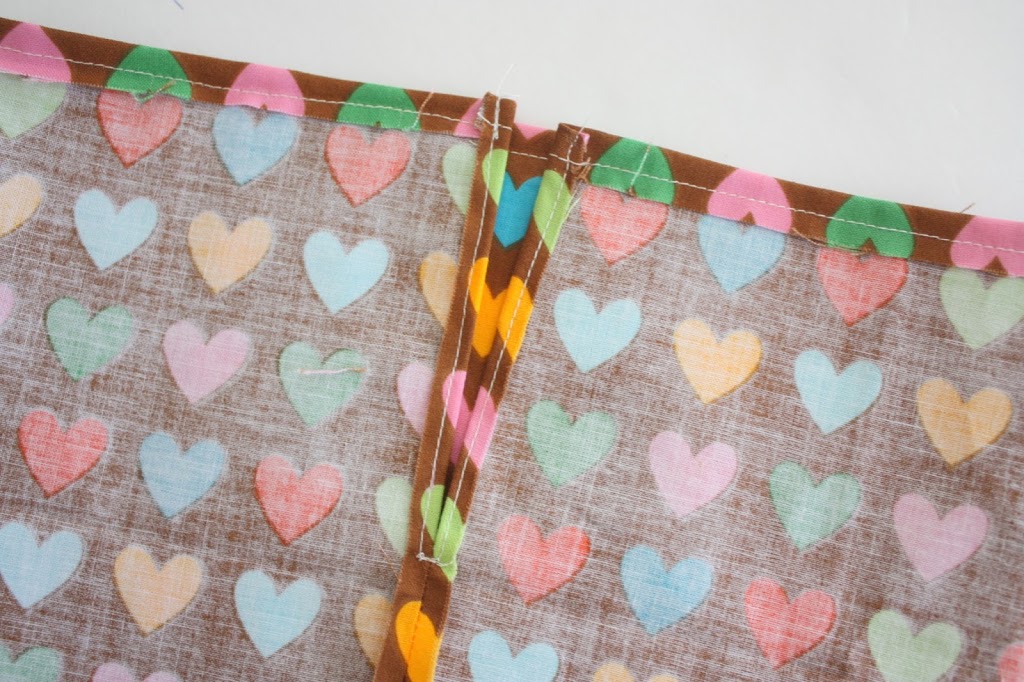
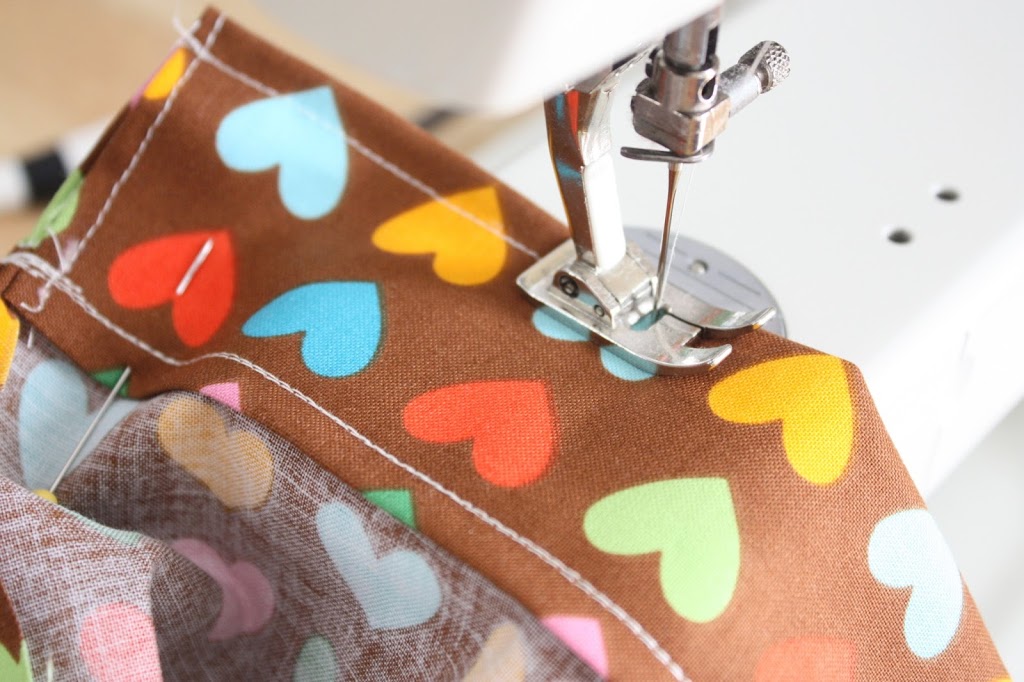
Press side seam allowance open, including 4″ portion that is not sewn together. Carefully sew those edges down, starting at the top of one side, pivoting about 1/4″ below the opening and backstitching once, then up the other side.
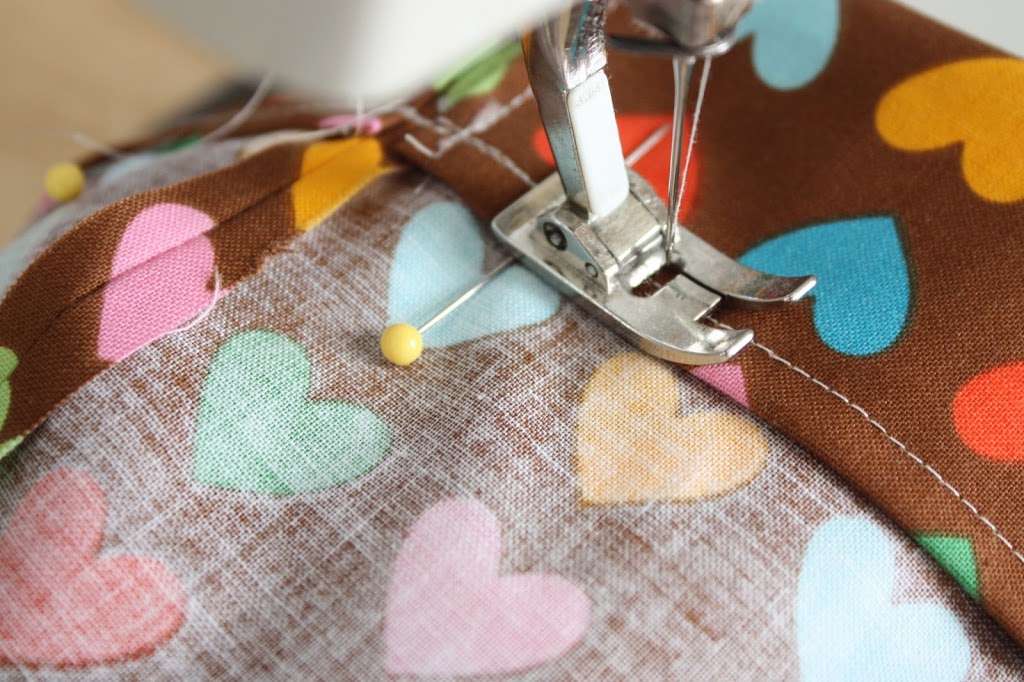
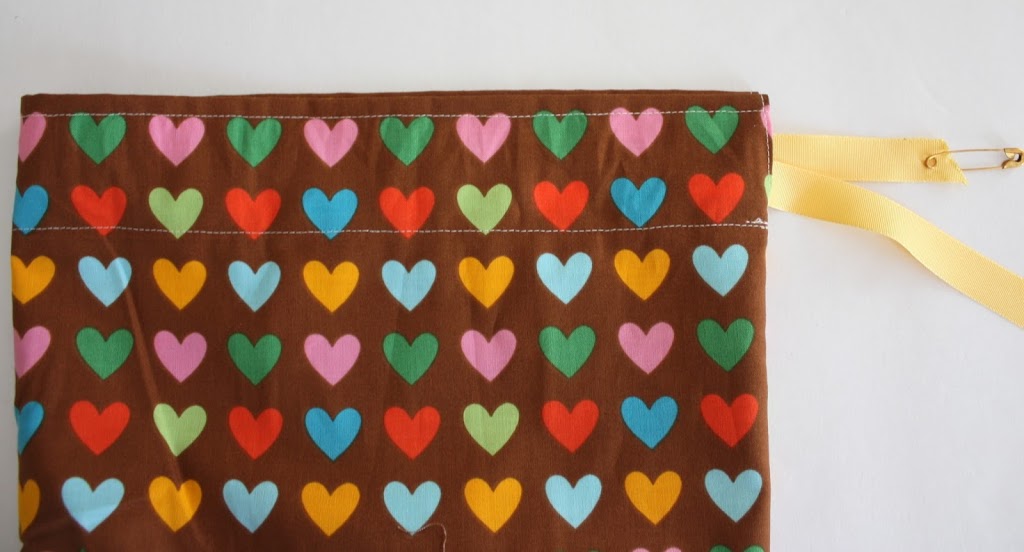
Fold top edge down 2″ and pin in place. Sew this flap down to create your casing. I just stitched right on top of the stitching for the hemmed edge. Go all the way around the bag.
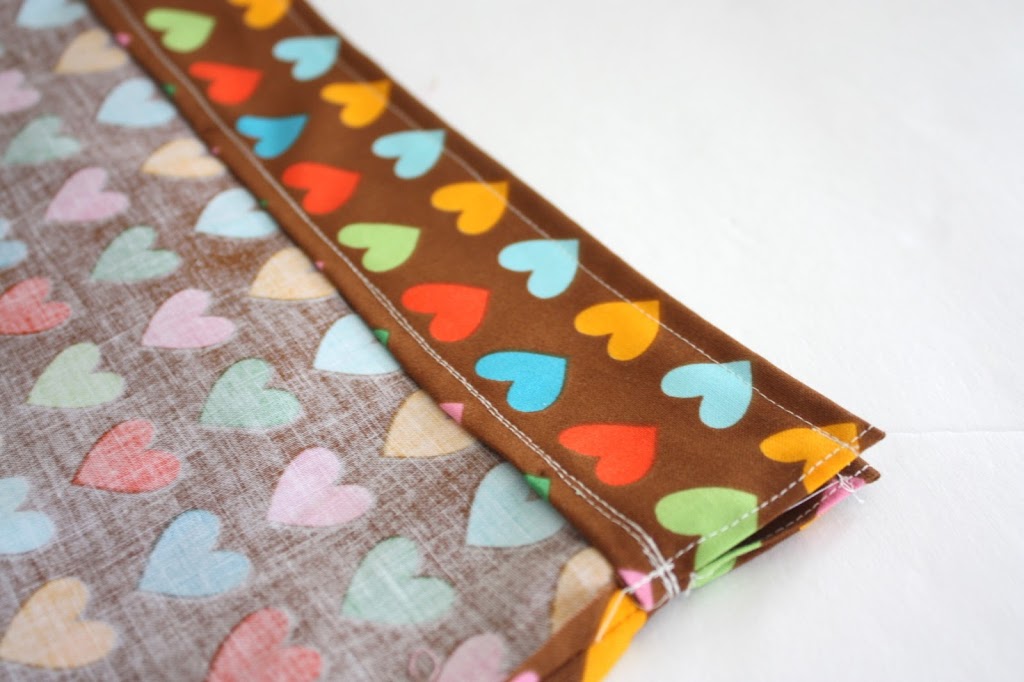
I then stitched around the top edge of the bag about 1/4″ away from the edge to give it more of a finished look.
This is how it will look. You can go ahead and add the drawstring now, if you like.
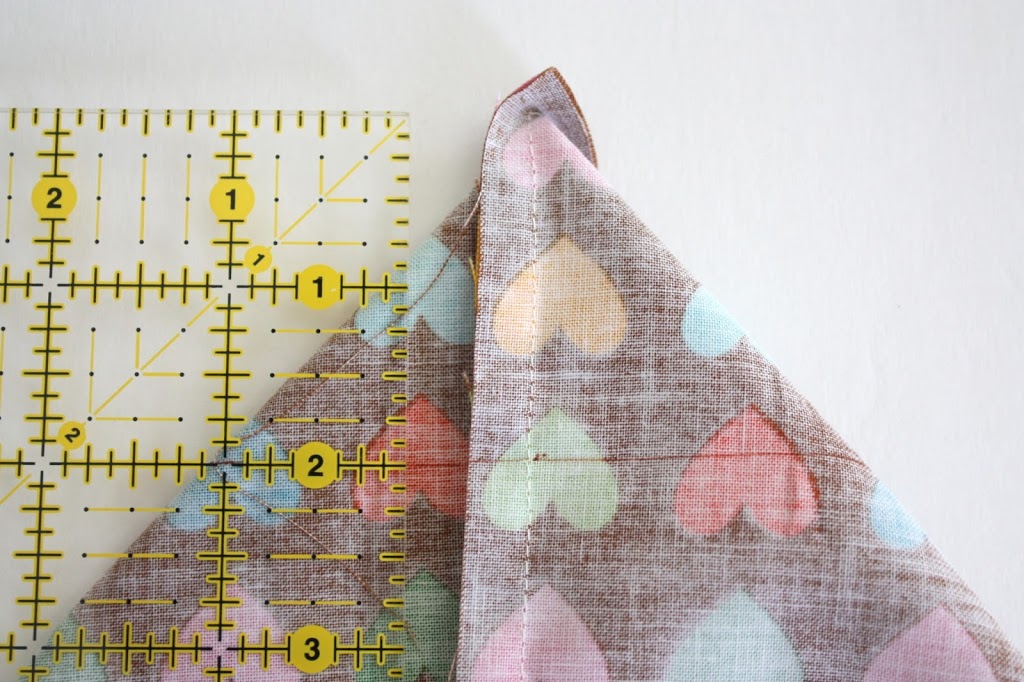
I added a quick gusset (fancy way of saying boxed bottom) to give my bag a little more shape. This is purely optional. But it’s super easy if you want to do it. Take the bottom corners of the bag and fold them so that the side and bottom seams run down the center, creating a point. Measure down 2″ from the point, mark, and draw a line perpendicular to the side seam.
Sew right on the drawn line and trim away excess fabric 1/4″ away from the seam. Repeat with other corner. If you want your gusset more or less boxy, you can measure more or less than the 2″ away from the point and mark and sew accordingly. The options are endless…
Turn bag right side out. Put a safety pin at one end of your ribbon to help thread it through your casing.
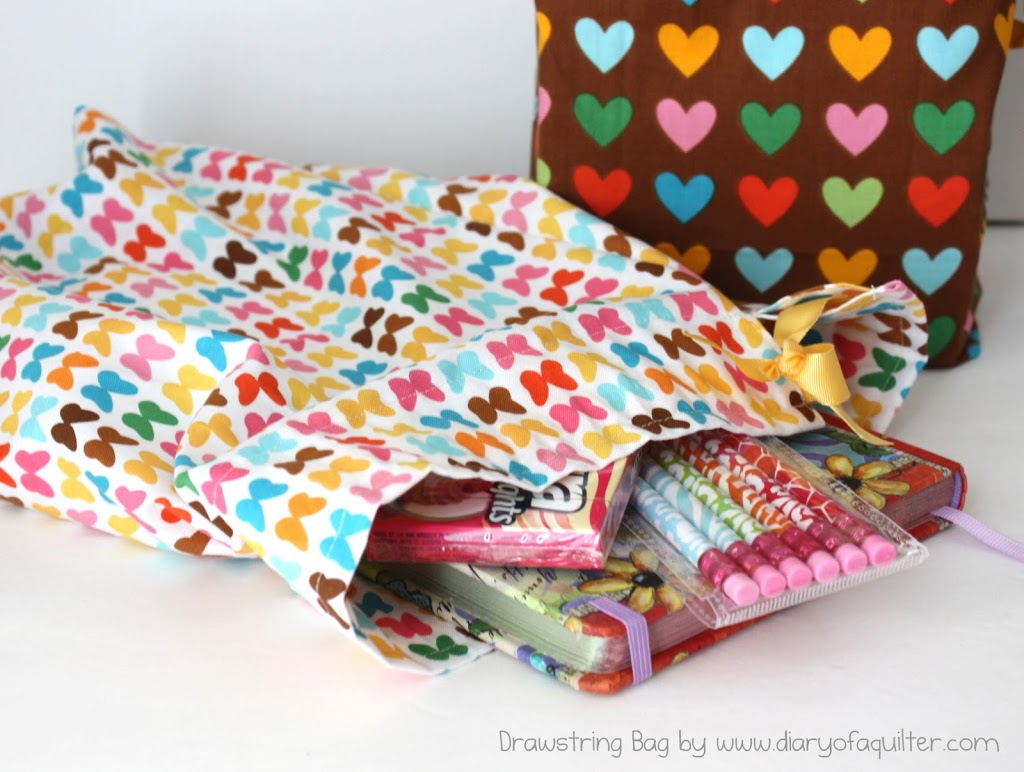
Tie the ends of the ribbon in a knot. And you’re done. It’s seriously that easy!
This bag finishes at about 13″ long by 10″ wide. In addition to altering the gusset, you can change the length of the bag by trimming some of the fat quarter length before you start sewing. I promise after you’ve made one, you’ll be able to start whipping them out quickly. They’re great for holding craft projects, birthday presents, Legos, you name it.
Here are a few other simple Fat Quarter projects. These projects are perfect for beginning sewers and once again, would be good summer sewing projects with kids too.

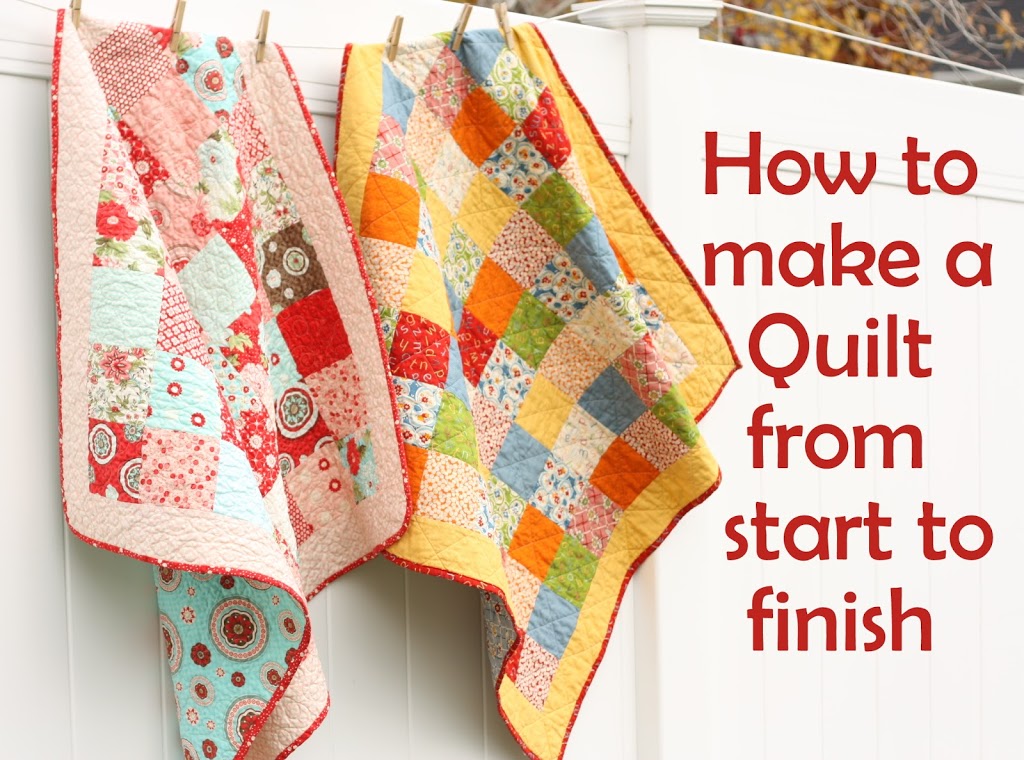
My favorite use for Fat Quarters is making quilts! If you’ve ever wanted to learn how to make a quilt, visit my Beginning Quilting series for beginner step-by-step instructions.
Thanks so much for having me, U Create girls!





This is such a cute project, and would be a fun one to do with kids. Thanks for the idea!
So many things I could think of to do with a bag like this!! Thanks so much for sharing your fun project Amy!!
Oh, I am going to make a dozen of these. A darling way to organize
This is a great way to introduce a young neighbor girl to sewing. A very cute project!!!
I have a granddaughter who is sewing with me. Thanks for the giveaway.
What a fun project Amy! :o)
This is exactly what I was looking for, to house a homemade finger puppet set I’m giving my nieces for Christmas. Cute yet easy to make! I’m starting them right now! Thanks for sharing!
This is the simplestand best drawstring bag tutorial I have found!
Your instructions for this are well written and easy to understand. You don’t happen to have a blog telling how to make a LINED drawstring bag, do you? Some things need just a little more padding….