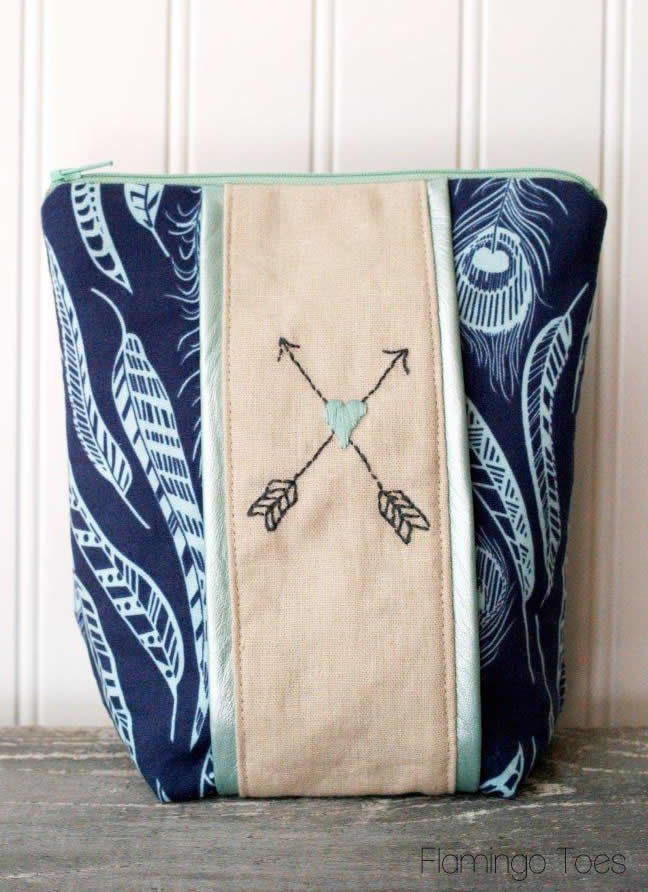
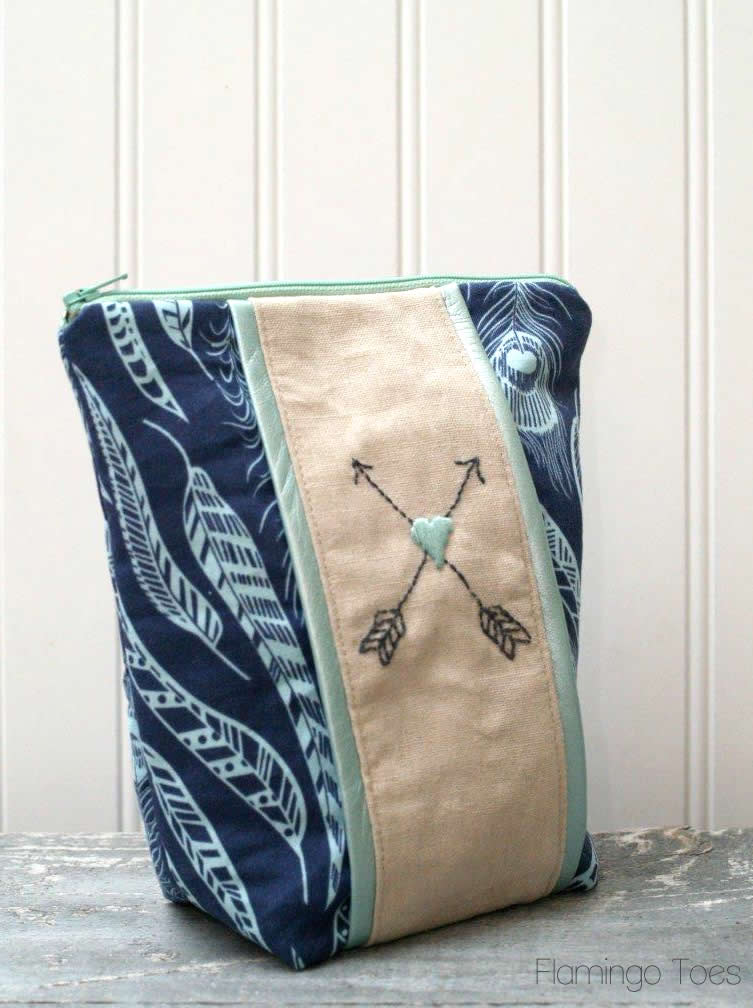
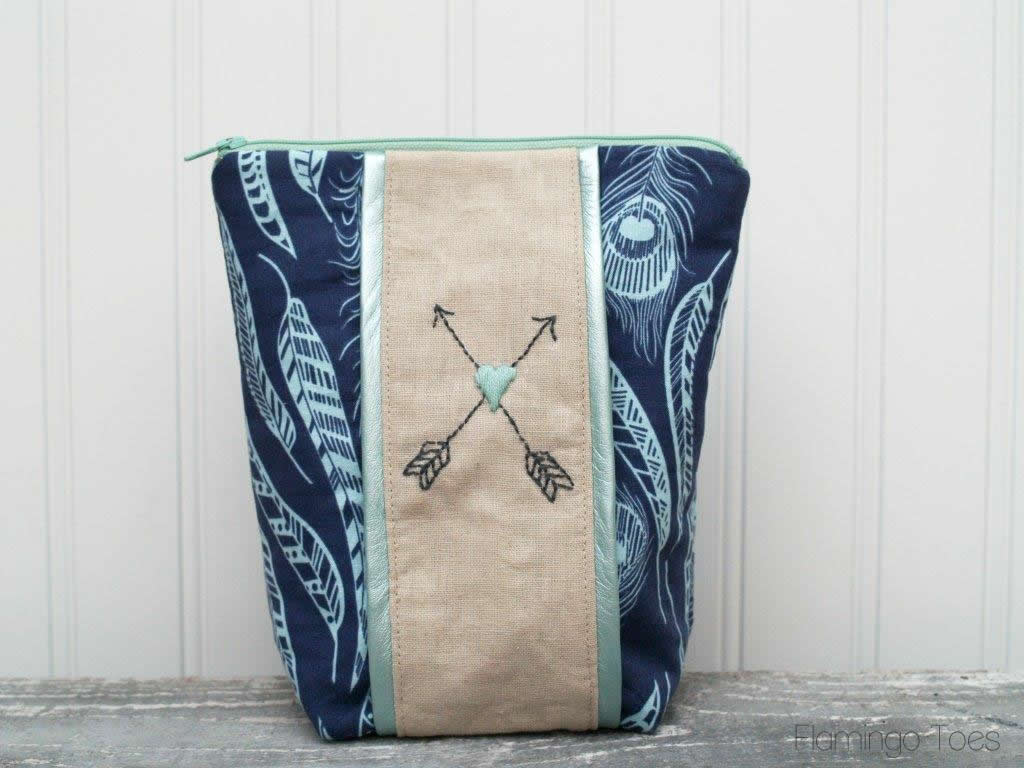
Hello U Create Readers!! My name is Bev and I blog over at Flamingo Toes. I am sooo excited to be here today and I am loving this Fat quarter series! It is so fun to see what everyone is making – there are such cute projects and great gift ideas too. I’m looking forward to making a dent in my fat quarter stash! Today I’m making a sweet little Zipper Pouch! It’s nice and tall so you can stash lots of things inside, and it’s embroidered with a sweet little Arrow and Heart detail.
The embroidery uses simple, beginner stitches, but if you don’t like to do embroidery, you could easily change out the center panel and just use a cute contrasting fabric…
This project uses a fat quarter for the outside, and one for the inside, along with a small piece of fabric for the center detail. I also used some leather pieces for the detailing on the center panel. So let’s get started! You’ll need:
- 1 fat quarter for outside fabric
- 1 fat quarter for lining
- fabric for center panel: 3″ x 10 1/2″
- leather pieces for center panel edging (can substitute fabric or piping here): 2 pieces – 1 1/2″ by 10 1/2″
- fusible fleece: 2 pieces 8″ x 10 1/2″
- embroidery floss for arrow stitching
- Arrow & Heart Embroidery Pattern
- 7″ zipper
To begin, start with your embroidery. Trace the pattern onto your center panel fabric with a disappearing ink pen. 
Embroider the arrows with a back stitch and the center heart with a satin stitch. If you need help with the embroidery, I have tutorials for those stitches on my How to Do That: Embroidery Page.
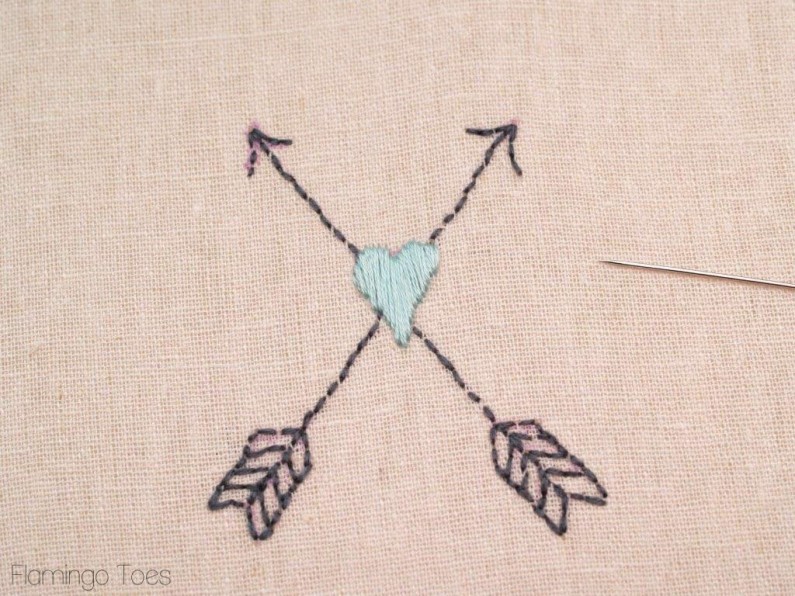
If you haven’t already, cut out the center panel piece, 3″ x 10 1/2″. Cut out the leather pieces if you’re adding those in, and cut out 2 pieces 3″ x 10 1/2″. 
Fold each leather piece in half long ways. Line up the raw edges with each side of the center panel and sew the pieces to the center panel with a 1/4″ seam allowance. Sew the two main fabric pieces to each side of the center panel, right sides together, with a 1/2″ seam allowance.
Press the seams towards the center, so the leather pieces face away from the center. (Make sure you don’t iron over the leather. Press from the back side.) Topstitch the center panel just inside the seams.
I just love the color that mint green leather adds! Cut another panel from your main fabric: 8″ x 10 1/2″. This will be your back piece. Iron fusible fleece to the wrong sides of the front and back panels.
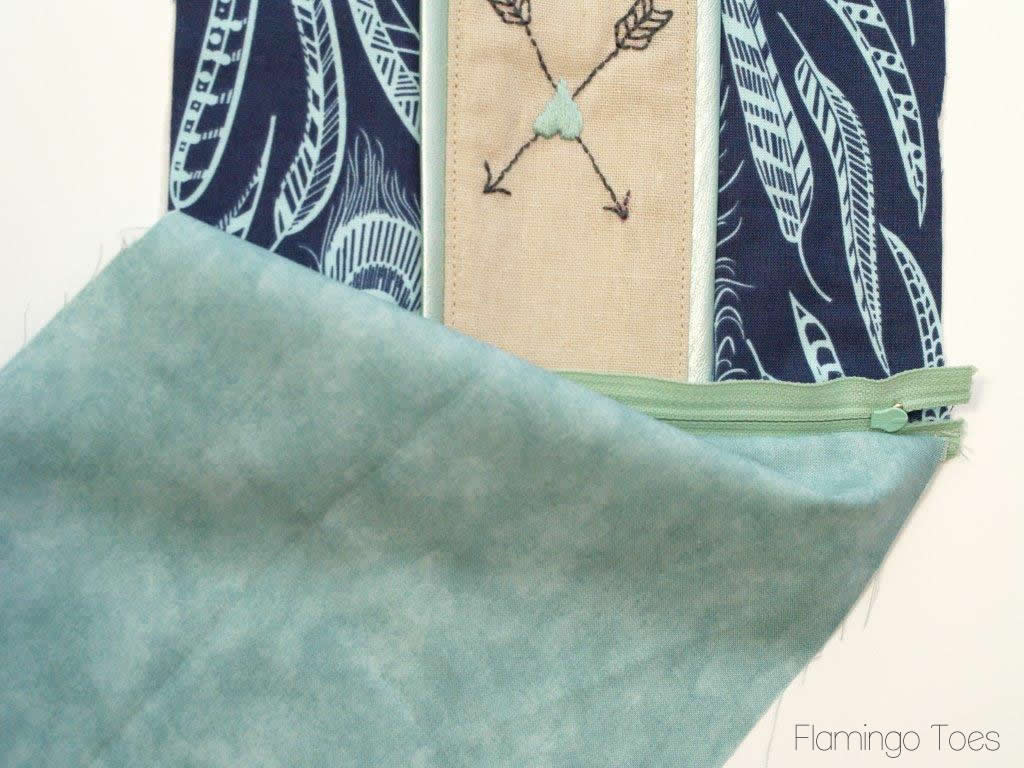
Now we’re going to add in the zipper. Line up the zipper edge with the top edge of the front, top panel. The zipper should face down. Place the lining piece right sides together with the front panel and sew the top edges together with a 1/4″ seam allowance. You’ll want to use a zipper foot too – and you will probably want to move the zipper out of the as you sew.
Repeat for the other side with the zipper. Lay out the back panel and lining and line up the top of the panels with the other side of the zipper. Sew. 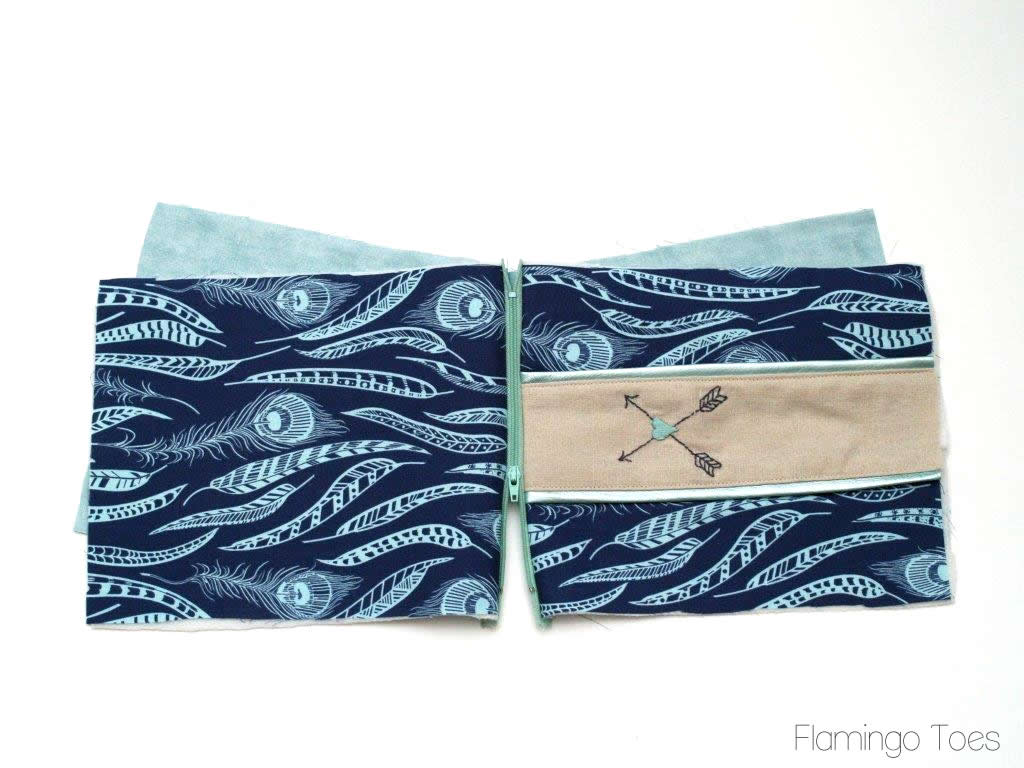
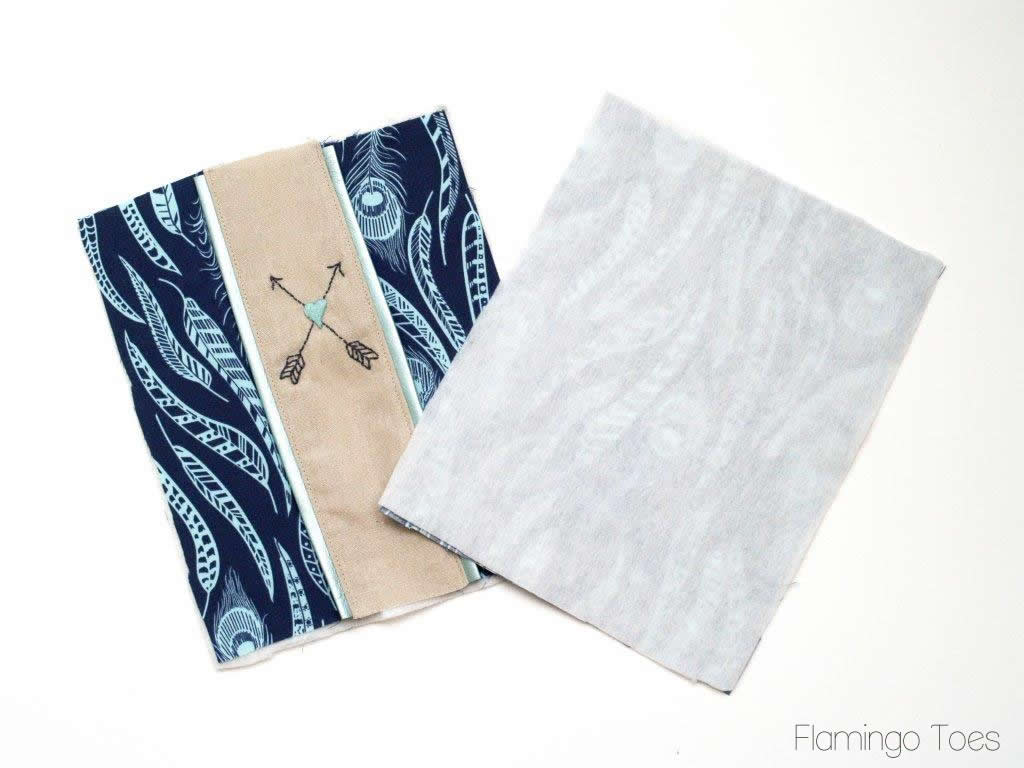
Lay the front and back main panels together and the lining panels together. Sew all the way around the lining and main panels, but leave a 3″ opening at the bottom of the lining for turning.
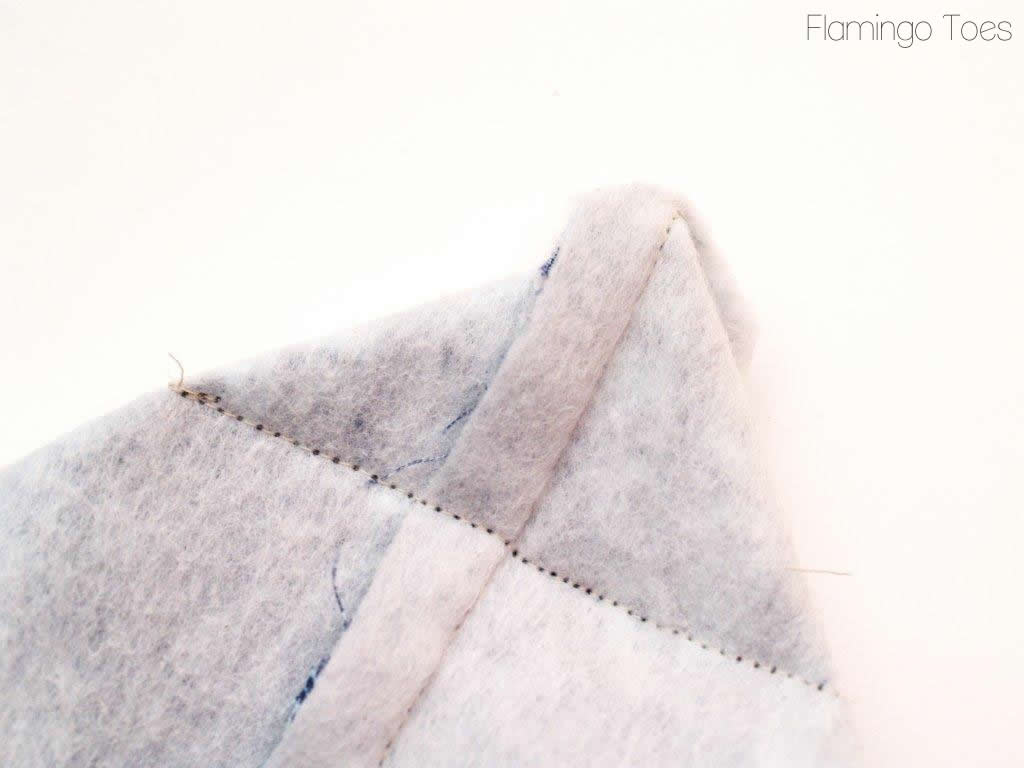
To make the box corners for the base, make a triangle with the corner by making the corner a point with the side seam and bottom seam lining up. Sew across the corner 2″ down from the point. Do this for both corners on the main fabric and both of the lining fabric.
Trim off all the corners. Turn the pouch right side out and sew the opening in the lining closed. Tuck the lining into the pouch and press everything so it doesn’t look like you just wadded it into a ball to turn it right side out.
Yayy! Now you have a super cute new zipper pouch for all your makeup, or even your secret candy stash.
Isn’t it fun? I think it would make a great gift too!
I hope you like it! I’d love for you to stop by Flamingo Toes and say hi! You can check out my other projects on my Tutorials page. Thanks for including me in the series Kari!









I am a HUGE peacock fan. Where did that peacock feather print fabric come from?
Thanks
Steph
http://www.newlymynted.blogspot.com
Bev! I have this obsession with stitching lately and I absolutely love your pouch!! Thank you so much for sharing!
SO adorable!! The leather trim is a great touch. And that embroidery is super cute!
So pretty!
In love. Thanks for the easy to follow tutorial. This is definitely on my summer to-make list!!
Susan
@SugarBeans.org
Ok, so I have a disappearing ink pen and NEVER thought to use it for stitching/embroidery. This is my “DUH!” moment for the day (and not the first one, I am sure). Bev, this is a beautiful pouch!
Stephanie – The fabric is Anna Maria Horner Field Study Fine Feathered Denim Blue. I got it from fabric.com but I imagine you could find it other places as well.
LOL! Thanks Becky! I have those moments all day! 🙂
Thanks for including me in the series Kari!!