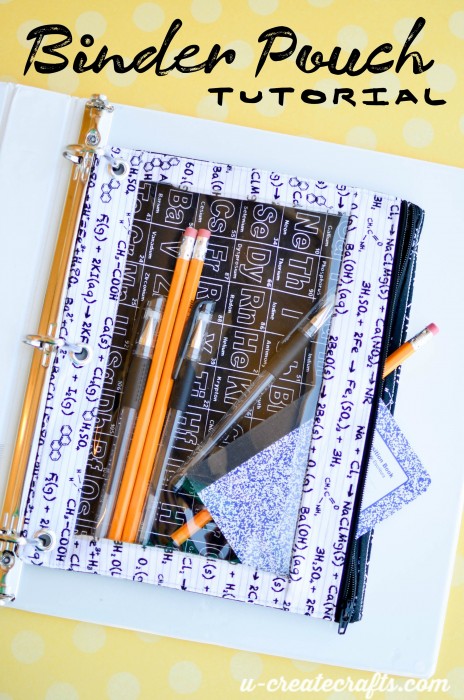
 Back to school is approaching! Time to stock up on notebooks, binders, pencils, paper, etc…the list goes on and on, right?! Have a little fun while adding to the stockpile of school necessities by creating a fun and personal Binder Pouch. I had to make a science one…mainly because I designed the fabric, but also because we are a household of science geeks! This binder pouch tutorial is super easy to follow with step-by-step pictures. The whole thing from start to finish (with a 3 kids) was 2 hours. You can totally make this binder pouch with a little time and 3 fat quarters!!
Supply List:
-3 fat quarters
-12 inch zipper
-medium fusible interfacing
-8.5 x 5 inches clear vinyl fabric
-Other sewing essentials (iron, machine, thread, etc.)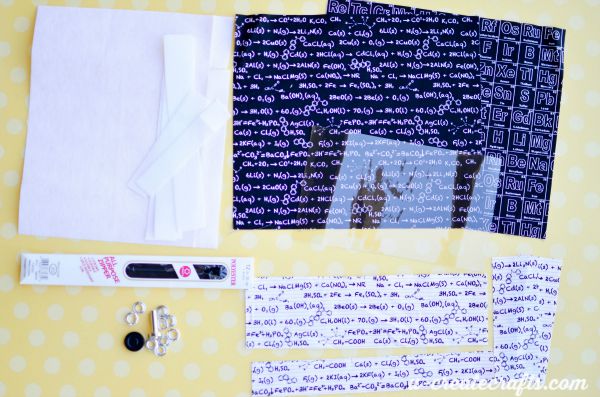 Step #1: Cutting the fabric
Front of pouch –
- 10.5″ x 3″ top strip
- 10.25″ x 1.5″ interfacing
- 2″ x 5.25″ cut 2 for side strips
- 1″ x 5″ interfacing
- 10.5″ x 1.25″ bottom strip
- 10.25″ x 1″ interfacing
Back of pouch –
- 10.5″ x 10″ Cut 2 pieces…I did one from the scientific equations and one from the periodic table fabric.
- 10.25″ x 9.75″ interfacing
 Step #2: Assemble front of the pouch
- Fold the side pieces in half so they are now an inch wide; slip the interfacing inside and iron. Do that on both sides.
- Fold the top piece in half so it is 1.5″ and iron interfacing inside.
- Iron the corresponding interfacing to the back of bottom strip.
 Step #3: Sewing the front of the pouch
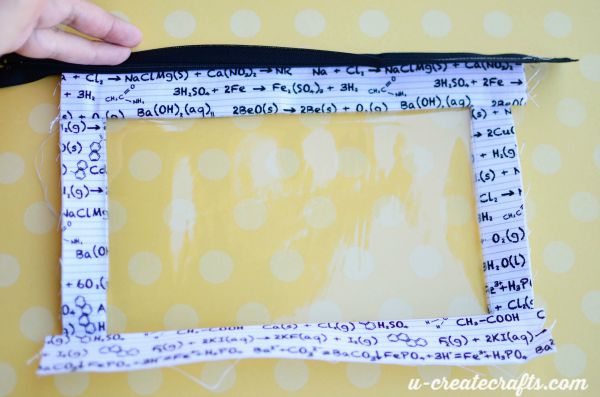
- Sew the side strips first. You are going to sew the fold of the side strips to the short sides of the clear vinyl.
- Next, sew the top strip to the top of the clear vinyl; again you will sew the fold to the vinyl. All raw edges are away from the middle.
- Last, sew the bottom strip to the bottom of the clear vinyl.
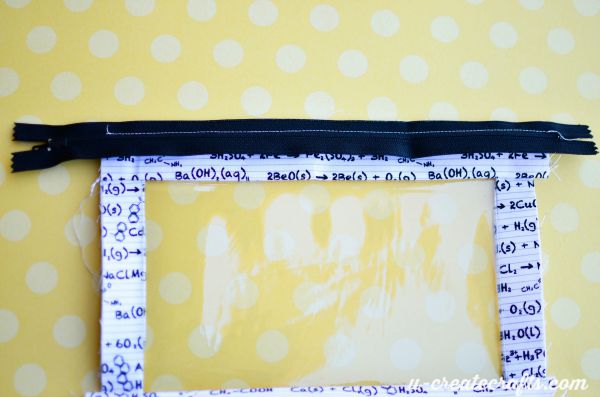
Place the zipper face down on the front of the pouch…making it flush with the top, pin in place and sew close to the teeth.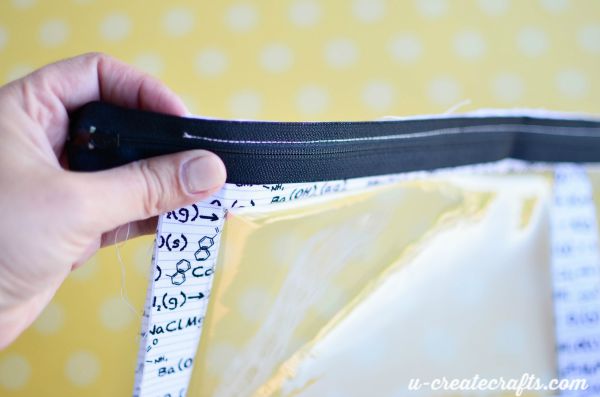 Flip the zipper face up and carefully iron the fabric down…(don’t get the clear vinyl with the iron; it stinks and makes a mess…so I’ve heard).
 Top stitch (1/8″ stitch) over the fabric and zipper. This not only keeps everything in place, but just looks nice and professional.
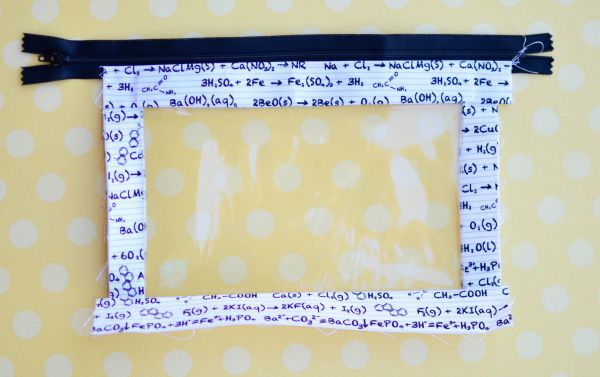 Yeah! The front is finished…well, almost. It needs to be “squared up” (as my mom would say). This just means make it a perfect rectangle (or square) again. Take your ruler and cutting wheel and make the front of the pouch 8″ x 10″ (include the zipper). Cut off the excess fabric except for the zipper. I cut the zipper to size right before I sew it…that way it can’t really fall apart.
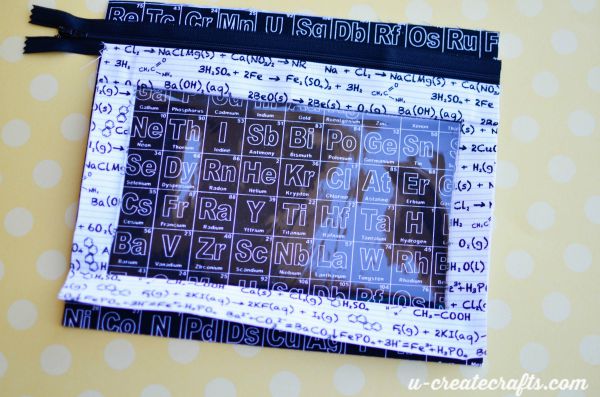 Step #5: Sewing the back pieces to the front.
First, decide what fabric you want to be the inside of the pouch. I choose the periodic table fabric.
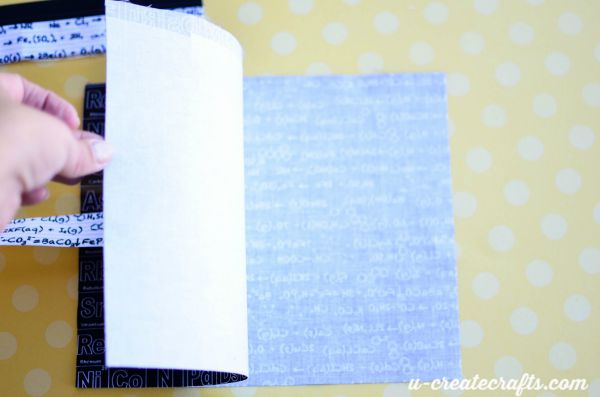 Grab your back pieces and iron the interfacing to the side that will be the inside of the completed binder pouch. It’s helpful to iron the interfacing BETWEEN the two back pieces. This just helps hold the piece without the interfacing to the other one.
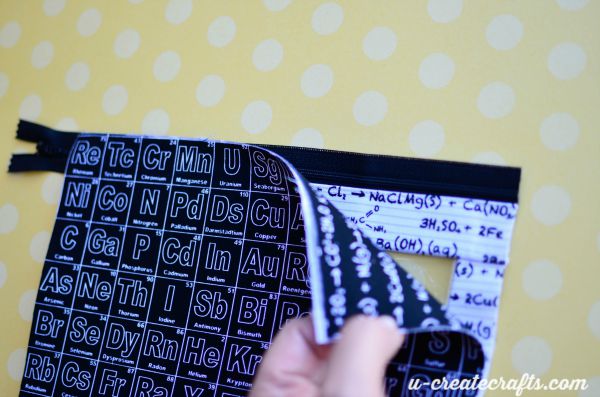 Next, place the two back pieces on the front of the completed front piece. Make sure the side you want showing through the pouch is facing you and the back is facing the front of the pouch. Line up the top of the back pieces with the top of the zipper and pin in place.
 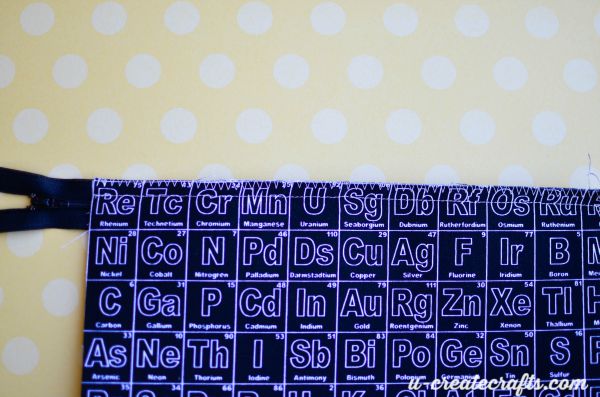 Stitch it in place close to the zipper teeth…it’s about a 1/2 seam. Then zigzag stitch/serge the raw edge to keep it from fraying. Fold it over revealing the zipper and topstitch like you did to the other side above.
Once the zipper is completed, slide the zipper in about 2 inches (so unzip about 2 inches). However, you are going to pin the zipper teeth together pretending the zipper is still completely done up. We just want to be able to cut the excess of the zipper off without chopping off the zipper head. 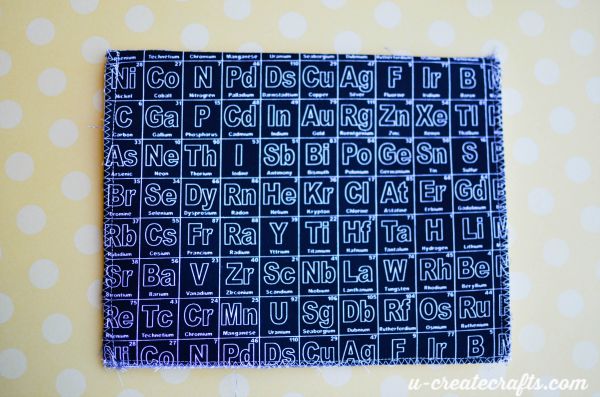 Flip the back piece back on top of the front of the pouch (so the fabric that will be on the inside will be facing you…again.). Pin around the sides and bottom. Using 1/4″ seam allowance and starting at the top of the left side, stitch the sides and bottom. NOTE: Make sure to backstitch at both ends of the zipper. Zigzag stitch as well to keep those raw edges clean and tidy.
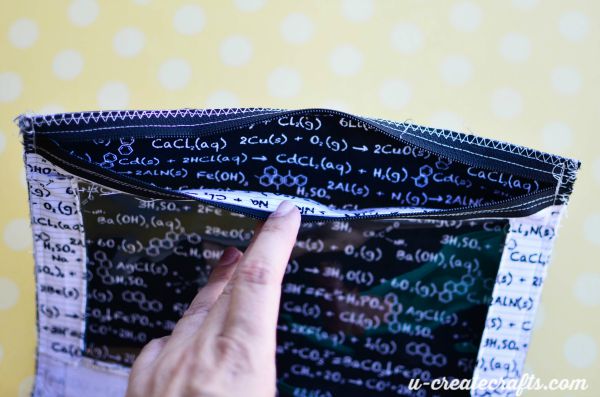 Step #6: Finishing up
Open the zipper all the way up (this was tricky because it’s the back of the zipper) and pull the entire pouch right side out.  Looks good so far. You kind of have to play with the corners to get them to lay flat, but I just used a pen and push the corners out.
 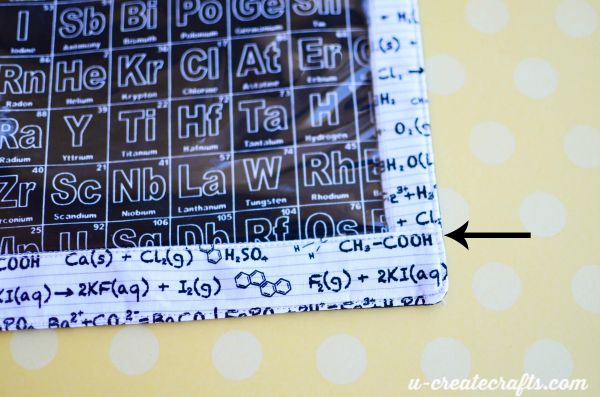 Topstitch all the way around the entire pouch and the top of the bottom strip. (see the arrow above)
 Step #7: Adding the Eyelets
Lay a ruler at the end of the pouch where the holes will go.
Make a mark at 1/2″, 4.25″, and 9″. This is where the eyelets will go. Or if you have something other than a standard 3 ring binder, measure where the holes go first.
Cut holes where your marks are and follow the instructions on the eyelet packaging.
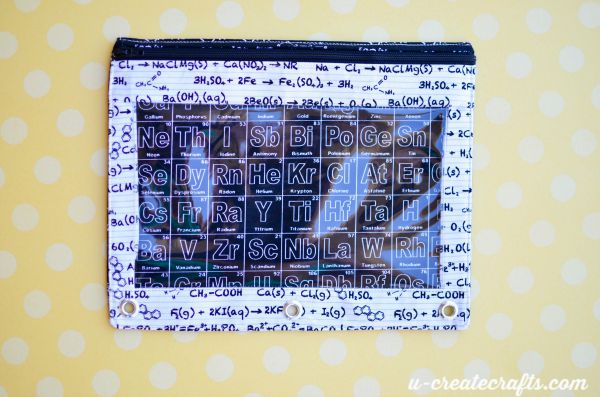 Now you’re done! I plan to make more because it was so easy and fun. Wouldn’t it be fun to make a bunch with leftover fabric and donate them.
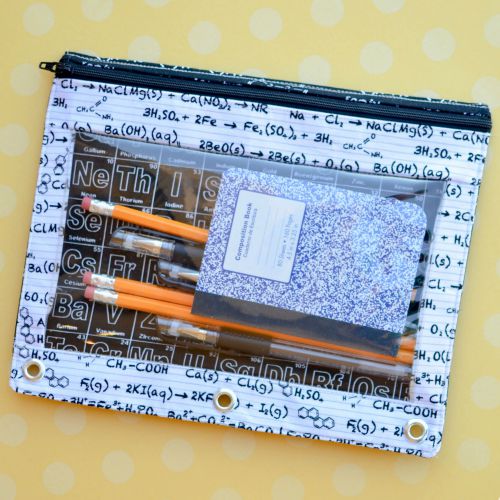 If you make this project I would love to see a picture. Feel free to post it to our Facebook page or tag us on Instagram @ucreateblog.
Also, please I would love to see what everyone makes with my fabric…if you use my novelty science fabric please tag me @beckymariedesigns and use #iloverileyblake.




this is really useful yay! ive been looking for something like this for a while as maths requires all these rules!xx
https://justthatdiy.wordpress.com
Hi,
I love the way your zipper pouch came together. I am currently working making a few but I already got a little stuck.
Step 3 : Sewing the front of the pouch. The 2 sides and top strips leaves a clean fold to sew to the vinyl. Does the bottom strip need to be folded also? Is the bottom strip sewed on raw on the plastic?
Thank you!
Hi Isabel,
The bottom strip also needs to be folded. You are basically topstitching them straight to the vinyl. I hope that make sense. 🙂
Are you are using an overlock stitch? There is no seam allowance whatsoever. I’m using a vintage machine and I only can straight stitch at the moment.