I have been busily making over my kids’ bedrooms so they can switch rooms. Now I have a bunch of tutorials to share with you as I completely redid both rooms.
What started this process? It’s really simple and I cannot believe I didn’t think of it before.
My son’s room is bigger, he is almost 12 so his toys are more electronic, he keeps his room clean and his room is away from the entryway (meaning it’s not the first thing everyone sees when they walk in). My daughters’ room is small, their toys are always scattered everywhere (including spilling out into the entryway) and they share a room so they are in need of more space. It just makes sense that the children sharing a room get the bigger room, right?
After spending weeks on Pinterest, scouring thrift stores and mulling things over in my head, I finally decided that I was ready to just dive in and completely redo both bedrooms.
Today, we are starting with my son’s room…new room. Well, I am really only showing you one wall, but I will eventually reveal more. I promise!
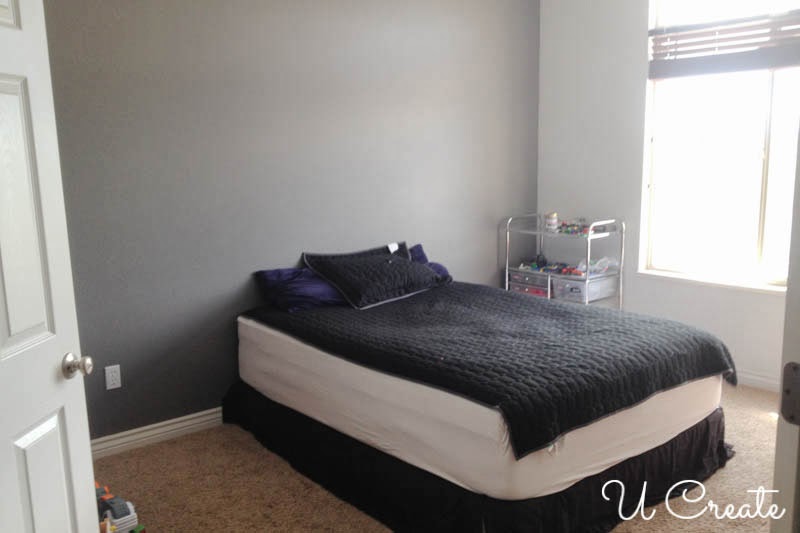
This is the room that will become my son’s room. You will remember it from when I did a post on staging a First Birthday Photo Shoot.
I didn’t have to do any painting in this room, because I figured that once I removed the sheer curtains from the gray wall, it will already look awesome for a boy. However, now it looks incredibly boring!
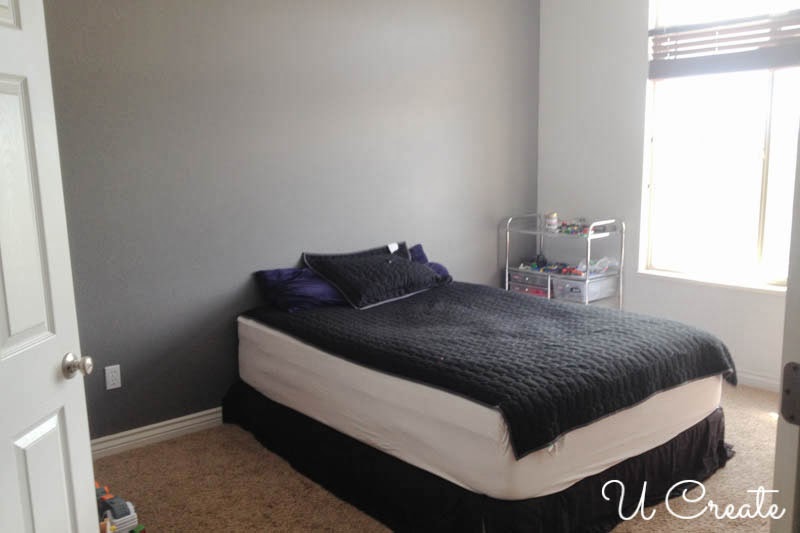 |
| Pay no attention to the twin quilt on his new queen size bed. I have some shopping to do! |
Months before I engaged in this undertaking of switching bedrooms, I visited my sister-in-law and noticed some amazing storage she had all around the walls of her family room. (I wish I was smart enough to have taken a picture.) She had painted surplus wooden Ammunition Boxes and assembled them on the wall as some pretty sweet storage and decor. Not even kidding, the next day I went to a huge army surplus store nearby (Smith and Edwards) and grabbed 6 of the wooden ammo boxes. Can you believe they were only $3 a piece.
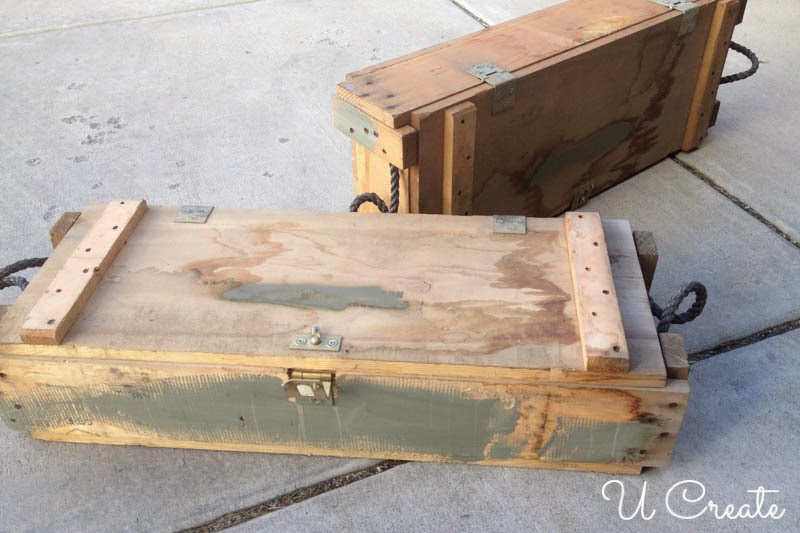 |
These ammo boxes measure 32″ x 12″, have rope handles, and lids with hinges. Now, my vision for these is to create wood crates and secure them to the wall to make one awesome headboard/storage area. So it’s time to get a few tools out and get down to business.
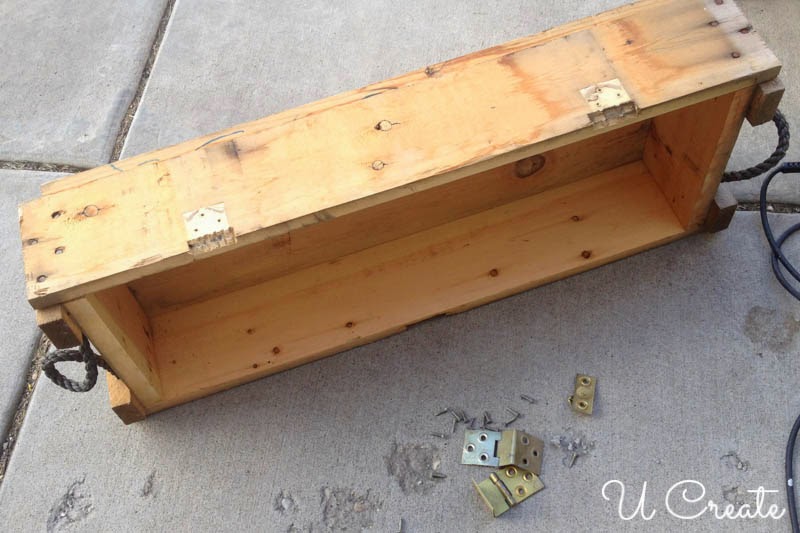
Step #1: Take off all the hardware.
I used a power drill and removed the lid, screws, and hinges from all the boxes. I put the lids aside for another project and threw all the rusty hardware away.
Step #2: Cut the rope!
Next, I took my trusty hacksaw (which should come in pink) and cut the ropes off the sides of the boxes.
Step #3: Break out the hand sander.
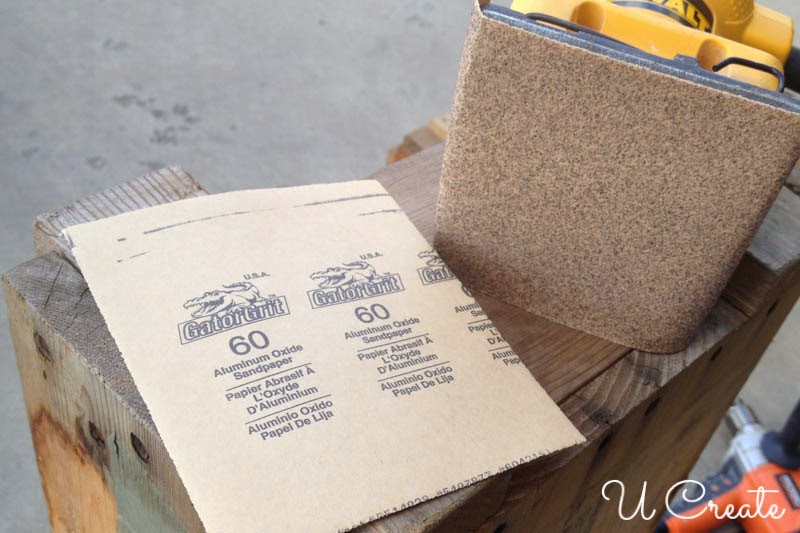
Next, I took some 60 grit sandpaper, an electric hand sander and smoothed down EVERY side on the box…especially the inside. These wooden boxes had been stored outside for a very long time at the surplus store and were incredibly weathered. My point in sanding them was not to make them look perfect, but smooth. Some spots had splintered, some spots had mold, some spots were just down right nasty looking. I spent about 15 minutes sanding each box.
Step #4: SPRAY PAINT!
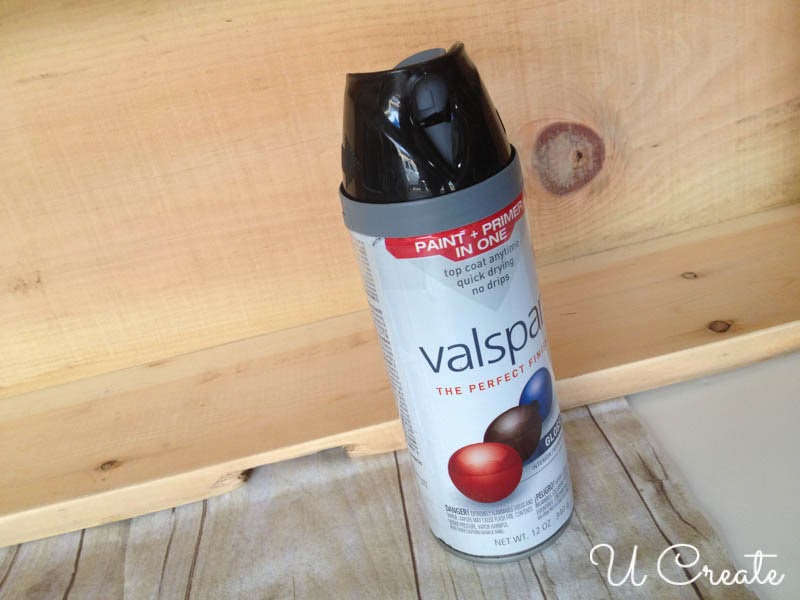
After wiping the sanded ammo boxes down with cheesecloth, I used the Valspar Glossy Black spray paint from Lowe’s. In my opinion, Valspar is the BEST spray paint out there. I gave each box a heavy layer of the spray paint and let them dry overnight.
They were dry that evening, but the fumes of the spray paint were still quite strong and I had plenty of other things to do to get the room ready…like buy a queen size comforter.
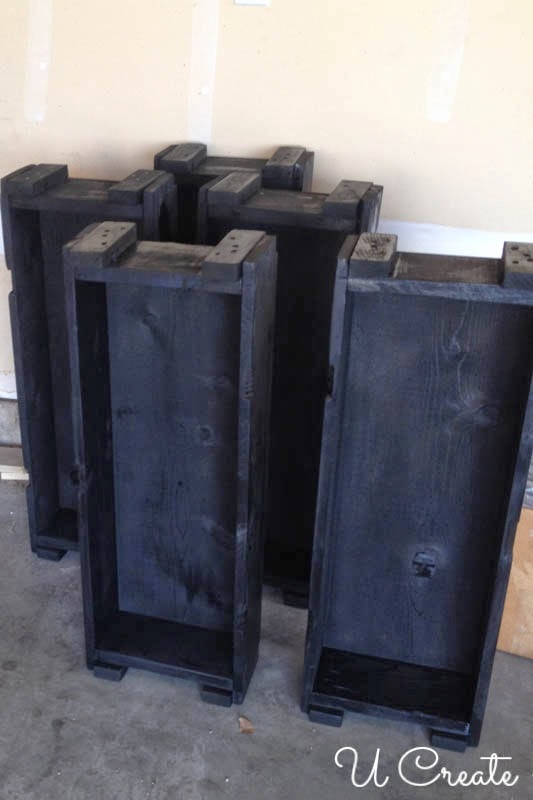
So far…we went from an old, weathered ammo box to a glossy black wooden crate.
Now to create the headboard.
To attach the boxes to the boring gray wall, I used an electric drill, 3 inch grabber screws, a drill bit just smaller than the screws, a stud finder and a laser level.
Step #5: Figure out the configuration.
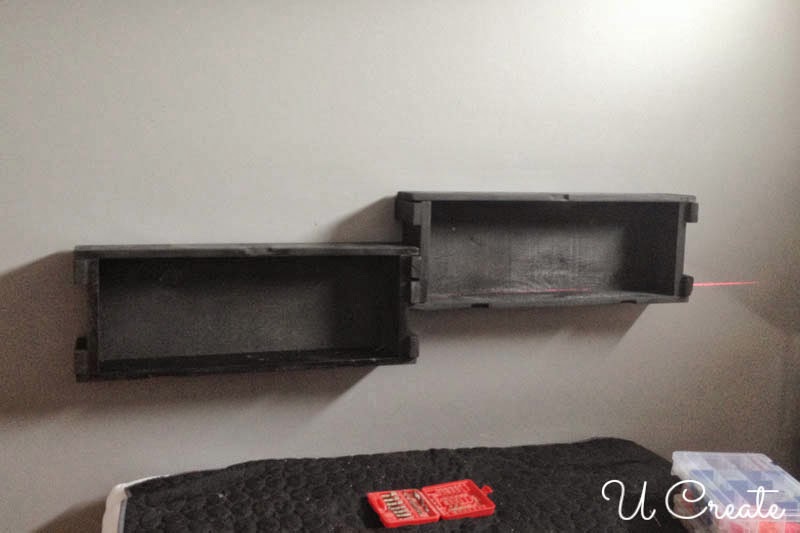
After arranging the boxes on the floor in numerous ways, I decided to stagger them on the wall. I tried stacking them, making a symmetrical formation, making them touch, putting gaps between them, etc. In the end, I like the staggered look better.
Step #6: Find the studs and secure the boxes!
Once I found the studs, I marked the location with a pencil. Then I decided how high off the bed I wanted the boxes. Because I was by myself with no other adult help, I stacked books and such to the height I wanted the boxes, then I rested the box where I wanted it. Using the laser level, I lined the edge of the box up with the laser and drilled a hole through the box and the stud (I did that by using the drill bit and electric drill). Then I screwed the 3″ grabber screw into the hole I just made. Each box is secured with 2 screws.
The first box was the toughest because I had to keep it steady while trying to create holes in the wall. It was pretty comical actually. Once that first one was in, the others seemed easier.
Step #7: Decorate the new headboard!
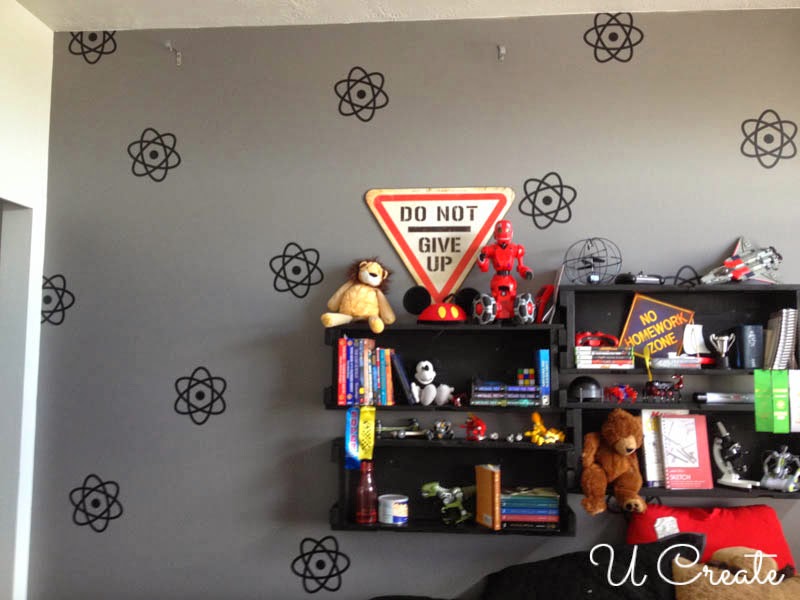
While Ethan was at school, I put all his special stuff on the shelves. I wish I would have recorded his reaction because it was EPIC. He jumped around yelling how awesome it looked. He was in his room all night doing homework, playing games and reading on his bed!
I love how it turned out too!
But we totally found a way to make it better…
Step #8: VINYL the wall!
We added some black vinyl atoms using the Silhouette Cameo. The atoms are 7″ around…just bigger than my hand. Ethan also wants to add some red vinyl Xbox controllers, too. Then this wall will be a perfect depiction of his personality.











I’m totally going to use these for my son’s pirate themed room. I think staining the boxes will give a cool “ship” feel. Now I gotta go find me some ammo boxes.