1/4 yd main fabric
1/4 yd co-ordinating fabric for reverse side of hat
optional: 1/2 yd fusible interfacing if your fabric is lightweight or you want extra stiffness in your hat (1/4 yd needed if interfacing only one side of hat)
Heat n Bond scraps
Pattern pieces – ensure that your printer is not set to scale the document larger or smaller before you print :).
Click here to download the pattern pieces for the hat.
Directions:
Note: All seam allowances are 1/2″.
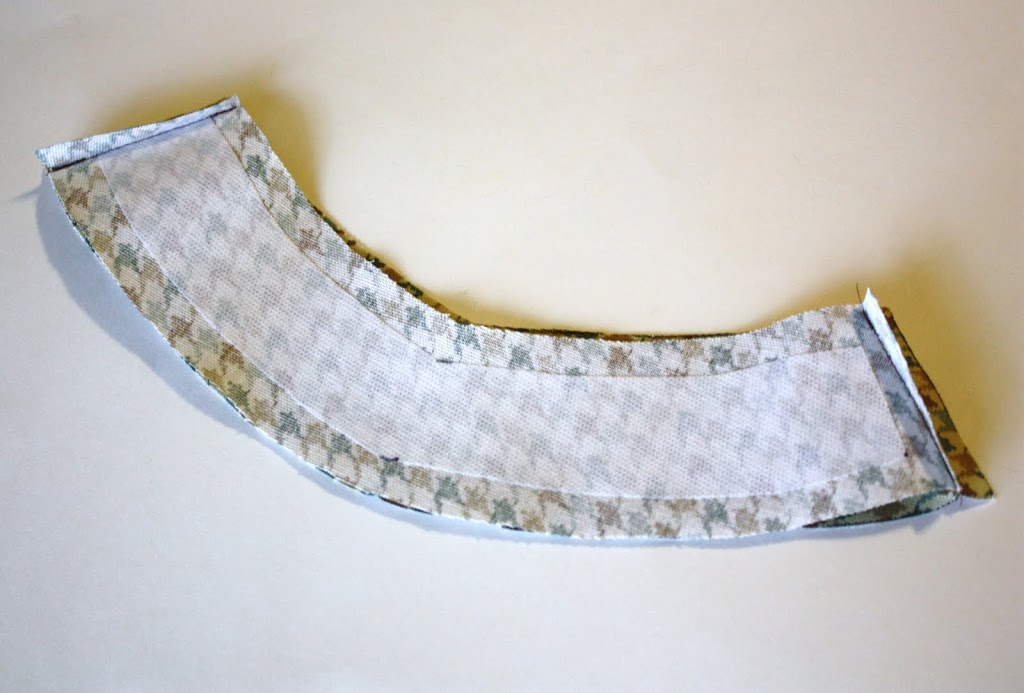
1. Cut out fabrics and interfacing (optional) as marked on pattern pieces. When cutting interfacing, cut pieces 1/2″ smaller on all sides of pattern pieces.
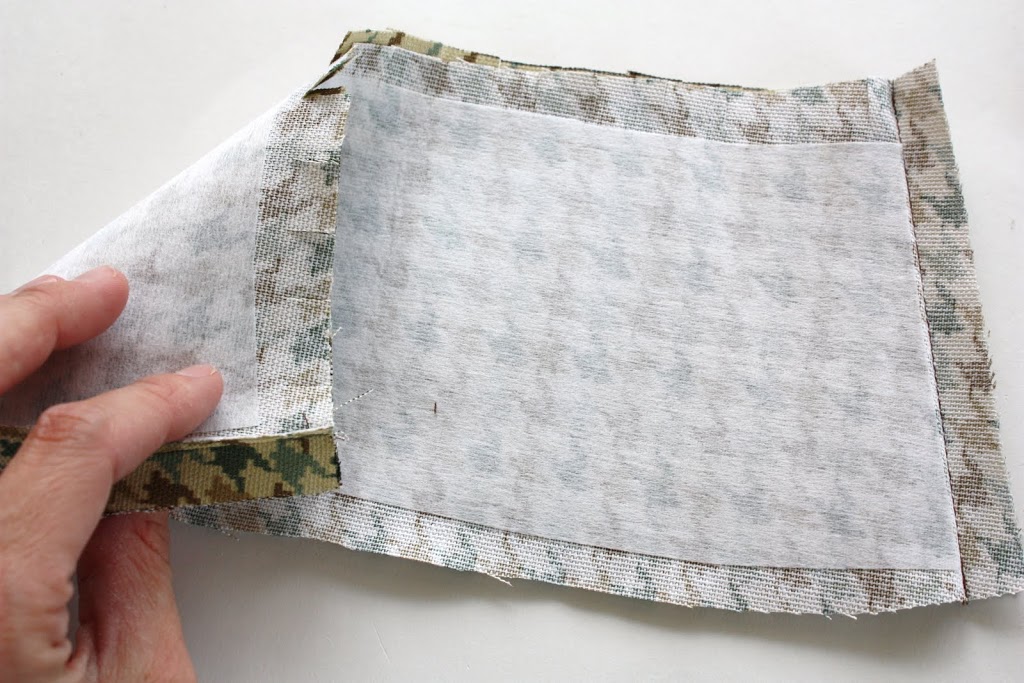
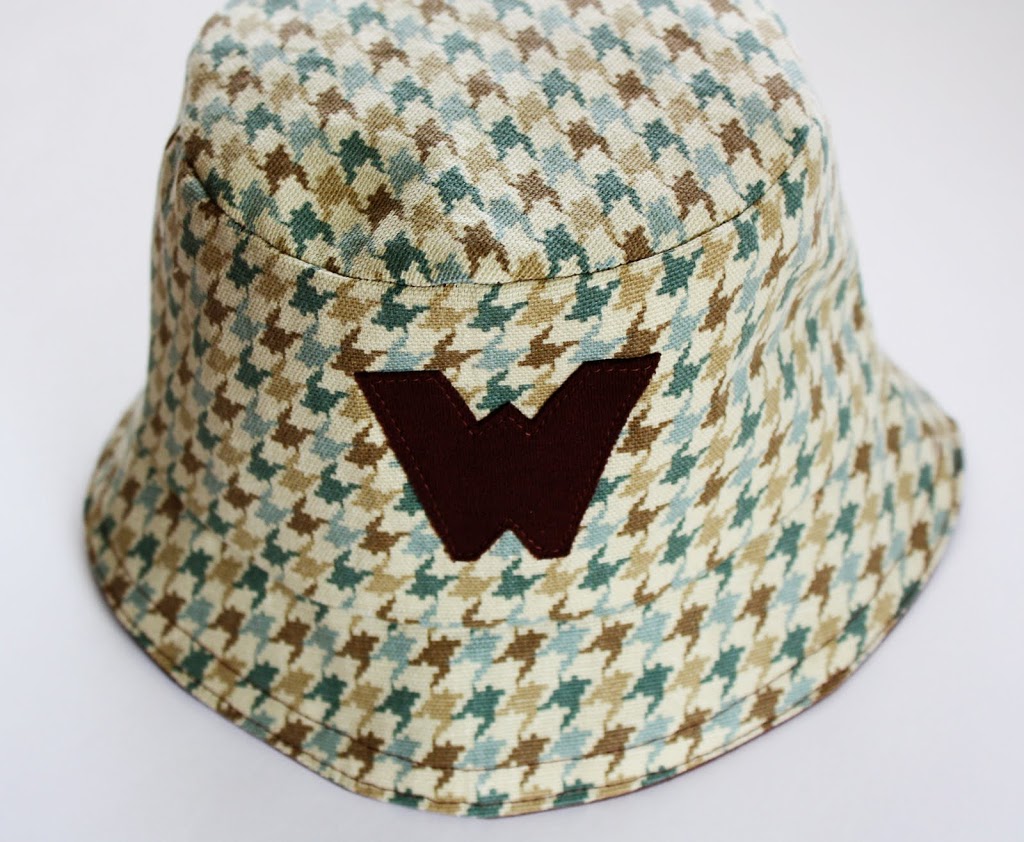
2. If using interfacing, iron to wrong side of corresponding fabric pieces. For the hat pictured, I chose to interface only one side of the reversible hat (which means I only cut 2 of each piece out of interfacing instead of 4 as marked on the pattern pieces).
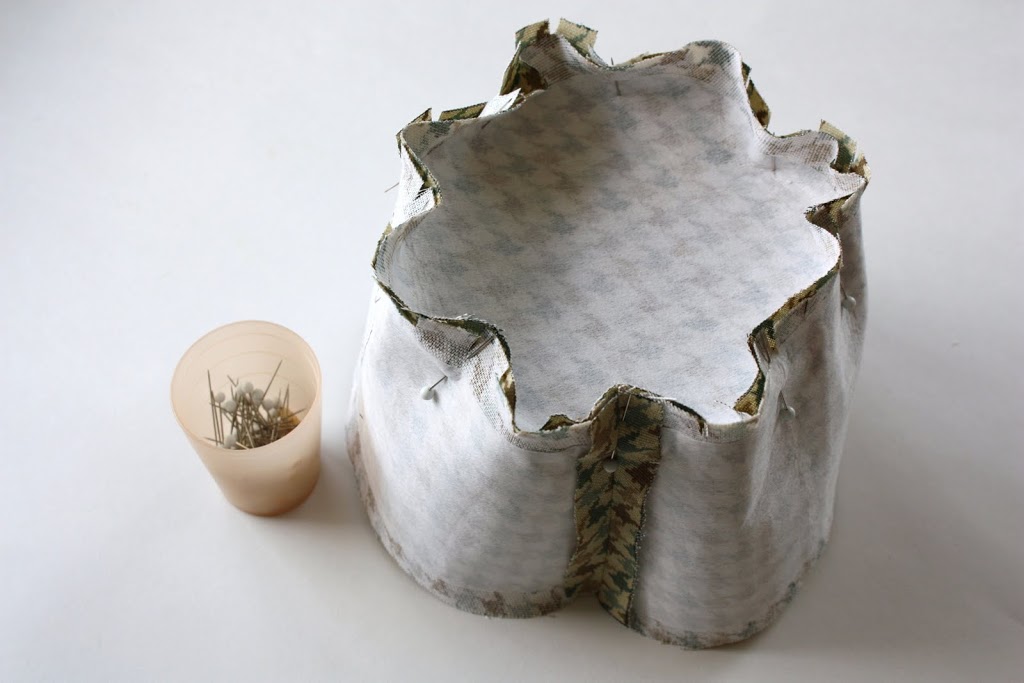
5. Clip top of hat band every 3/4″. Make sure that your cuts are less than 1/2″ long.
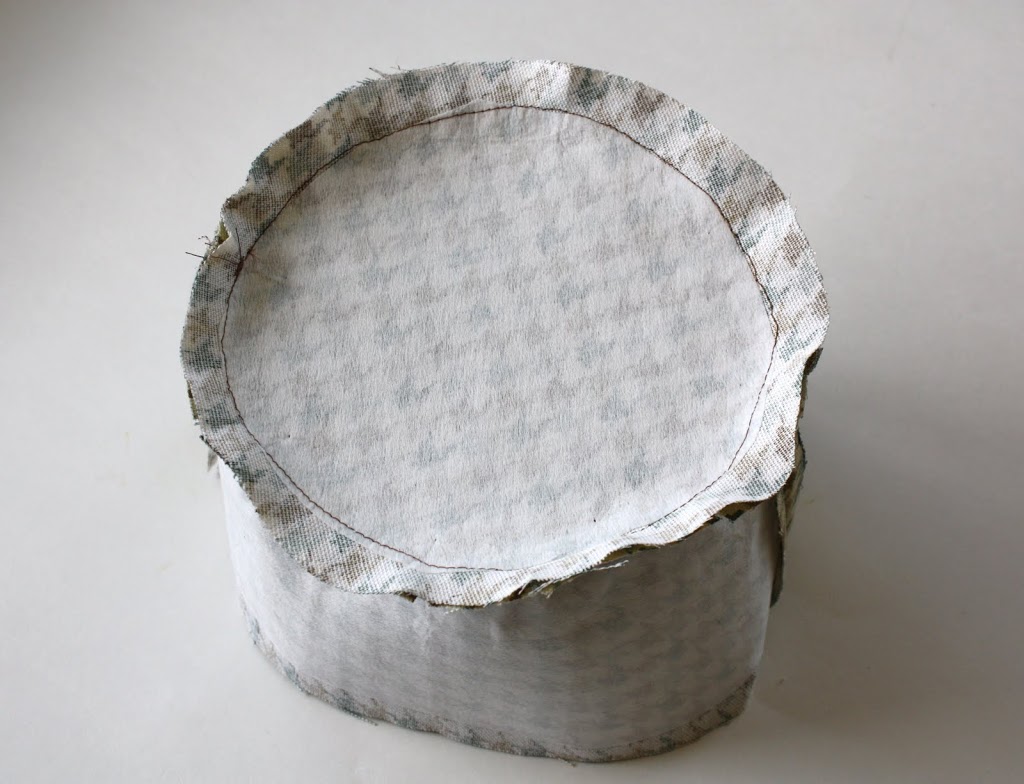
6. Right sides together, pin top edge of band to main fabric crown piece, matching raw edges. To mark the crown piece into quarters before pinning, I like to “finger press” it by folding it in half and then in half again and giving it a good pinch. It saves time and my home-ec teacher in high school even taught me it so it’s totally legit :).
7. Stitch pinned band to crown, stretching the clipped edge to match the curved crown edge as you go. Press seam toward center of crown and turn hat right side out.
8. Right sides together, pin and stitch brim pieces of main fabric together at sides, matching raw edges. Press seams open.
9. Clip top edge of brim every 1″. Make sure that your cuts are less than 1/2″ long.
9. Right sides together, pin and stitch top of brim to bottom of band, matching raw edges. Press seam open.
10. Assemble reverse side of hat by repeating steps 3-9 with co-ordinating fabric.
11. Right sides together, pin two sides of hat together at bottom rim, matching side seams and raw edges. Stitch pieces together at pinned edge, leaving a 4″ gap for turning the hat right side out.
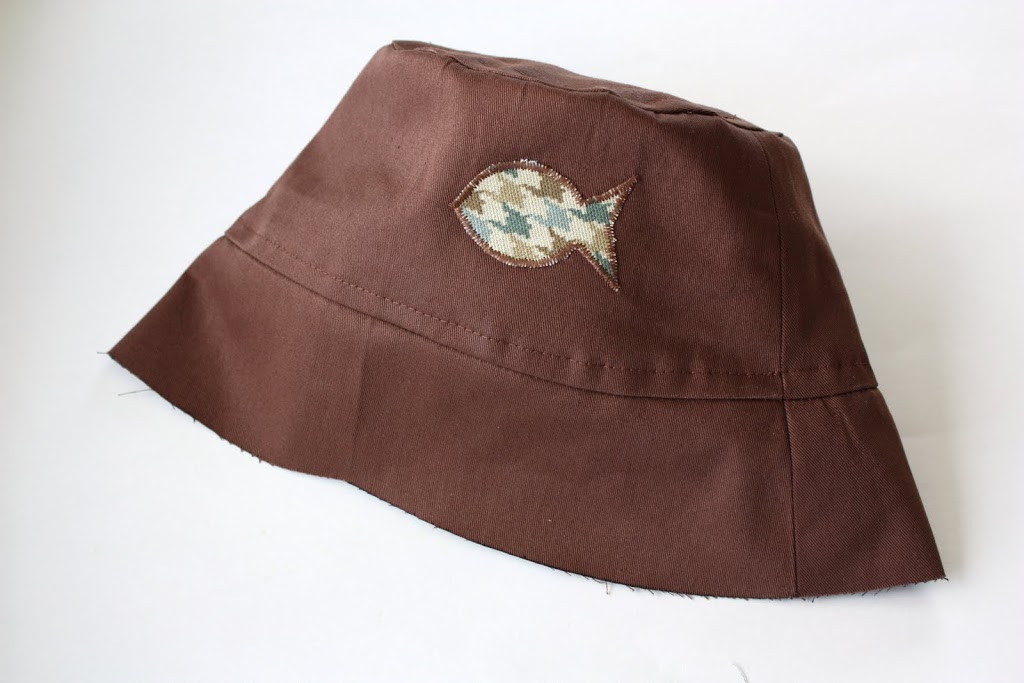
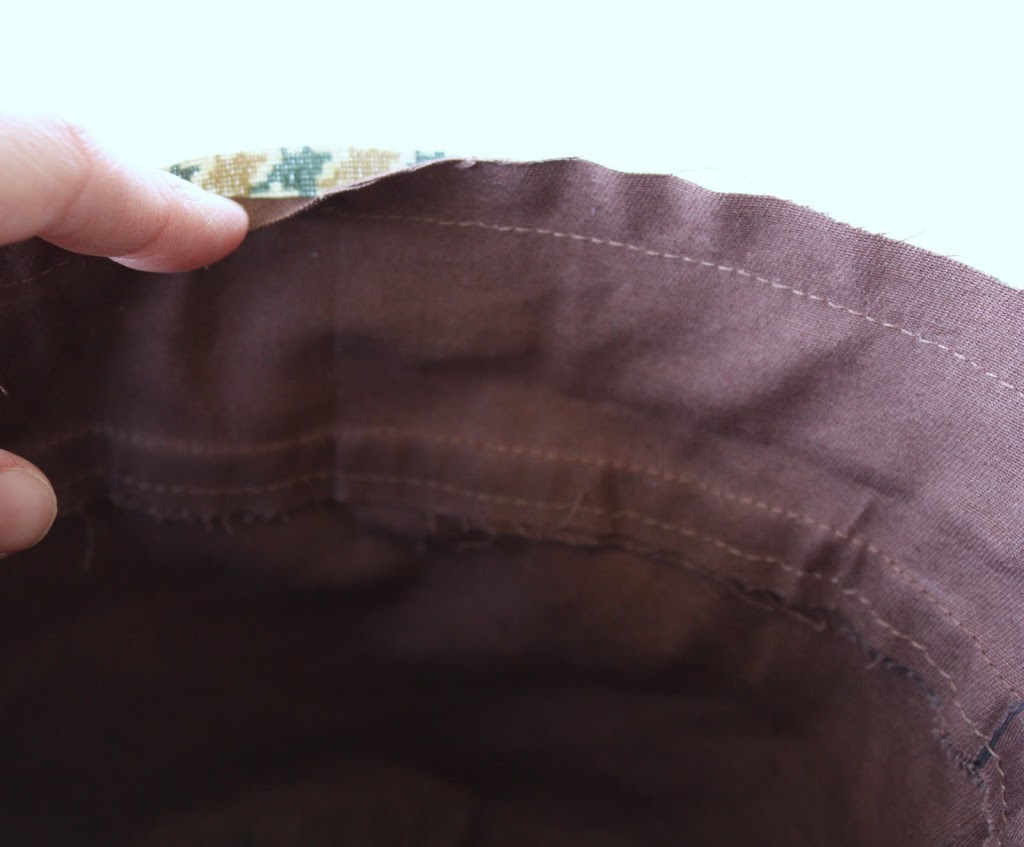
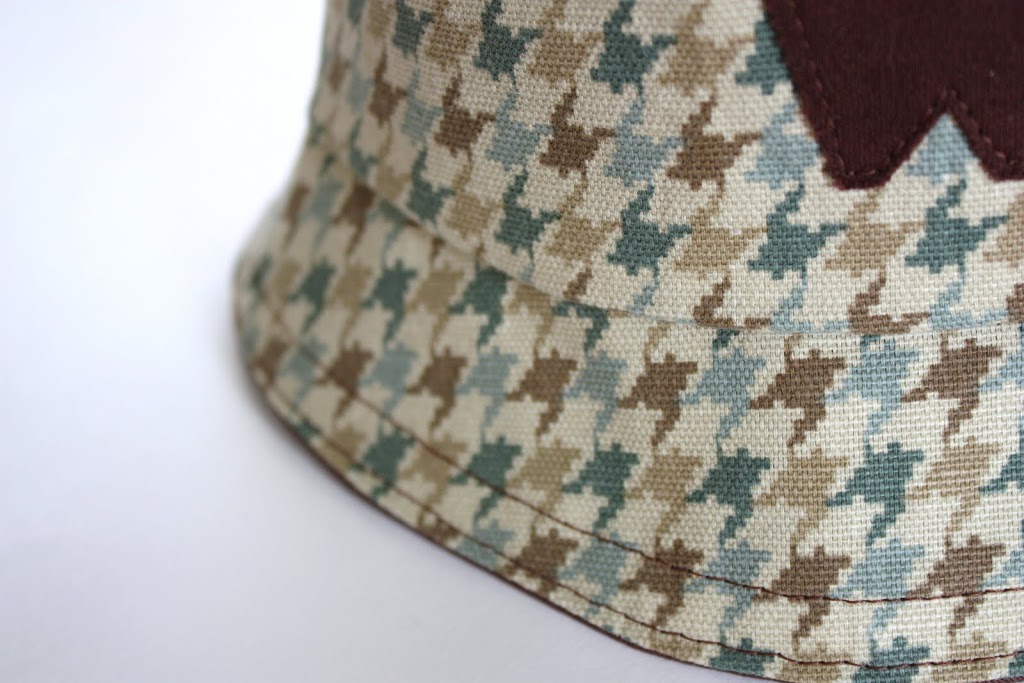
12. Turn hat right side out, placing one side of hat inside the other. Press bottom edge of brim flat, pressing raw edge of opening under 1/2″. Topstitch near bottom pressed edge around entire brim and again 1/4″ from edge. If you like, you can continue topstitching parallel rows 1/4″ apart to the top of the brim.








Thank you so much for this! I wan’t to head to my sewing room and make one right now.
Abby did a great job. Awesome tutorial. 🙂
Thanks for this great tutorial!
This is so fun! Do you know how I can resize it to a 3T-4T hat?
wow!! thank you! I would like to resize this hat also ( my almost 3 yo has a very large noggin!) thank you so much!
Oh, how cute!! I linked to your pattern/tutorial over at Craft Gossip Sewing:
http://sewing.craftgossip.com/free-pattern-toddlers-4-in-1-bucket-hat/2010/05/21/
–Anne
Love it! Can’t wait to make a girly version!
Thanks!
really cute! I love it.
Love the hat, especially the print fabric! Would love to know where I can purchase it.
That hat is WAY too cute and perfect for summer!
Can you make an adult one? I need a hat too
Oh my gosh-this is SOOOOO cute!! love it!
YOu know…I was going to try to figure this out on my own? I AM SO GLAD you did all that work for me! Thank you, thank you for this tutorial!
Aww, this is fantastic and I love all the ways to vary the hat. Thanks so much to both of you, I’ll be linking.
I just had to give it a try, very happy and will be making many more.
Thanks, oh and blogged and linked 🙂
i am definitely gonna make this!!! thanks for the tutorial!!!
I love this! Thanks so much!
I’ve already made my two year old son 2 hats using this tutorial! And I was able to figure out the math to make two smaller one’s for my baby boy that’s due anyday. Now my boys have matching hats, yet can also reverse them! Way too cute! Thanks a lot!
It’s adorable… and I love make this !!!thank you for sharing,Valeria
Totally adorable!
Either my 20 mo has a freakishly large head or the pattern is more of an 18 mo-2T size. Regardless of this, it was a very easy pattern to sew with clear directions, thank you! I was able to get it sewn while my DH was filling up the inflatable pool for the kids, about 2 hours of sewing total.
Thanks so much for the tutorial. I increased the size of the hat for a 21″ head by adding 1/2″ inch to both sides (not the top or bottom) of the band and brim and 1/2″ all the way around the crown pattern piece. That would lead me to believe that for every inch bigger than 19″ your child’s head is, add 1/4″.
Thanks so much! I like seeing it on a boy for once! All the other examples I found were too girly and I wasn’t sure they’d look good on a boy.
What type of fabric is best to use? I have some cotton scraps.
This looks like an awesome project! Too bad my little wouldn’t keep it on her head! It would make a perfect personalized gift! Thanks for sharing!
Was looking for a way to make a pirate and octonauts hat – and you’ve given it to me! thanks so much for this!
Thanks you for such clear instructions! I’m a beginner in the sewing world and it turned out great! Fits my 2 year old perfectly!
Thank you so much for your pattern and tutorial! I just finished my first hat. 🙂 http://tinsheecrafts.blogspot.com/2012/03/reversible-baby-bucket-hat.html
This hat is so great! I agree that it’s awesome to see something for a boy! I made it out of a pair of old blue jeans. I know it’s not that creative, but at least I found something to do with them. I do plan a trip to the fabric store so I can make more hats in fun colors. My little man is going to be the hit of the beach!
Thanks!! I[‘ll be trying to make one soon. I cannot find a hat that fits my 3 year old (who has the head size of a 5 year old) anywhere, so I will have to try and sew one!
Thank you! I made one for my 2-year-old son… and I’m going to make more. It’s so nice to finally use up all the cute fat quarters I have hanging around the workshop!
I cant wait to try this tonight.
This is exactly what I’ve been looking for. I wanted to sew this on my own, but I’ll rather follow a pattern than fail 😉 Thank you so much. ♥♥♥
I just made this hat for my little brother who will be 5 tomorrow. I sewed it with a 1/4 inch seam allowance to make it a bit bigger (his head is 19 1/2″)
One side is a lightweight denim and the other is red white and blue plaid. The denim side has a little yellow felt fish appliqué, which I sewed on with a handsewn buttonhole stitch. It’s super adorable and I hope he loves it as much as I do 😀 I also knitted him a stuffed fish 🙂