So the idea for these Jersey Style T-Shirts came as I was thinking about how to create teams for our Kids Olympics Party. I finally decided against teams, but wanted to differentiate between families {like countries at the Olympics}. The idea was born to just make t-shirts with each child’s name. In order to create the “jersey look” the shirt needed a number, so I chose to use their grandchild birth order number…that way no one could argue about their number.
Supply List:
- dollar store white t-shirts
- fabric spray paint
- freezer paper as a stencil for the “jersery”
- cereal box
- cardstock
- small fan {or patience}
- optional: Silhouette Cameo Craft Cutter
Instructions:
I purchased 16 shirts from my local dollar store. They are usually imperfect shirts being sold there, but I didn’t care because it wasn’t meant to be used for anything beside the party.
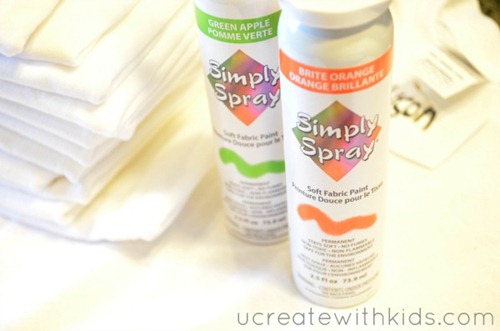
I found this incredible Simply Spray Soft Fabric Spray Paint at Wal-mart for about $4. It was perfect for the purpose of creating these shirts. The end result is not crusty and uncomfortable. The paint actually dries soft!
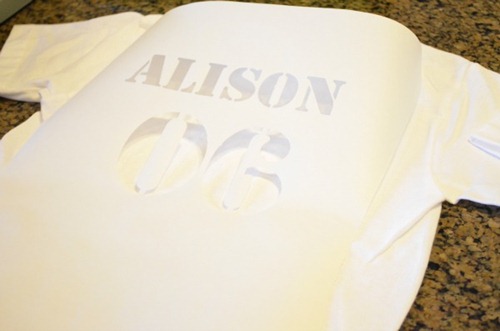
With a digital craft cutter {I used my Silhouette Cameo} or an x-acto knife create the “jersey’” stencil design with the freezer paper and iron it on the back of the shirt.

Create a paint guard to catch the overspray of the fabric paint by disassembling a cereal box and cutting out a rectangle. Use painters tape to secure it to the freezer paper you have already ironed on. I used my paint guard on every shirt…that’s 16 times and it held up very well.
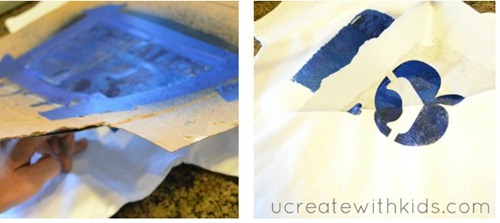
With your freezer paper stencil and paint guard securely attached, slide a piece of cardstock or cardboard between the shirt. This just ensures the paint doesn’t soak into the front of the shirt. Now you are ready to shake the paint can and spray on the paint. With the Simply Spray product, I found it best to get plenty of distance between the can and the shirt or the paint would go on too thick. After spraying the paint, dab the excess off with a paper towel then remove the paint guard followed by the freezer paper stencil.
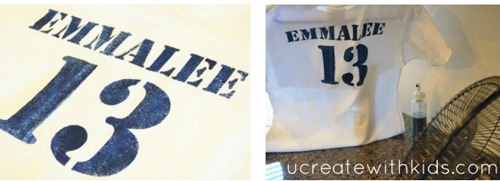
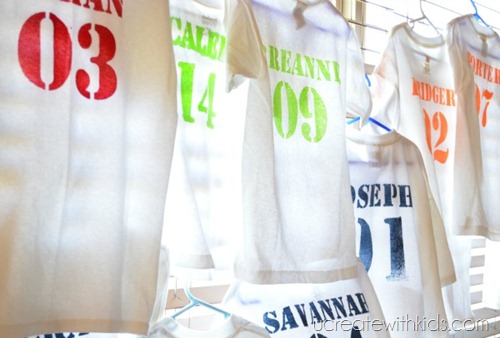
Then I hung the shirt on a hanger and pointed my little fan at it while I worked on the next shirt. When the next shirt was done usually the one in front of the fan was already dry!
After about 2 hours, I was done with all the shirts and left them hanging on the blinds until the end of the day…just to ensure they were 100% dry. A couple days later I added a personal touch to the front of each shirt…you can find that tutorial here.
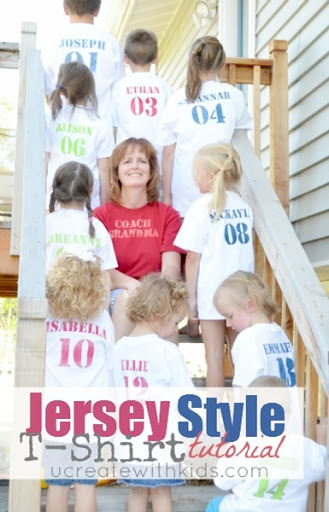
The day of the party, I arrange the shirts on a table and the kids ran to get them. They were a huge hit!
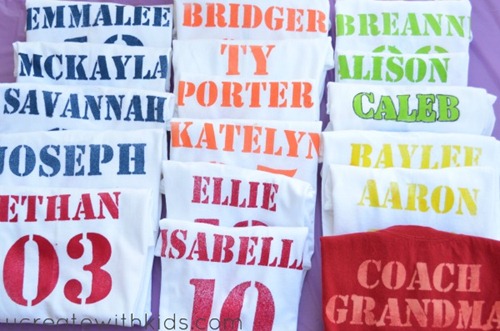
I even made Grandma a shirt! Instead of spraying hers with a color I used bleach. I still used the exact same technique with the freezer paper and paint guard.



Leave a Comment