What a fun series idea!
Make something with a fat quarter..
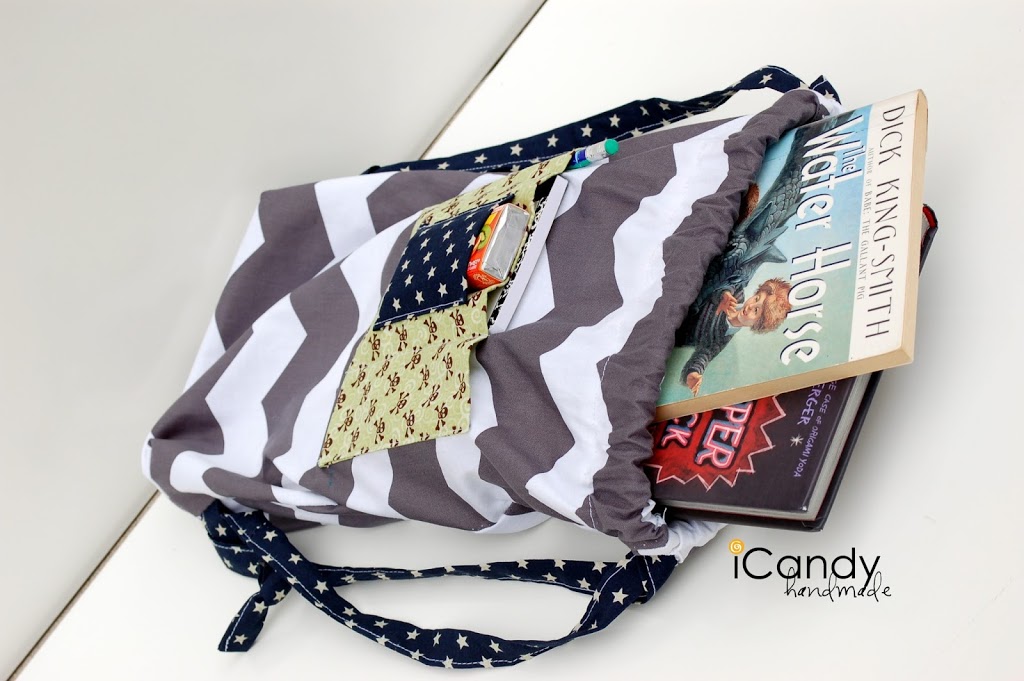
So, seeing as today is officially the first day of Summer (and my son’s last day of school) I thought I’d convert my fat quarter into a Summer Reading Sack, complete with gum pouch (you know, you read until your gum runs out of flavor, and then you are done.) and a pocket for a reading log, pencil…and a bookmark. I’m hoping this will be the perfect little bag for my son’s read-a-thon coming up, and for our road trip to Arizona.
…and with just a fat quarter (and a few other scraps you probably have lying around the house) it holds a lot of books!
Supplies:
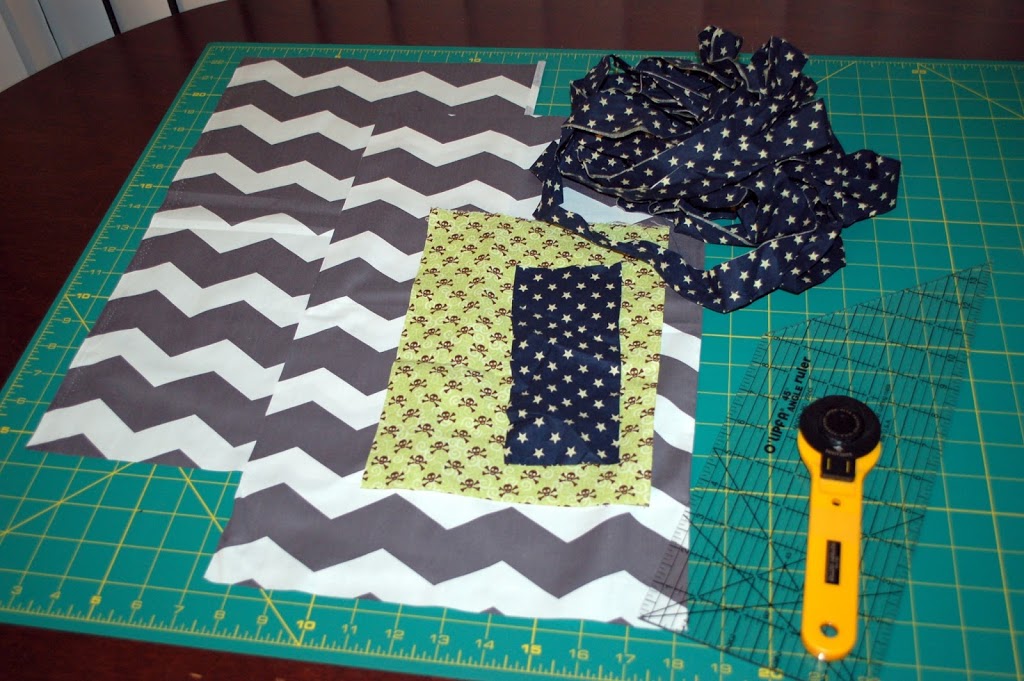
1-Fat Quarter (which is a half yard of fabric, cut in half)
1-3″ x 7″ piece of fabric (Navy with stars)
1-7″ x 10″ piece of fabric (green with skulls)
2-2 1/4″ x 54″ strips of fabric for straps (I used extra of the strips I had left from binding a quilt.)
My fat quarter: 18″ x 45″
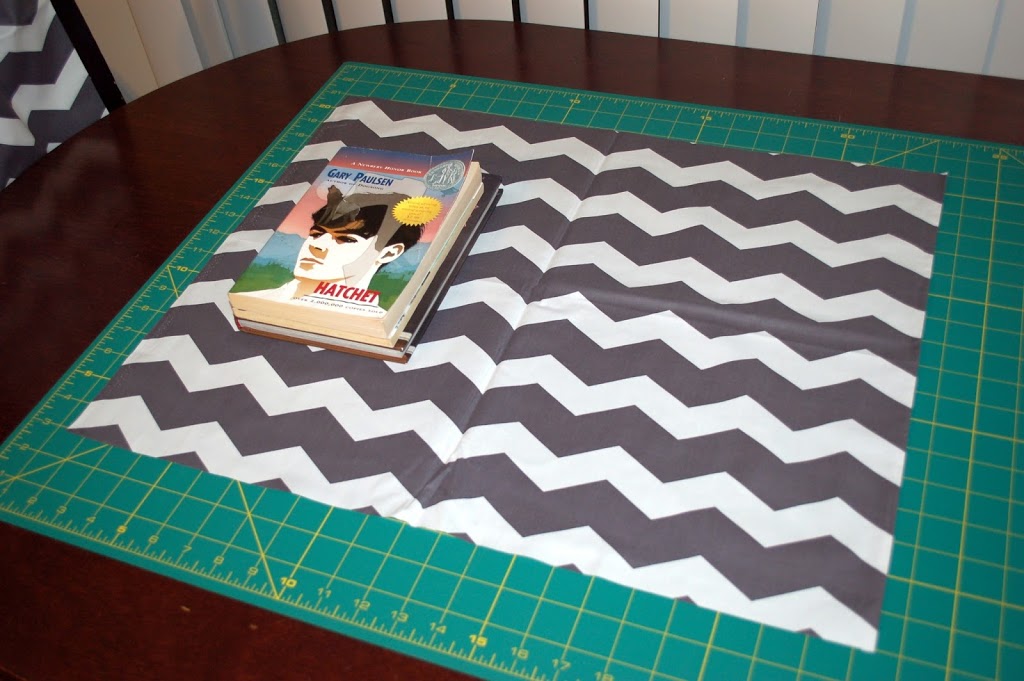
To begin, cut your fat quarter in half, which should give you 2 rectangles of 18″ x 22 1/2″. Then set aside.
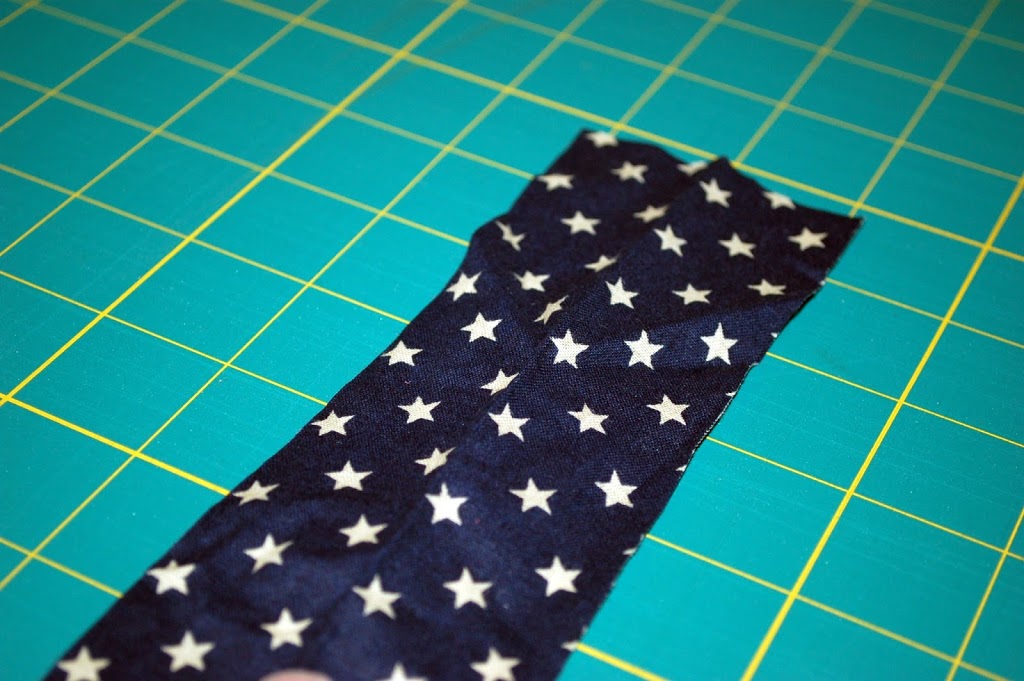
Next, you’ll need to create the straps for your sack. Grab the 2 1/4″ strips of fabric (which can be pieced together to make the 54″ length) and iron them in half to create a crease down the center of the strip.
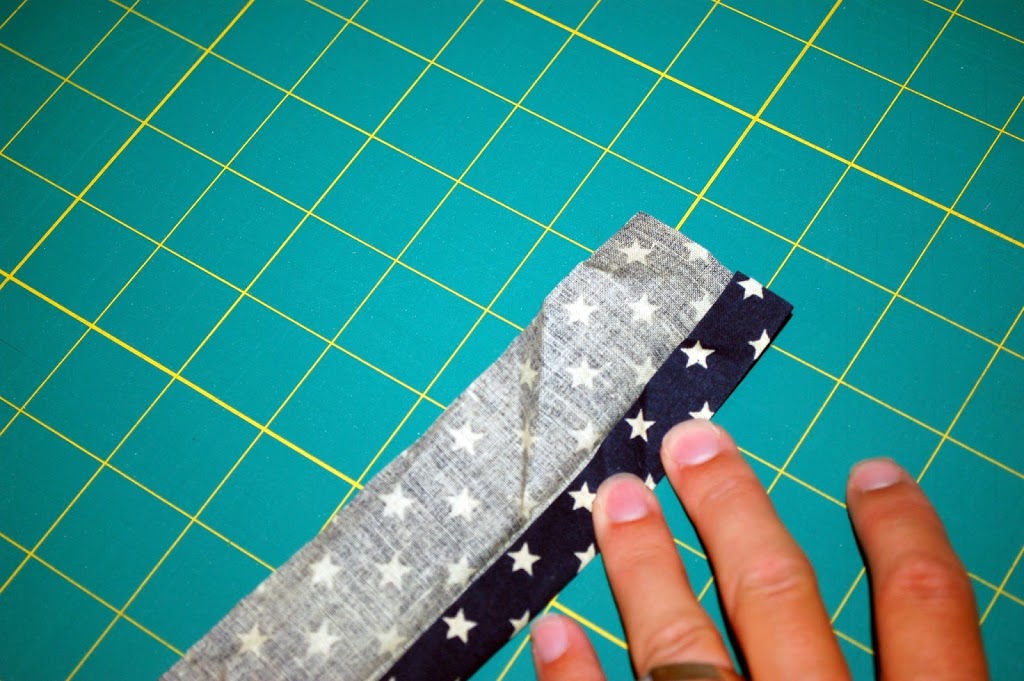
Next, fold one side into the middle to meet at the crease.
Then fold the other side into the middle.
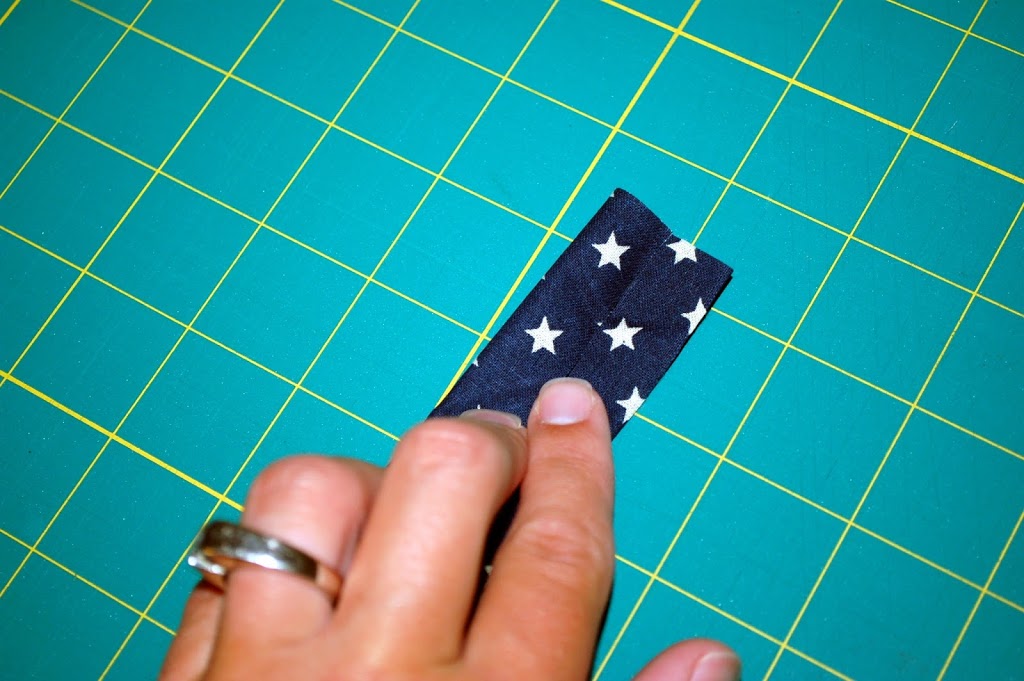
Fold the two sides together, in the middle and sew straight down edge to create sort of a thicker strap. You will need 2-50″ pieces, 1 for each strap. You will have a little extra…
…with that little extra, please cute two strips that are about 3 1/2″ long. These will be for the bottom of the back pack.
Set the straps aside for later use!
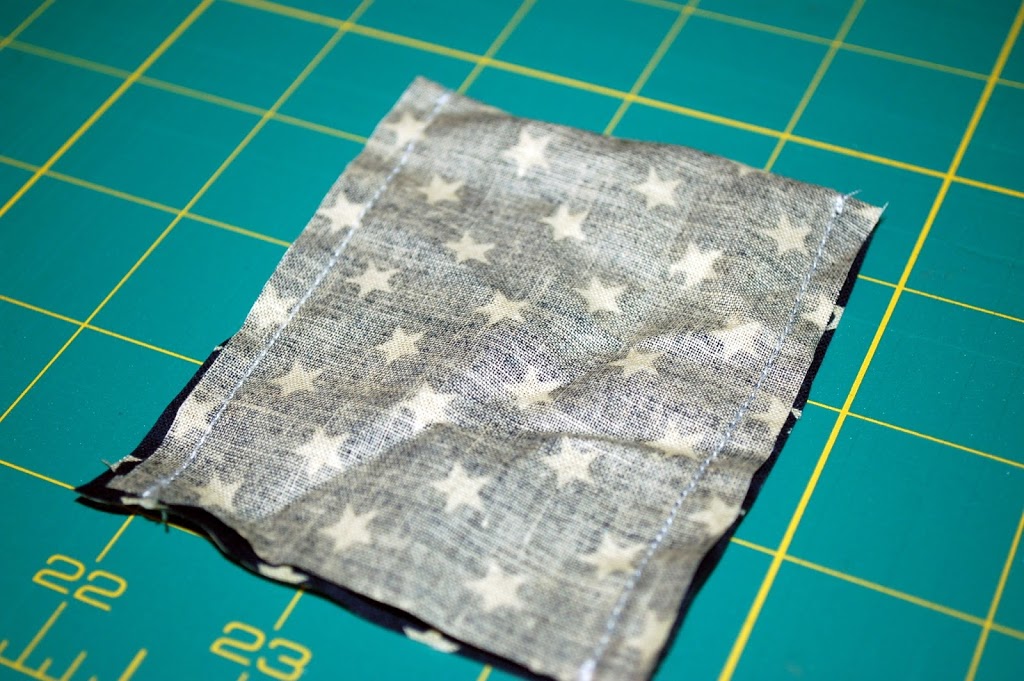
Next, we’ll create the pocket for your pack of gum. Grab the 3″ x 7″ piece of fabric and fold it in half. If its a directional fabric, take care to make sure that it will face the correct way when flipped inside out and upside down!
Sew a seam on both sides of the pocket., leaving an opening at the bottom edge, and turn it inside out.
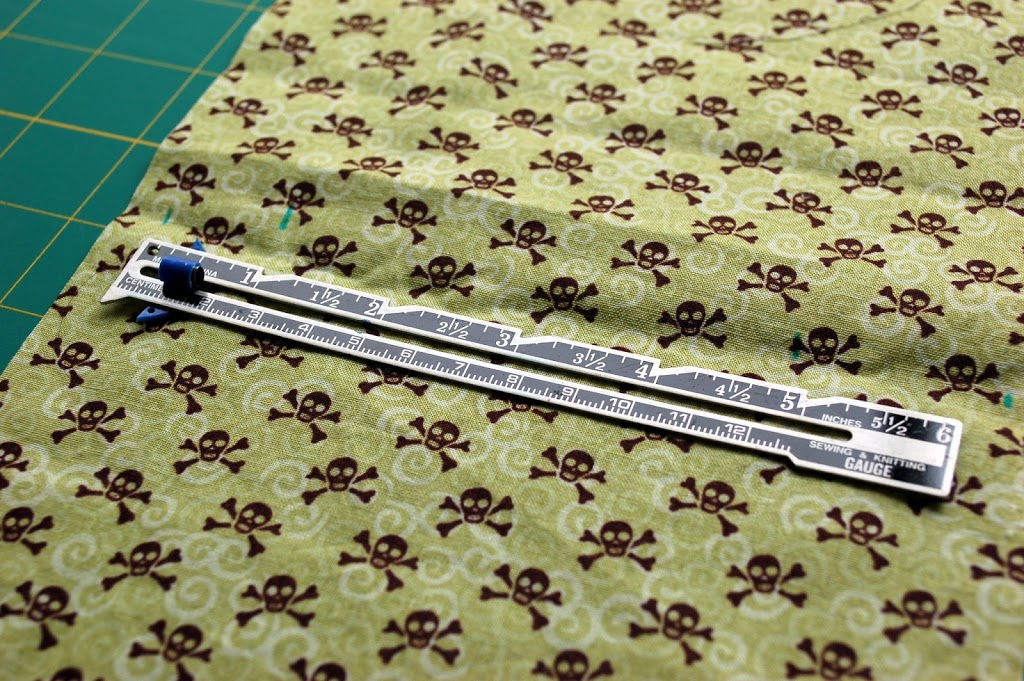
Next you’ll need to figure out where to position your gum pocket. I wanted to make sure that mine was in line with the reading log (mini composition notebook) so I mapped out how much space on my larger pocket piece i would need for each thing. I marked it with disappearing ink.
Here’s what I figured: (this was a rough estimate, but it gave me a general idea, and was perfect.)
1/4″ seam allowance, then 1″ for the pencil. Next, 4″ for the mini composition notebook. Then 1 1/2″ for the book mark. Then another 1/4″ seam allowance.
( I hope that made sense, please see the picture below to see my marks!!)
After I had those dots marked, I was able to decide where to put my gum pocket:
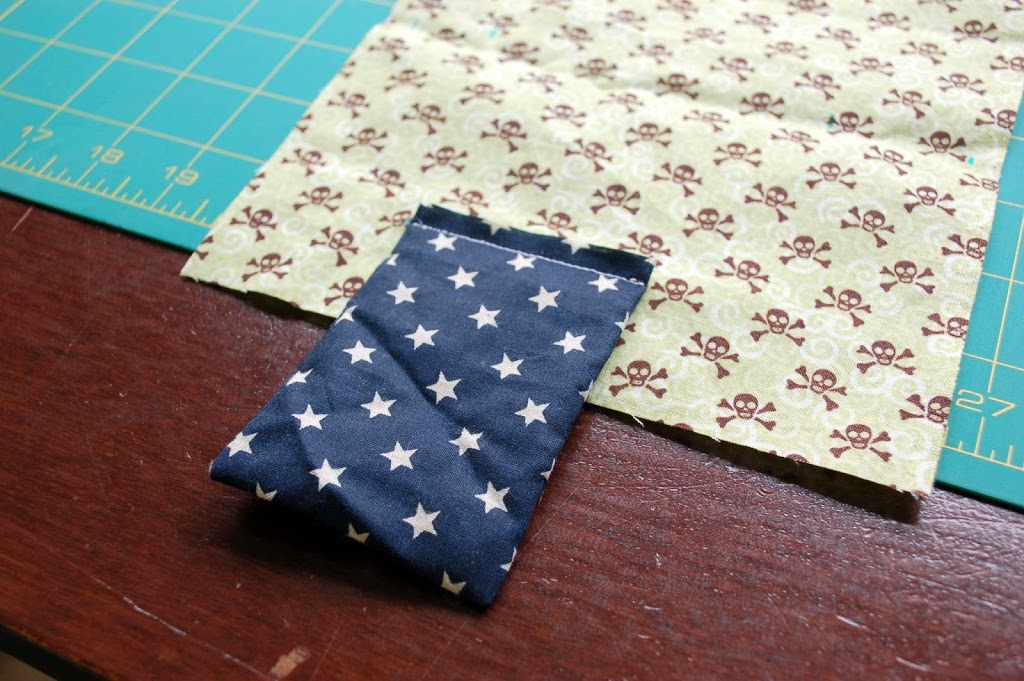
Making sure that I lined it up in between the sections for my reading log, I measured 1 1/2″ up from the bottom of my 7″ x 10″ piece of fabric, and drew a line to sew along.
Line your gum pocket up, upside down along the line, like so:
Stitch 1/4″ away from the edge, tacking at either end.
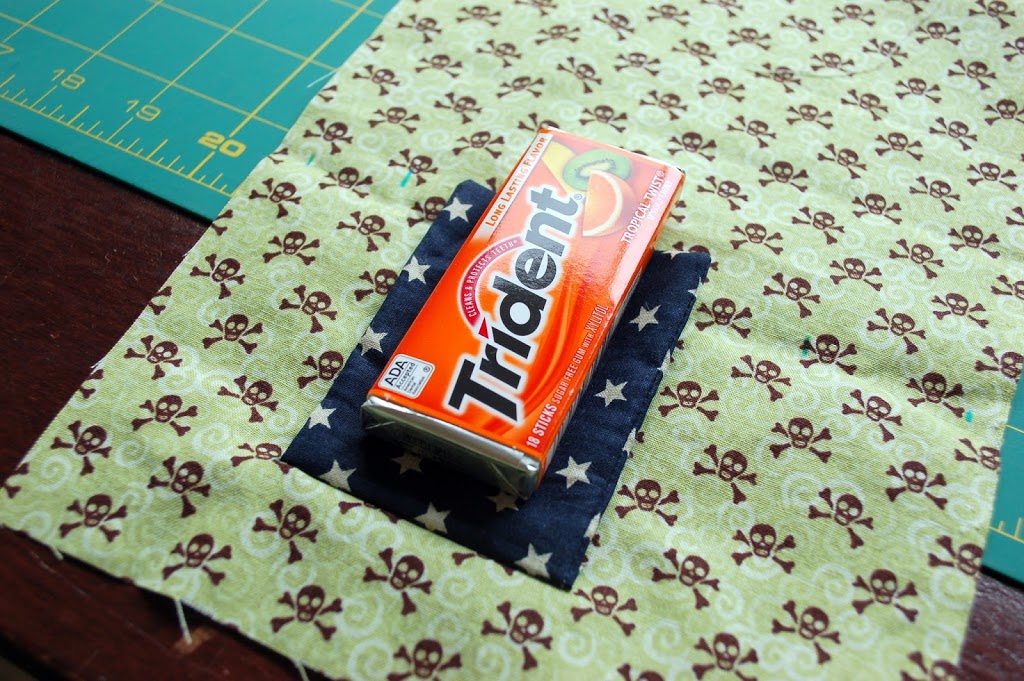
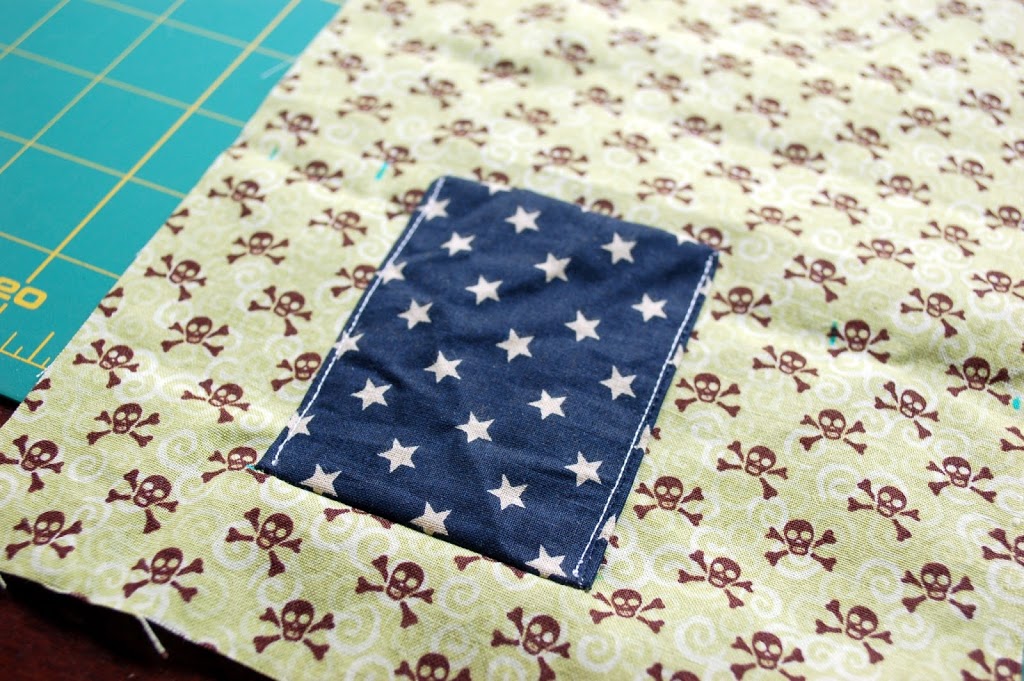
Press the pocket up, and make sure that your pack of gum will fit…
Then stitch along the two edges, as close as possible to the edge, leaving the top open.
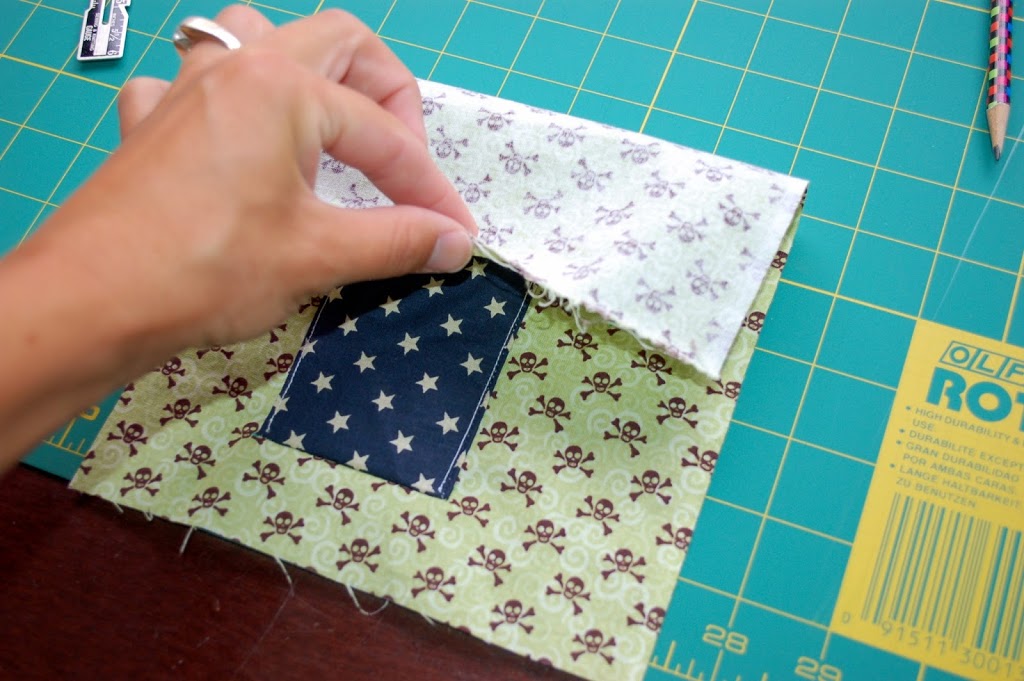
Now for the other pocket. Fold the top of the fabric down to meet the bottom edge, like so:
And like before, stitch along both sides of the fabric, leaving the bottom open. Flip inside out and press.
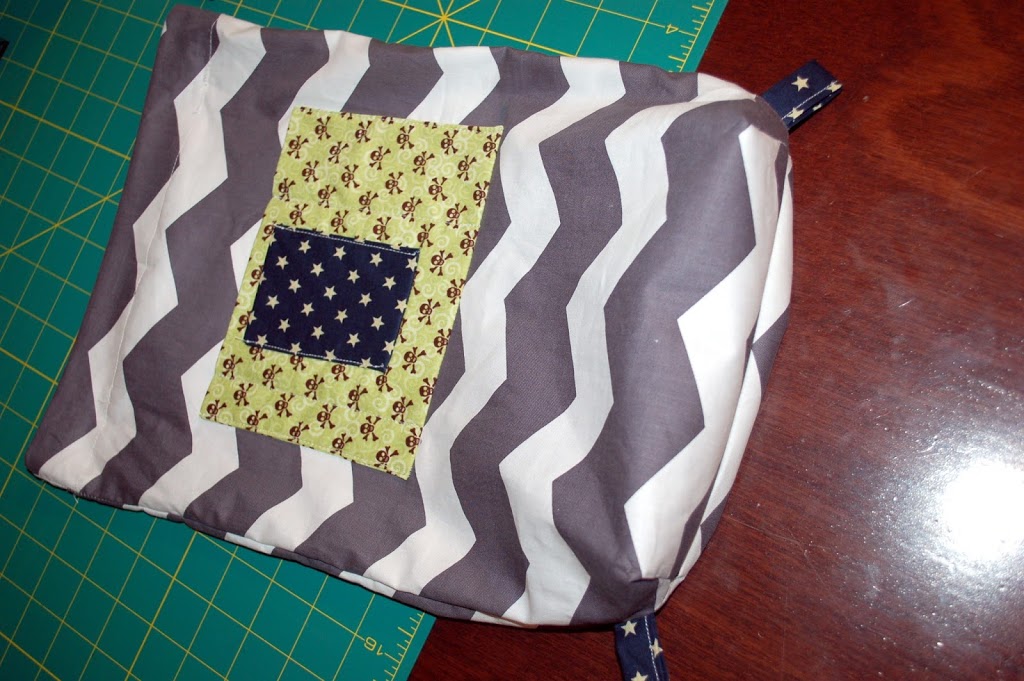
Now for placement of the front pocket on the bag. I measured 8 inches up from the bottom of my bag to make sure I had enough clearance. (In hindsight, I’d probably not put it as high…6″ would be about right…you can decide based on my pics if you think my pocket is too high, or not!) Anyway, measure up ‘8 inches’ and draw a line straight across your fabric with disappearing ink. Make sure it’s centered!
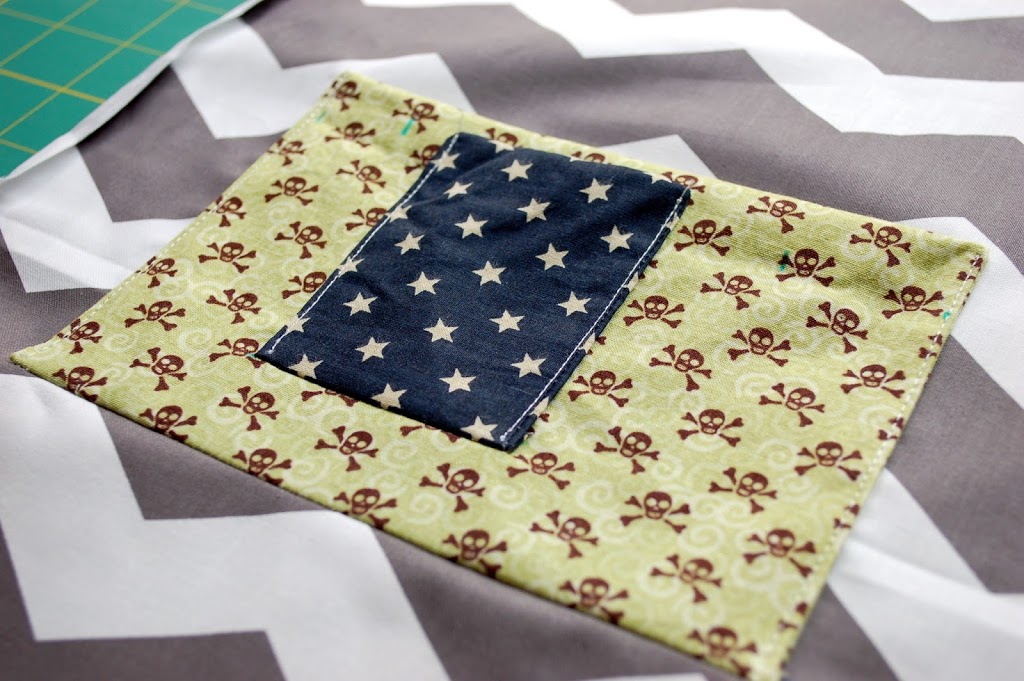
Then, just as with the gum pocket, line your pocket upside down along that line.
Stitch 1/4″ seam along the edge, then flip it up and press.
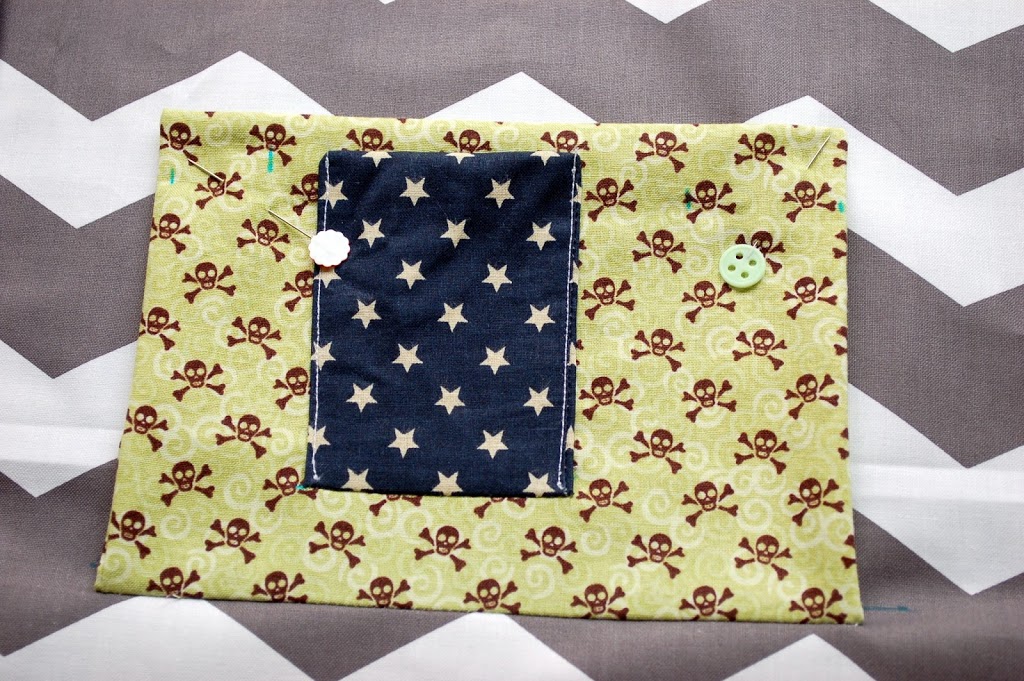
Next, pin your pocket down at the top. We’re going to create the individual pockets for the pencil, etc and don’t want it shifting.
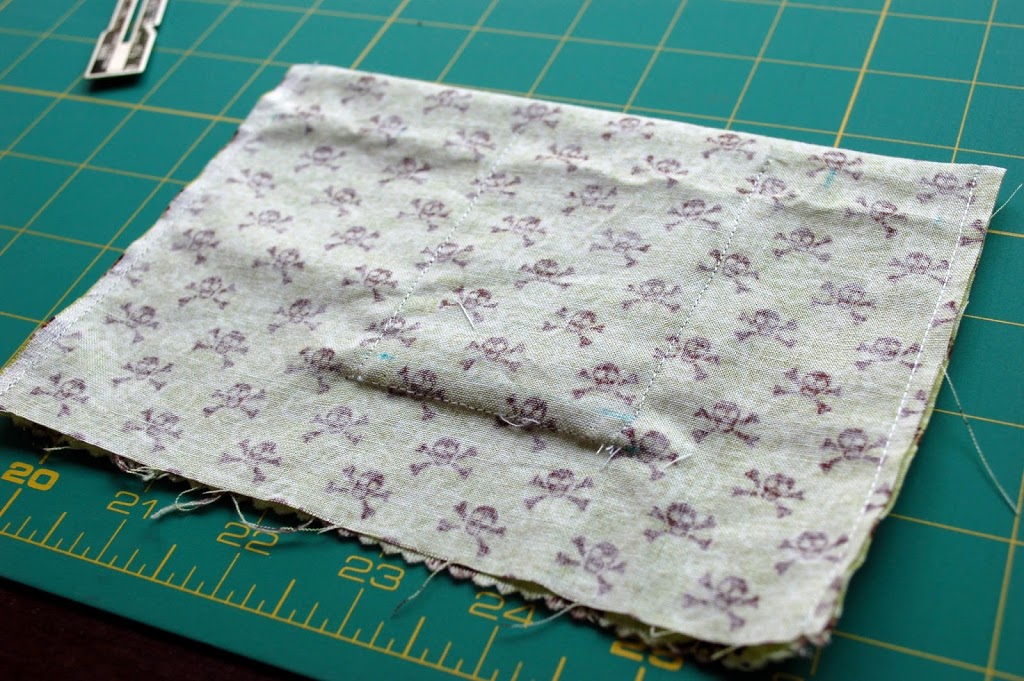
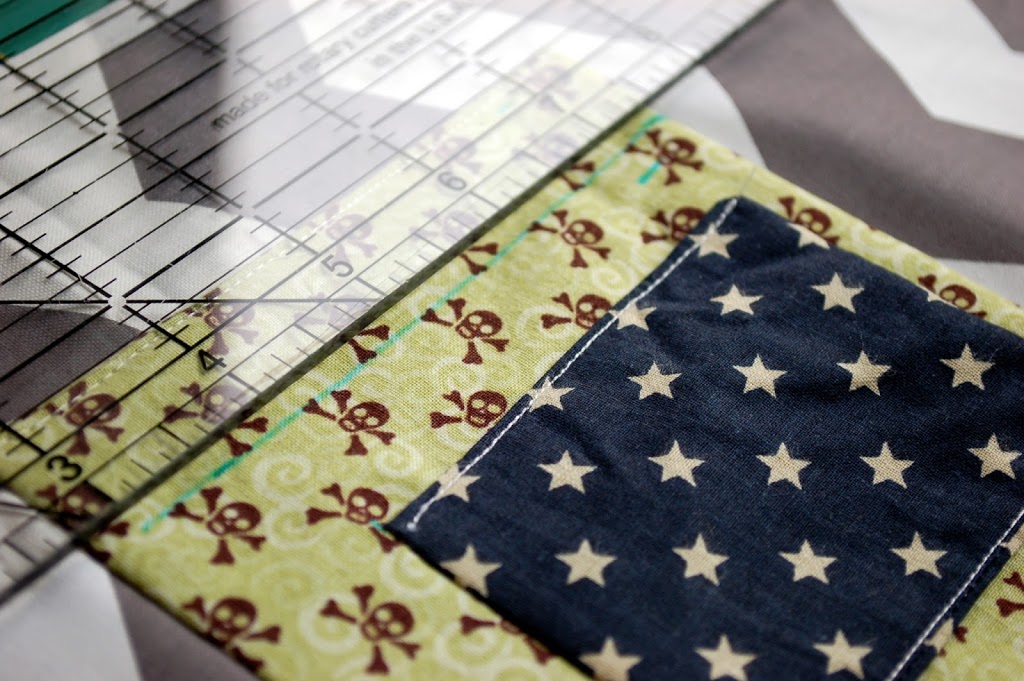
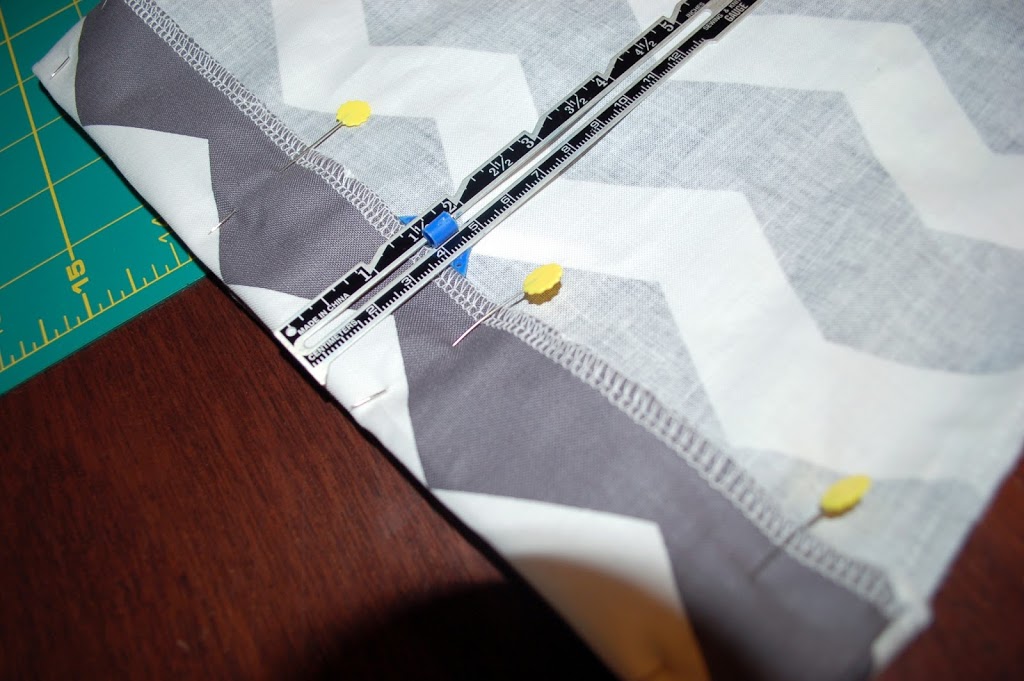
Using your markings you made previously, make lines down the front of your pocket with a straight edge or a ruler to make sure you’re lines are straight. I started on the left side, and worked my way over.
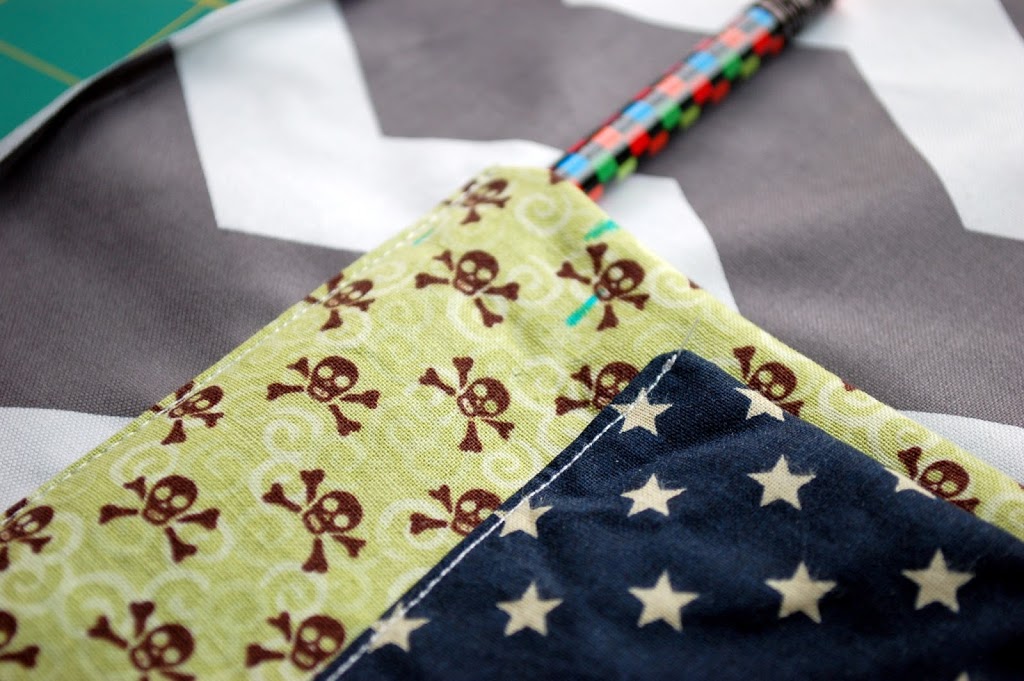
First, the pencil. I stitched the edge down as close to the edge as possible. I put my pencil into the pocket, and made sure that my line was the correct width. I had to make some minor adjustments from my original guess-timates, but it worked out…repeat for the other two pockets!
We’re almost through!
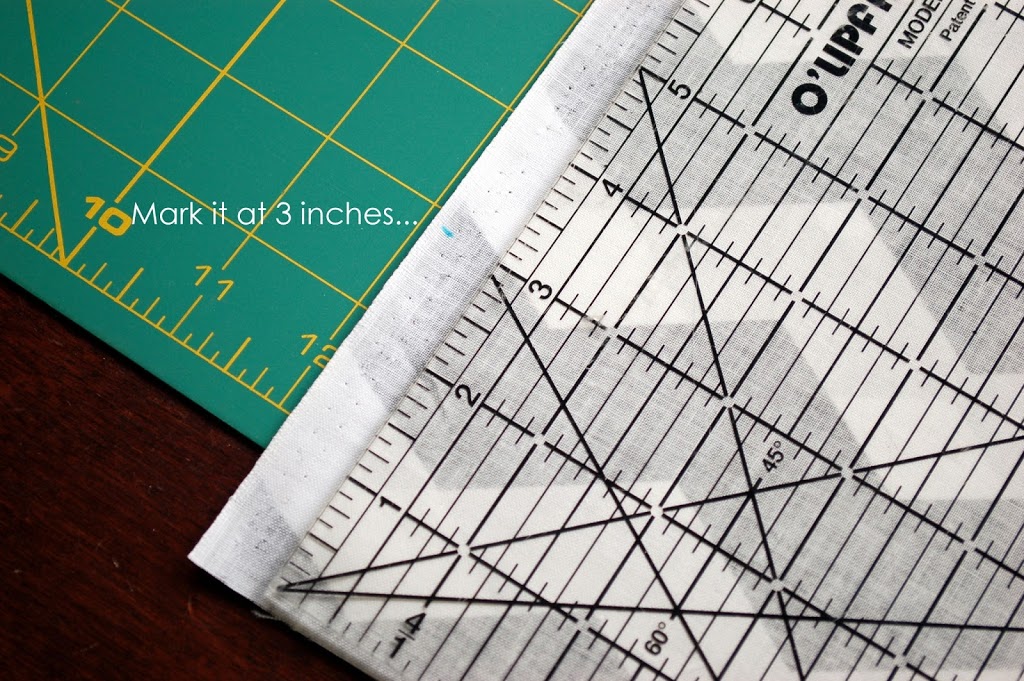
Next, let’s make the bag already! Grab those two halves of the fat quarter, put them right-sides-together and from the bottom edge, make a little mark on either side 3″ up from the bottom, like so:
Grab those two little strips that you cut from your straps that you set aside earlier…
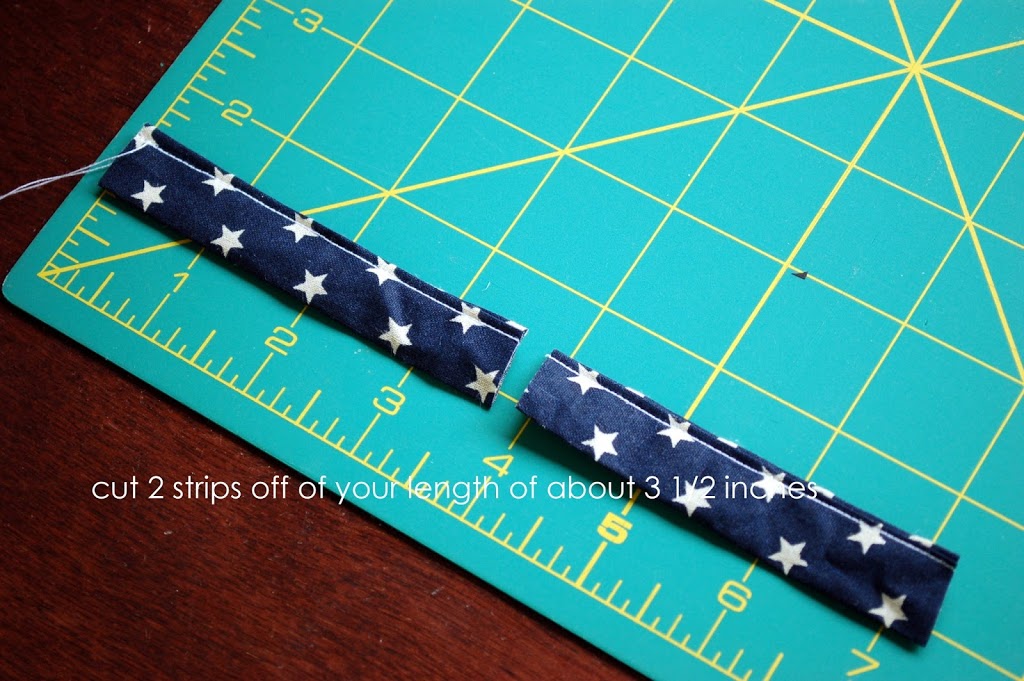
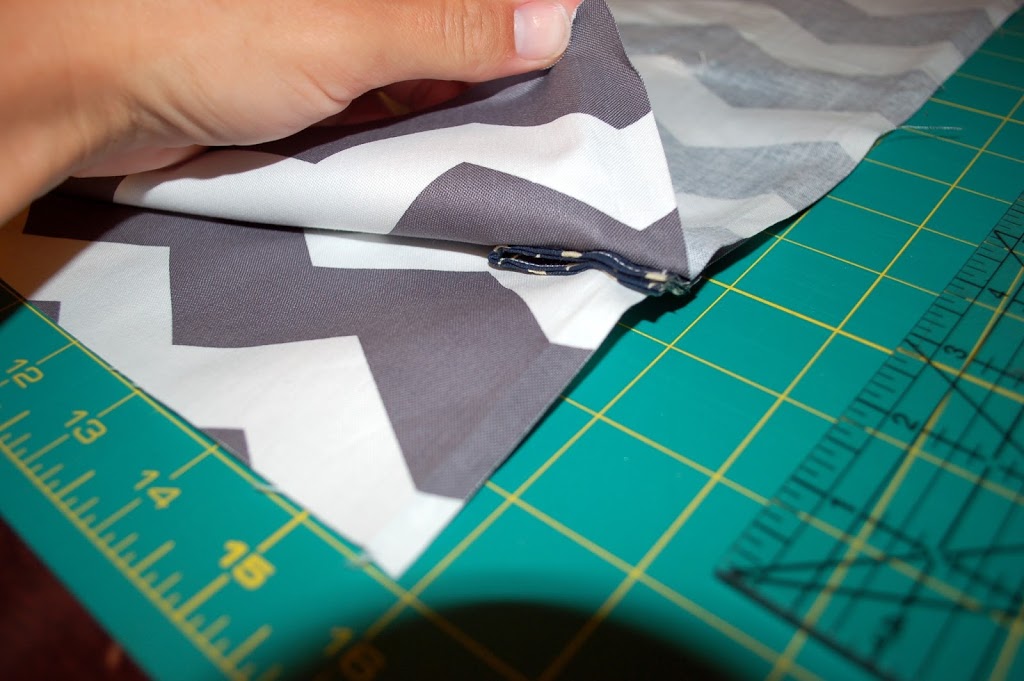
…fold them in half, and sandwich them in between the two pieces of fabric with the raw edges lining up. (folds towards the middle) Pin in place.
Sew along the bottom and two sides of the bag, leaving the top open!
Next, you’ll create a square bottom for your bag. (for another tutorial on how to do this, {click here}
But here’s what you do:
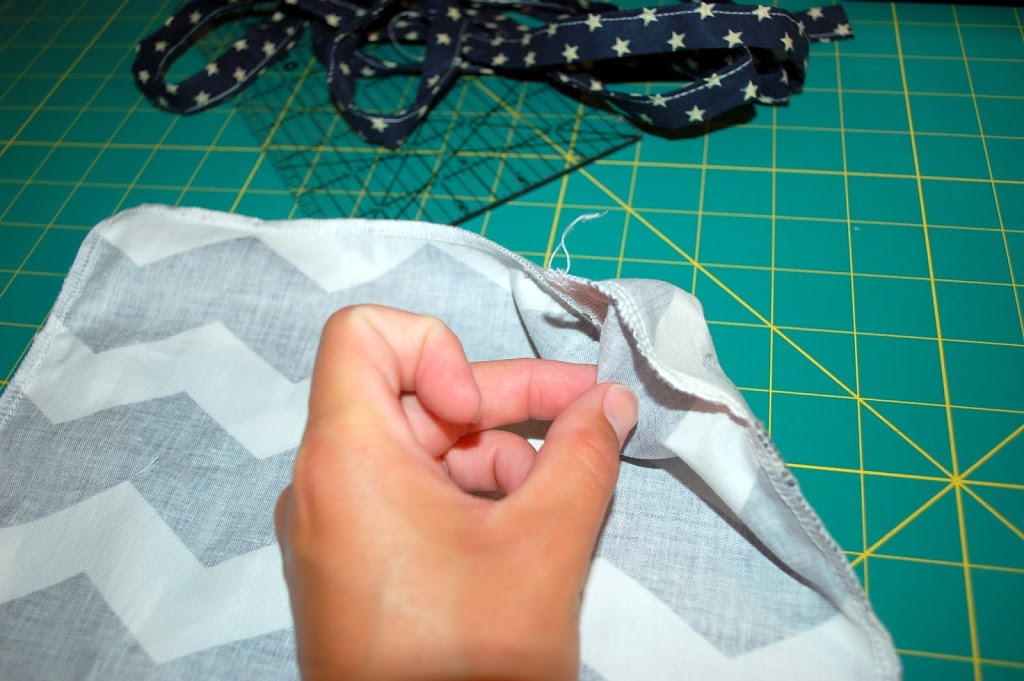
separate the front and back pieces of fabric from each other at the corner, like this:
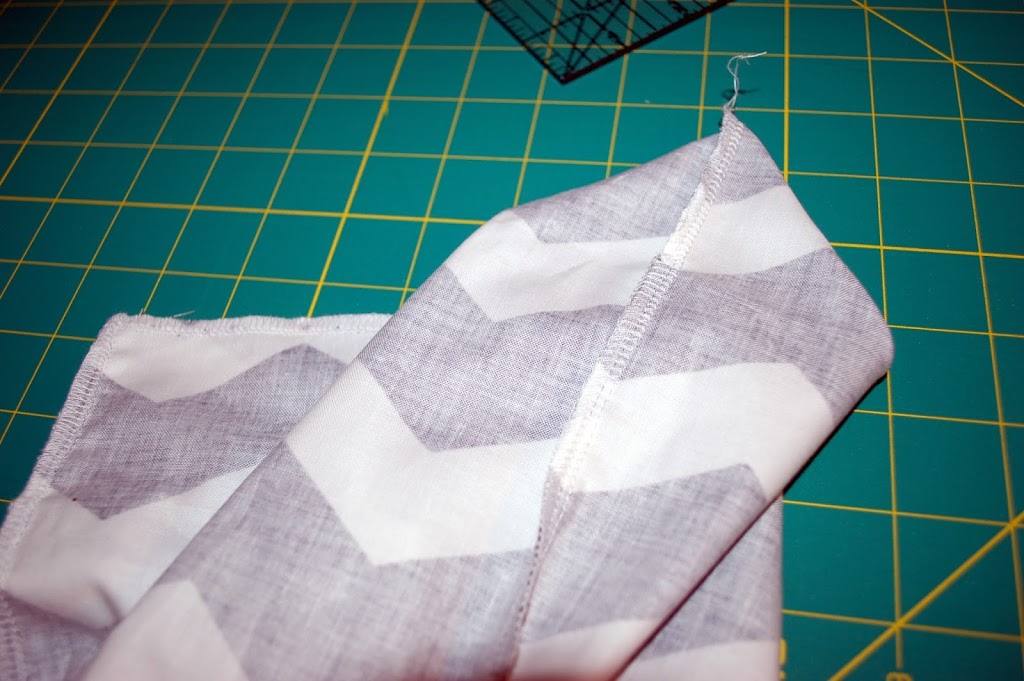
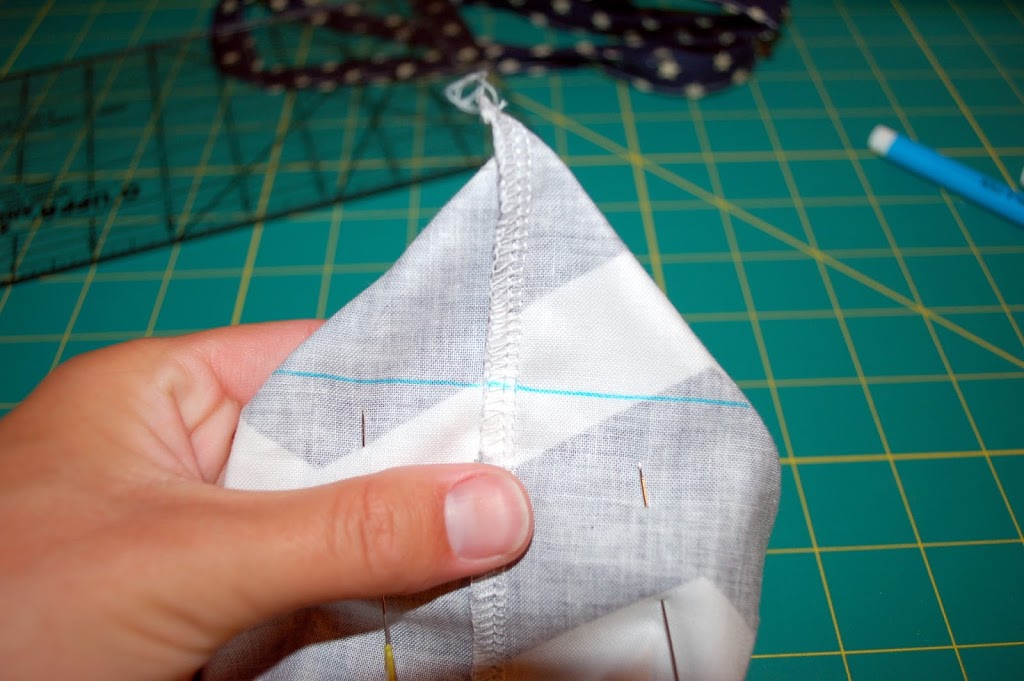
When you to this, you’ll create a little triangle like this. Make sure it’s nice and flat, and made sure that the side seam, and the bottom seam are touching.
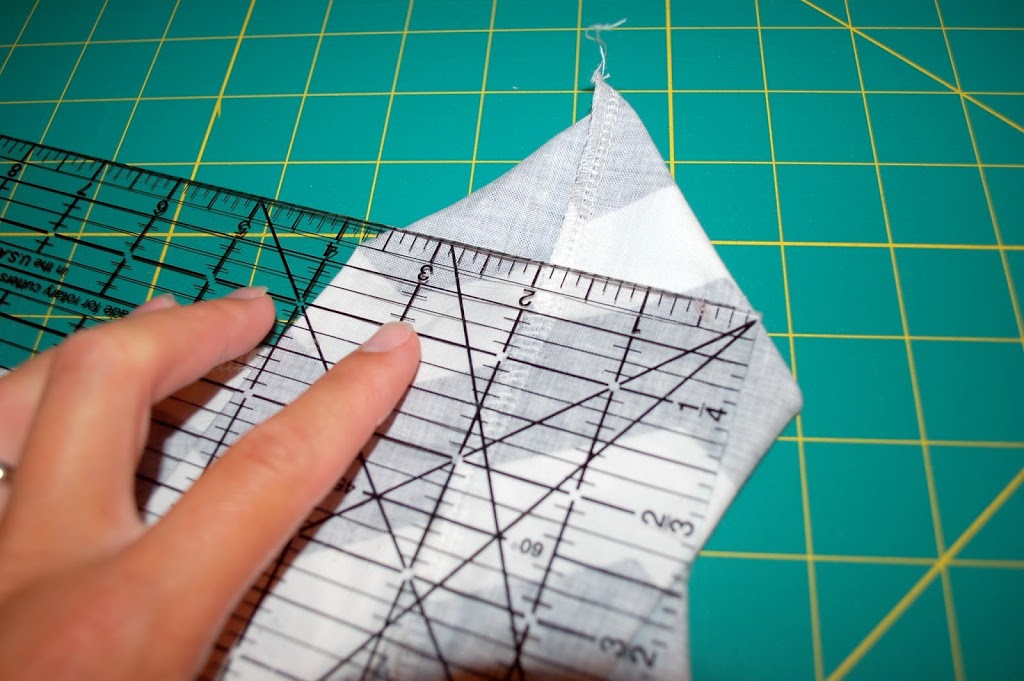
Then, mark a straight line…the bigger the line you make, the bigger the bottom of your bag will be. I wanted this to be able to hold several books, like for a trip to the library, so I made mine 3 1/2″ across.
see?
Pin it in place, and sew right along that line
**Before you sew, make sure that your little tabs that you sandwiched in between your fabrics will not get sewn into the bottom of your bag!***
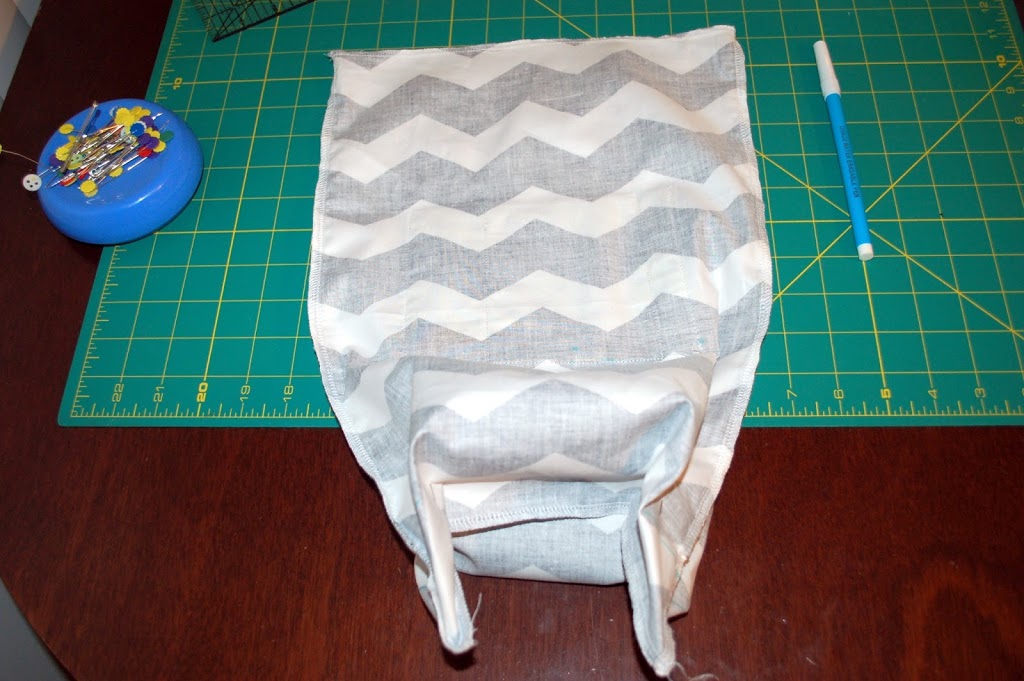
…and repeat for both sides. You’ll get this:
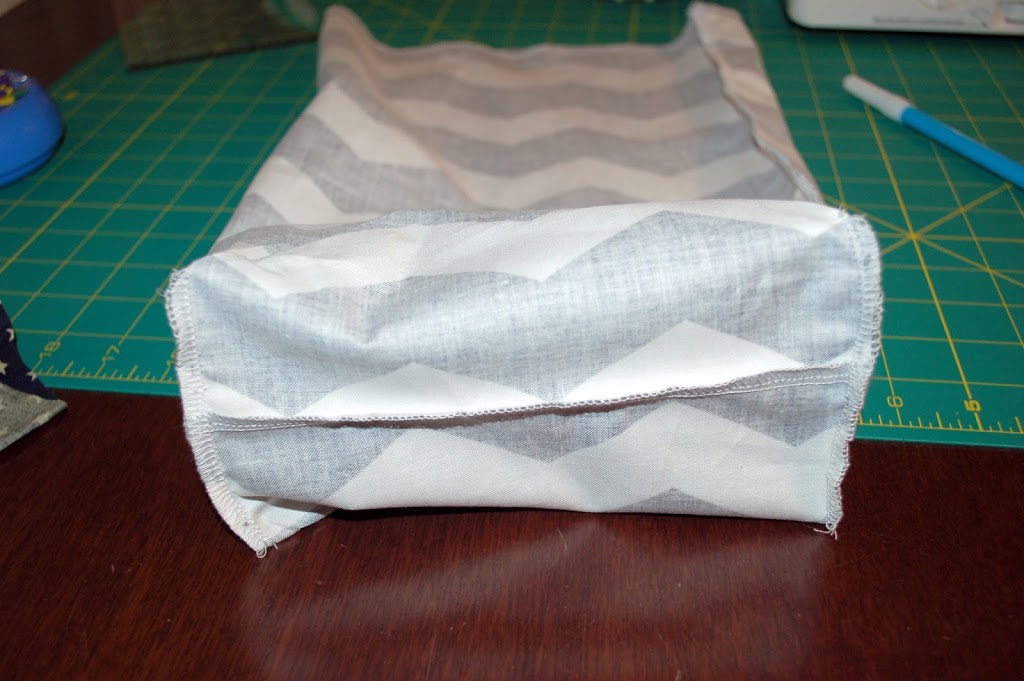
Trim off the extra triangles you’ve made, leaving about a 1/4″ of fabric. and there’s your square bottom!
Next we need to make room for the cinching mechanism. So, we need to make a couple of button holes on the back of the bag.
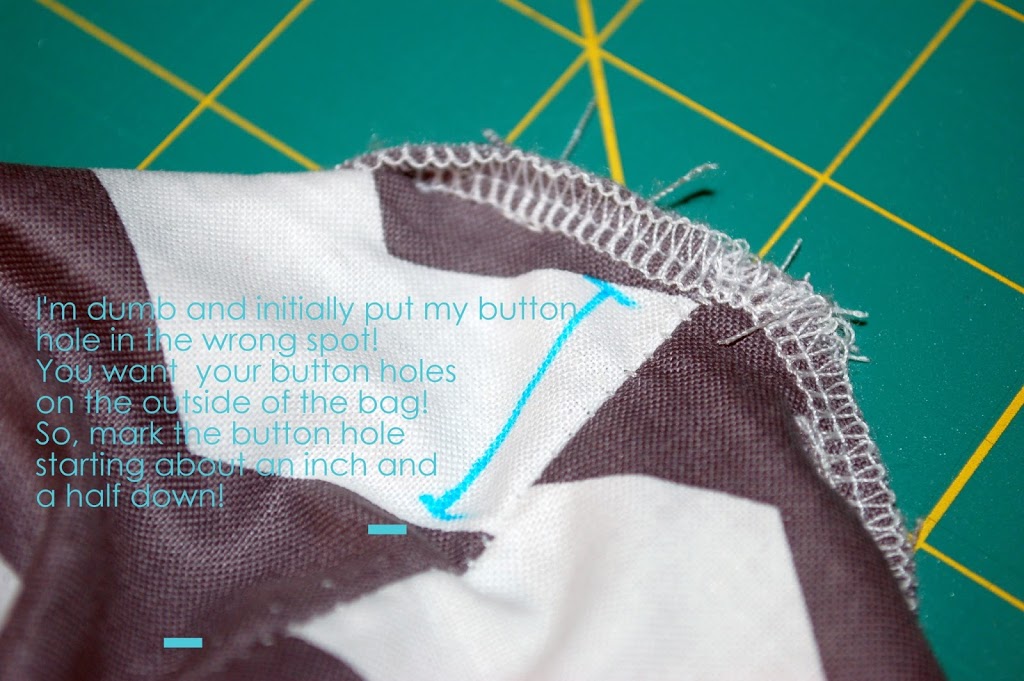
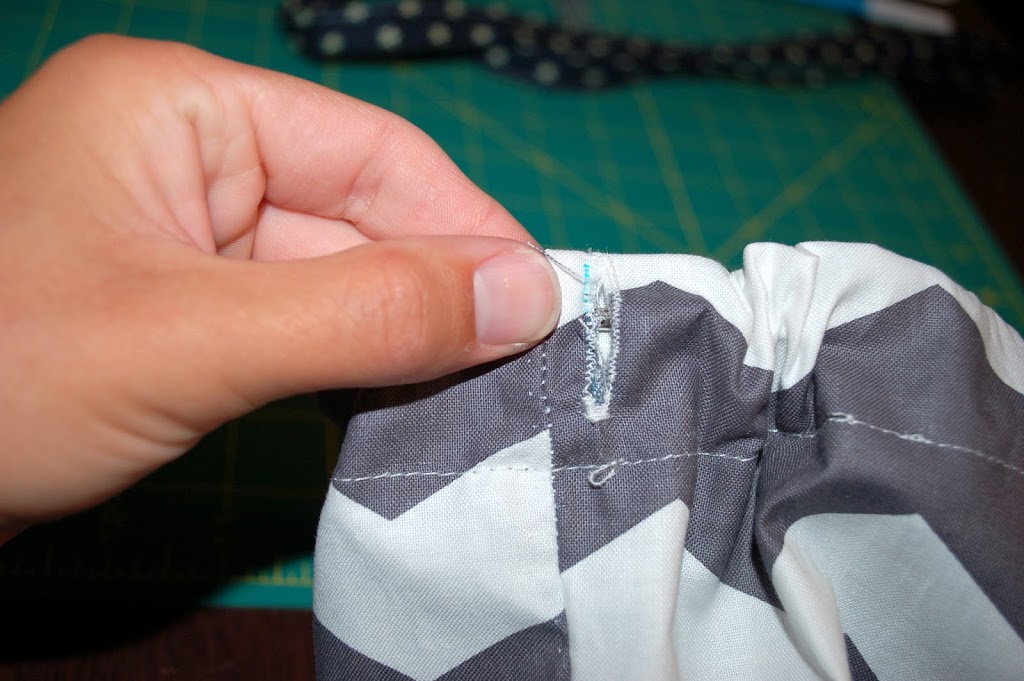
(I’m a freak, and did this wrong the first time…had to unpick and do it again, sorry that the picture is showing you wrong!!!) Do as I SAY, and not as I DID!
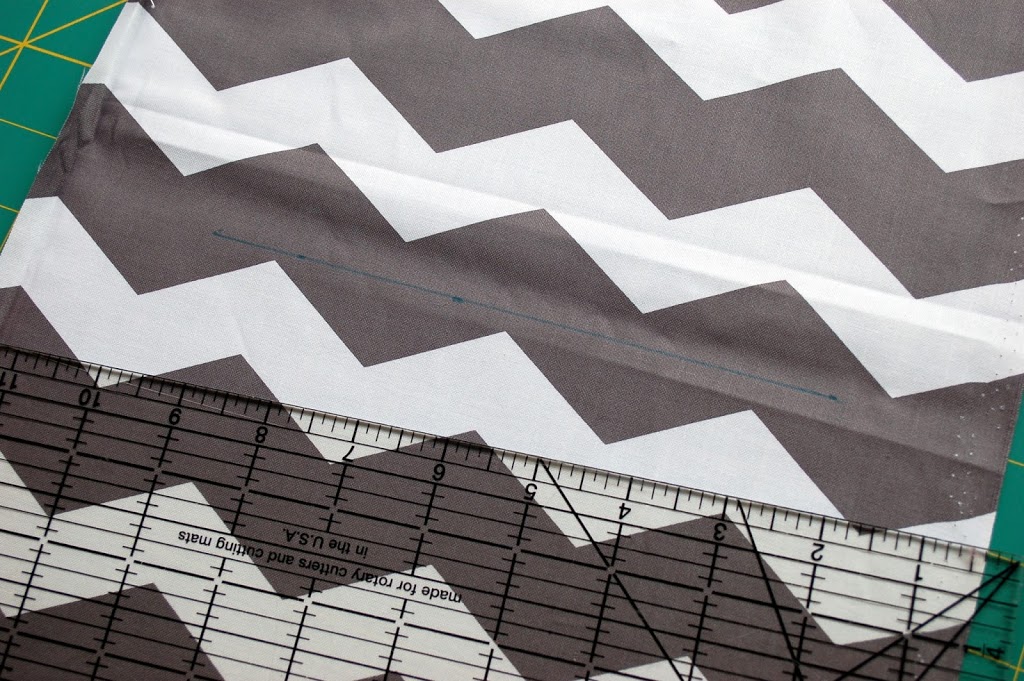
In a nutshell, we’re going to make a casing for the straps to slide through which will be about 1 1/2″ wide. So, draw your button hole lines about 1 3/4″ down from the top of the bag, making sure it’s on the back piece of the bag. So that when you fold the top of your bag down 1 1/2″, the button hold will be on the outside of the bag.
Make 2 button holes, just a 1/4″ from the side seam on either side of the bag.
Once those are done, fold the top seam of your bag down 1 1/2″ and pin in place. Sew along the edge, all the way around.
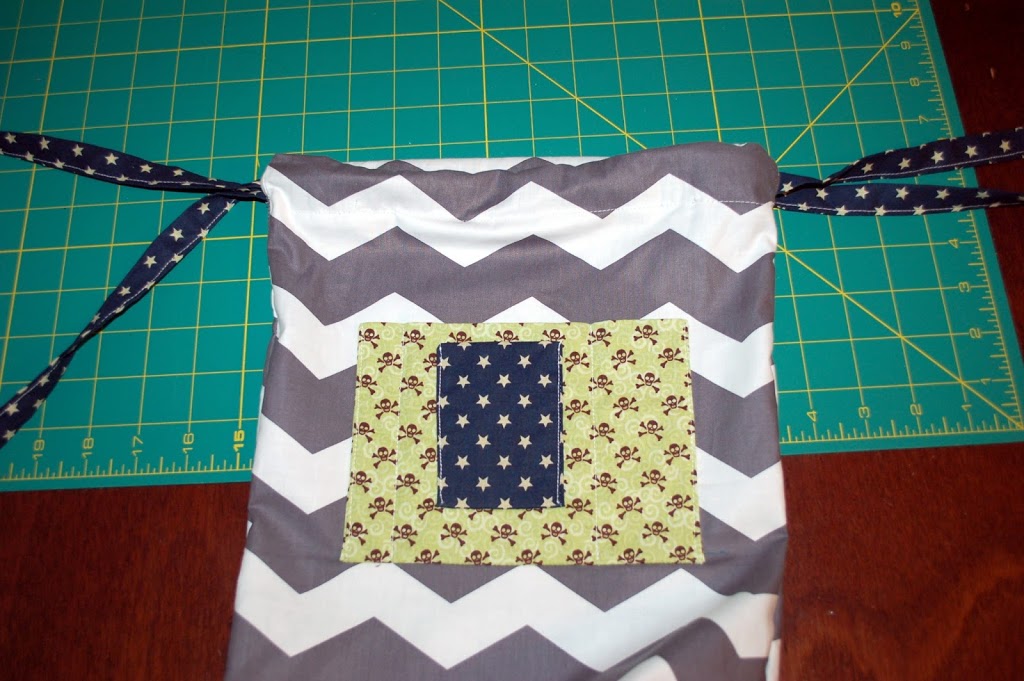
When you turn your bag right side out, this is what you should get: See how my tabs are right at the bottom of my sack? Now all we have left is the straps!
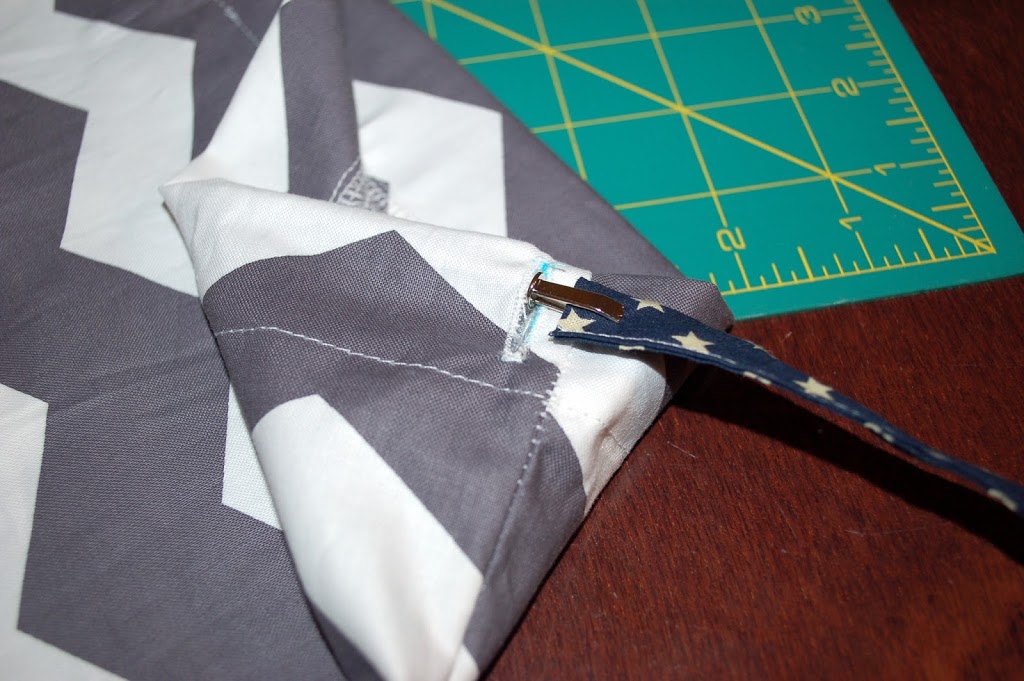
Use either a safety pin, or another tool, thread one strap in through one of the button holes.
When you get to the other button hole…pass right on by it, and pull that strap all the way around to the button hold you started in.
Pull the strap all the way through.
Then repeat that same process for the other side, just move the other strap to the side as you thread on through.
Next, loop each strap down through the tabs at the bottom of your bag, and tie the ends in a knot.
done.
Stuff some fun new books in there for your little readers, and squeeze some reading in next to all those days at the beach and pool.
Happy Summer!















Thanks for the quick and easy tutorial. I have made bags with the cinch top, but never into a backpack. Great plan!
Perfect for those trips we love to take the the library, especially in the summertime!! LOVE this Autie!!
Cute. If the “gum pocket” had a button or Velcro closure it could hold a library card.
So dang cute! Pinned!