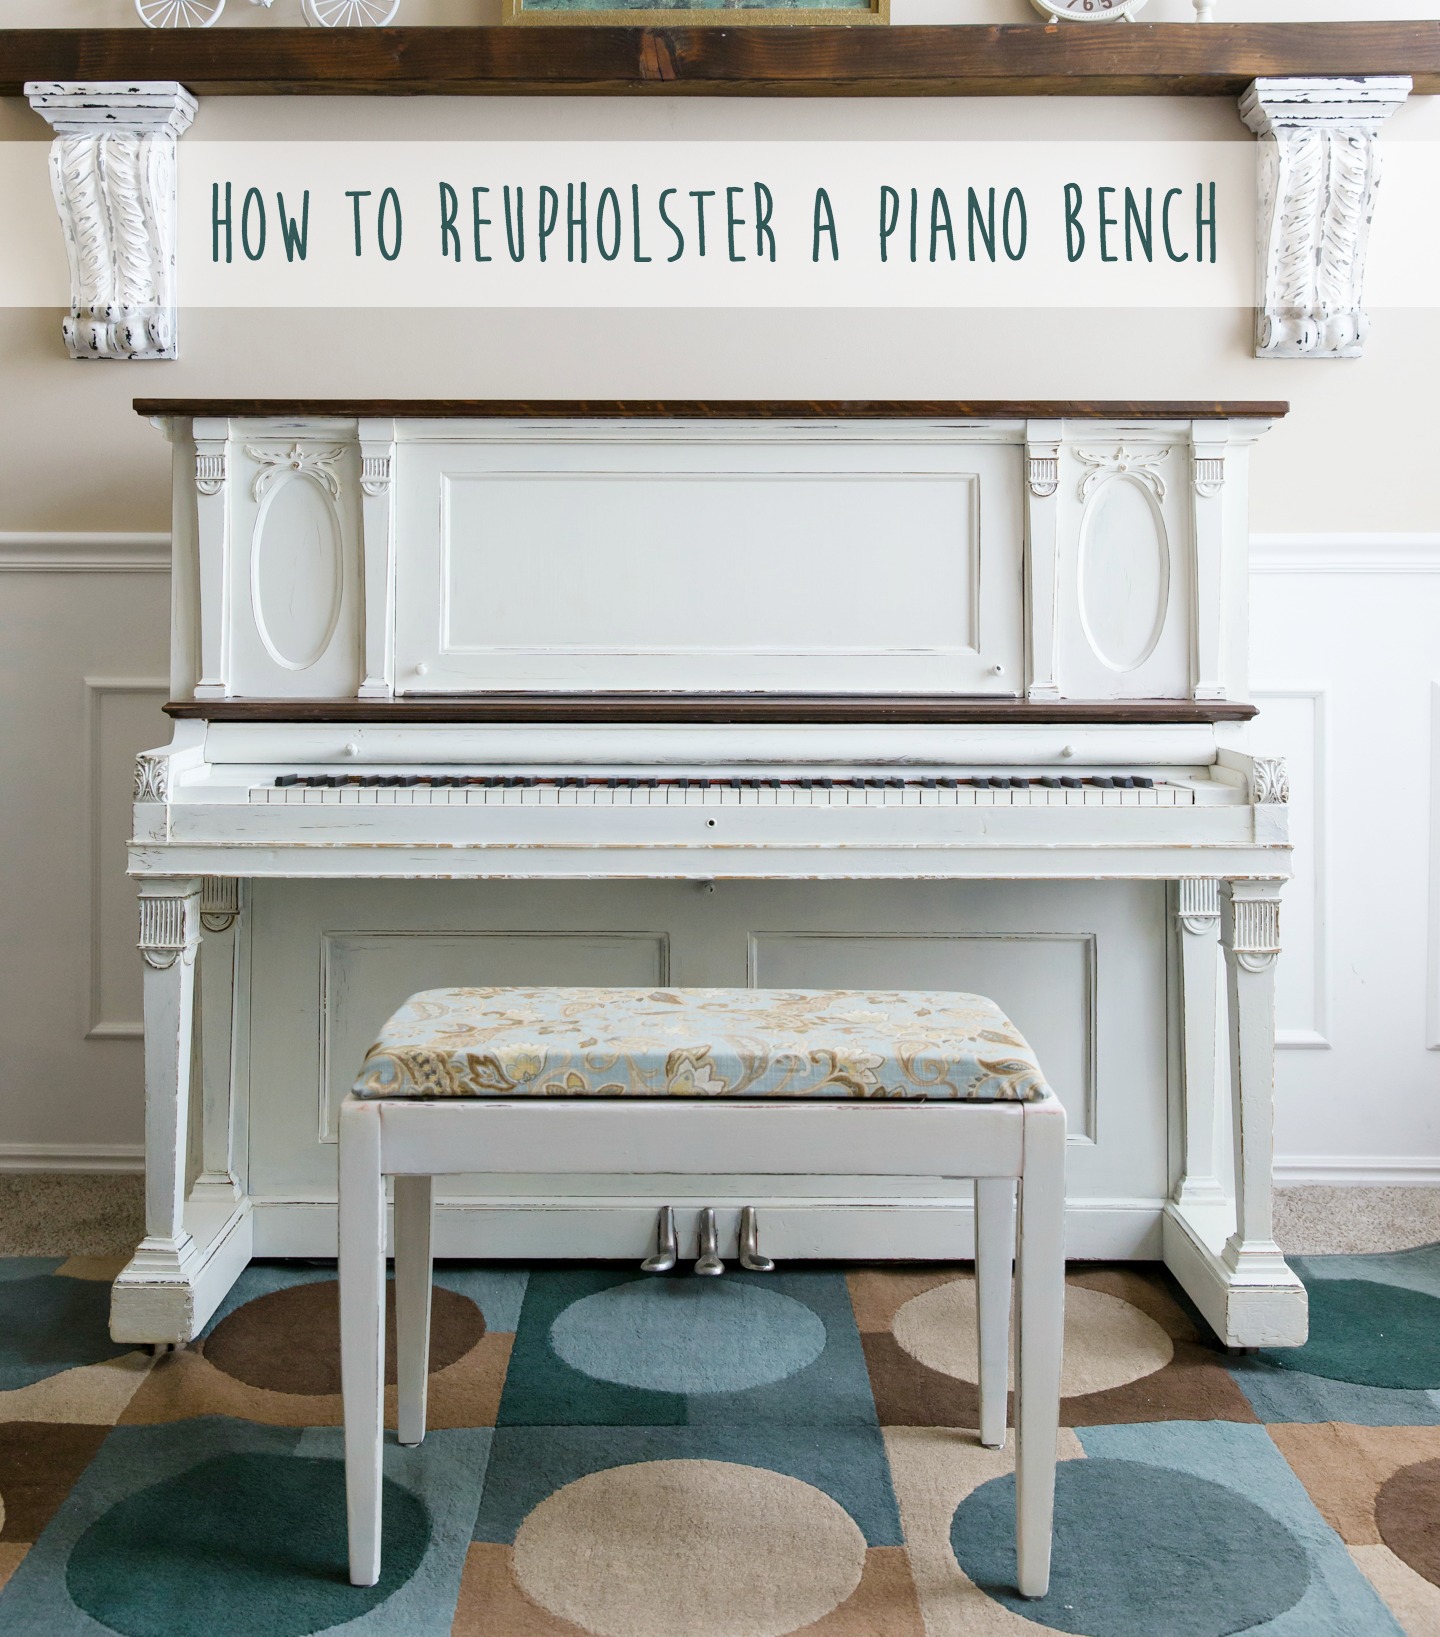
HOW TO REUPHOLSTER A PIANO BENCH
Now that you’ve seen The Piano Project, let’s talk about the piano bench. I found some pretty, floral home decor fabric at JoAnn and decided I wanted to reupholster the bench. It’s way easier than you might think!
SUPPLIES:
- home decor fabric
- reupholstery foam
- scissors/cutting wheel
- razor blade knife/electric kitchen knife (haha, yes you read that right!)
- staple gun
- glue gun
First, you need to take the fabric off. I suggest not cutting it and keeping it the original size so you can measure it later.
DIY TIP: You NEVER KNOW what you’ll find underneath the fabric when you reupholster. I’ve seen many interesting things!
Remove the staples or nails, and yes I’m using my trusty butterknife again, but you might want to use proper tools!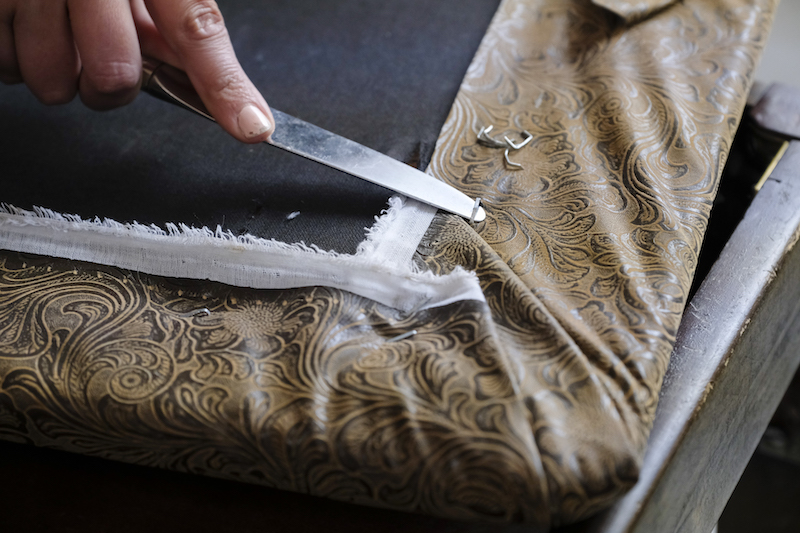
After removing the fabric, I found another layer of purple velvet and another layer of yucky foam so I knew all of it would need to be replaced. I removed the old foam and measured the new foam.
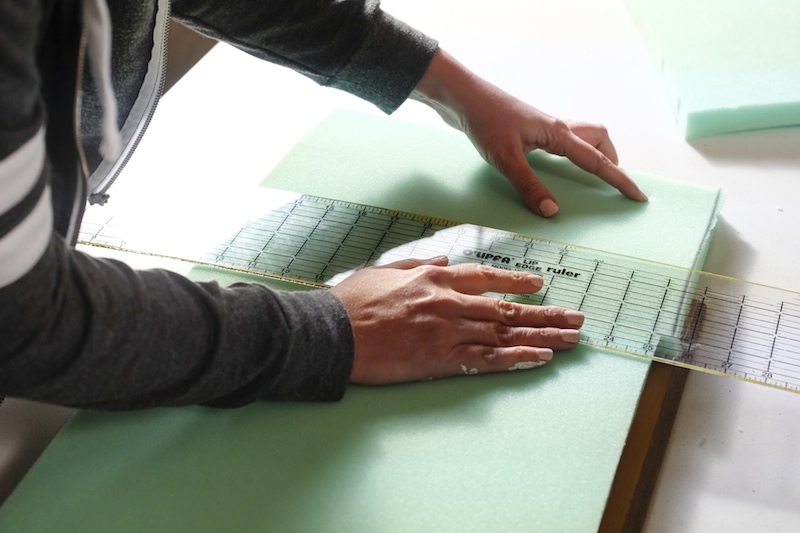
DIY TIP: When cutting reupholstery foam it can be tricky so I want to share this tip I learned from the lady at the fabric cutting counter. Use an electric knife from the kitchen! It cuts as smooth as butter! Watch out for those fingers and be careful.
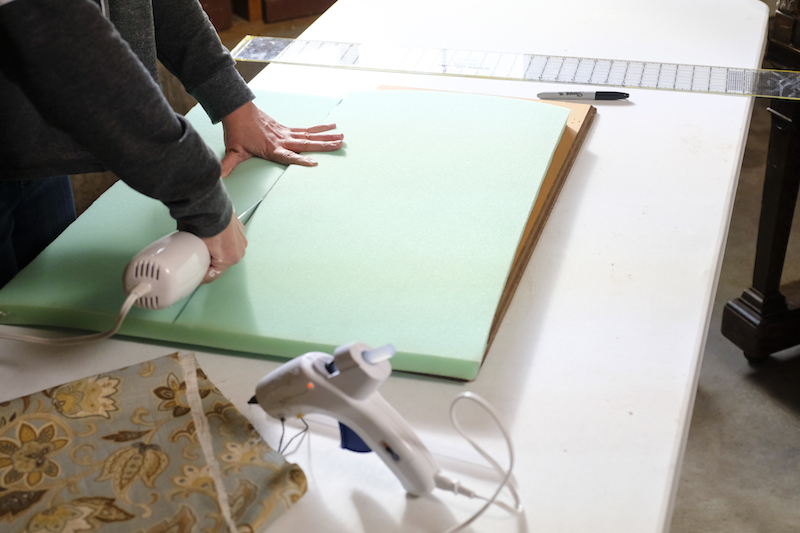
Next, you want to glue any pieces together. I also glued the foam to the bench board to keep it from slipping later on.
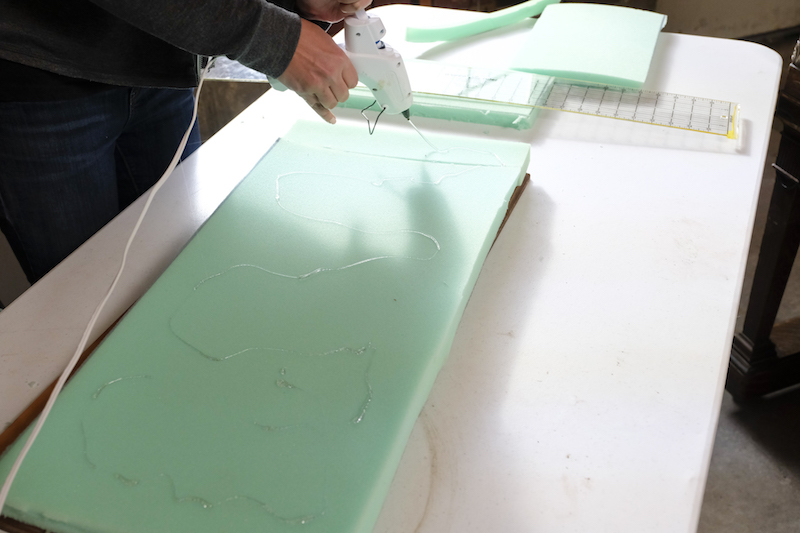
Now you’re ready to add the fabric!
DIY TIP: Measure the new fabric to the old fabric to get just the right size!
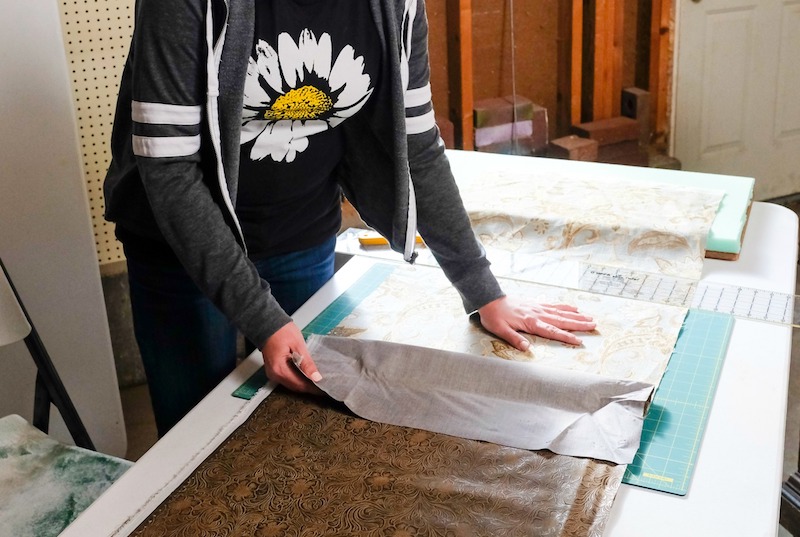
Grab your staple gun and wrap the fabric tightly around the foam. I stapled around every inch to give it a secure hold.
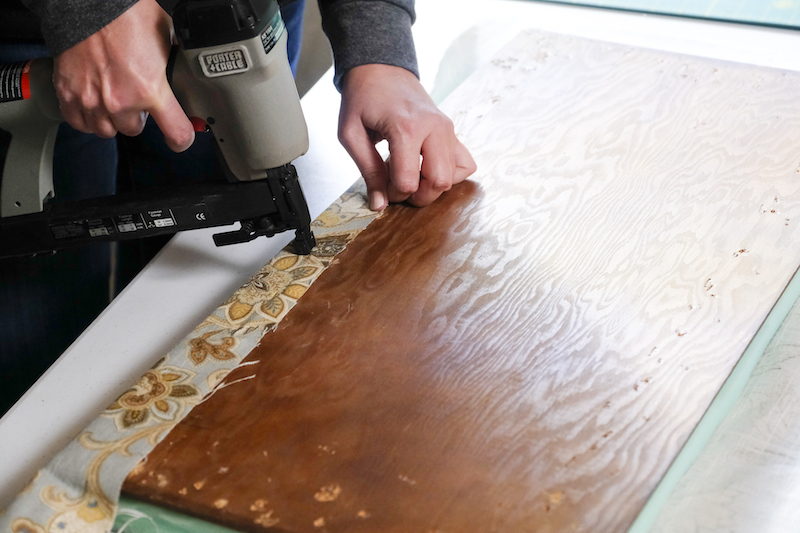
Add the hardware/hinges back onto your bench and you are good to go!
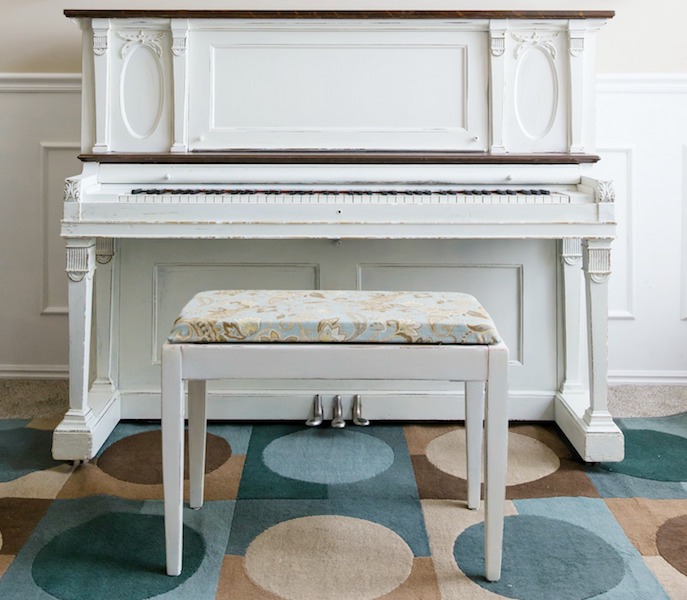
Want to see how I painted the piano and bench? Visit The Piano Project for more info!



Leave a Comment