Hi there U-Create lovelies! My name is Katie and my little slice of blog heaven is at Sweet Rose Studio. I adore everything that Miss Kari posts here and I am absolutely thrilled to be here today sharing my own fun idea!
I’m a stay-at-home momma who was an elementary school teacher in my past life. I’m technically a photographer by trade, but I’m really not great at limiting myself to doing only one thing. My blog is a place where I get to showcase my clients, plus all of my passions: parties, planning, and pretties. I’m currently obsessed with creating new holiday decor for my own and I’m here to share my newest creation today!
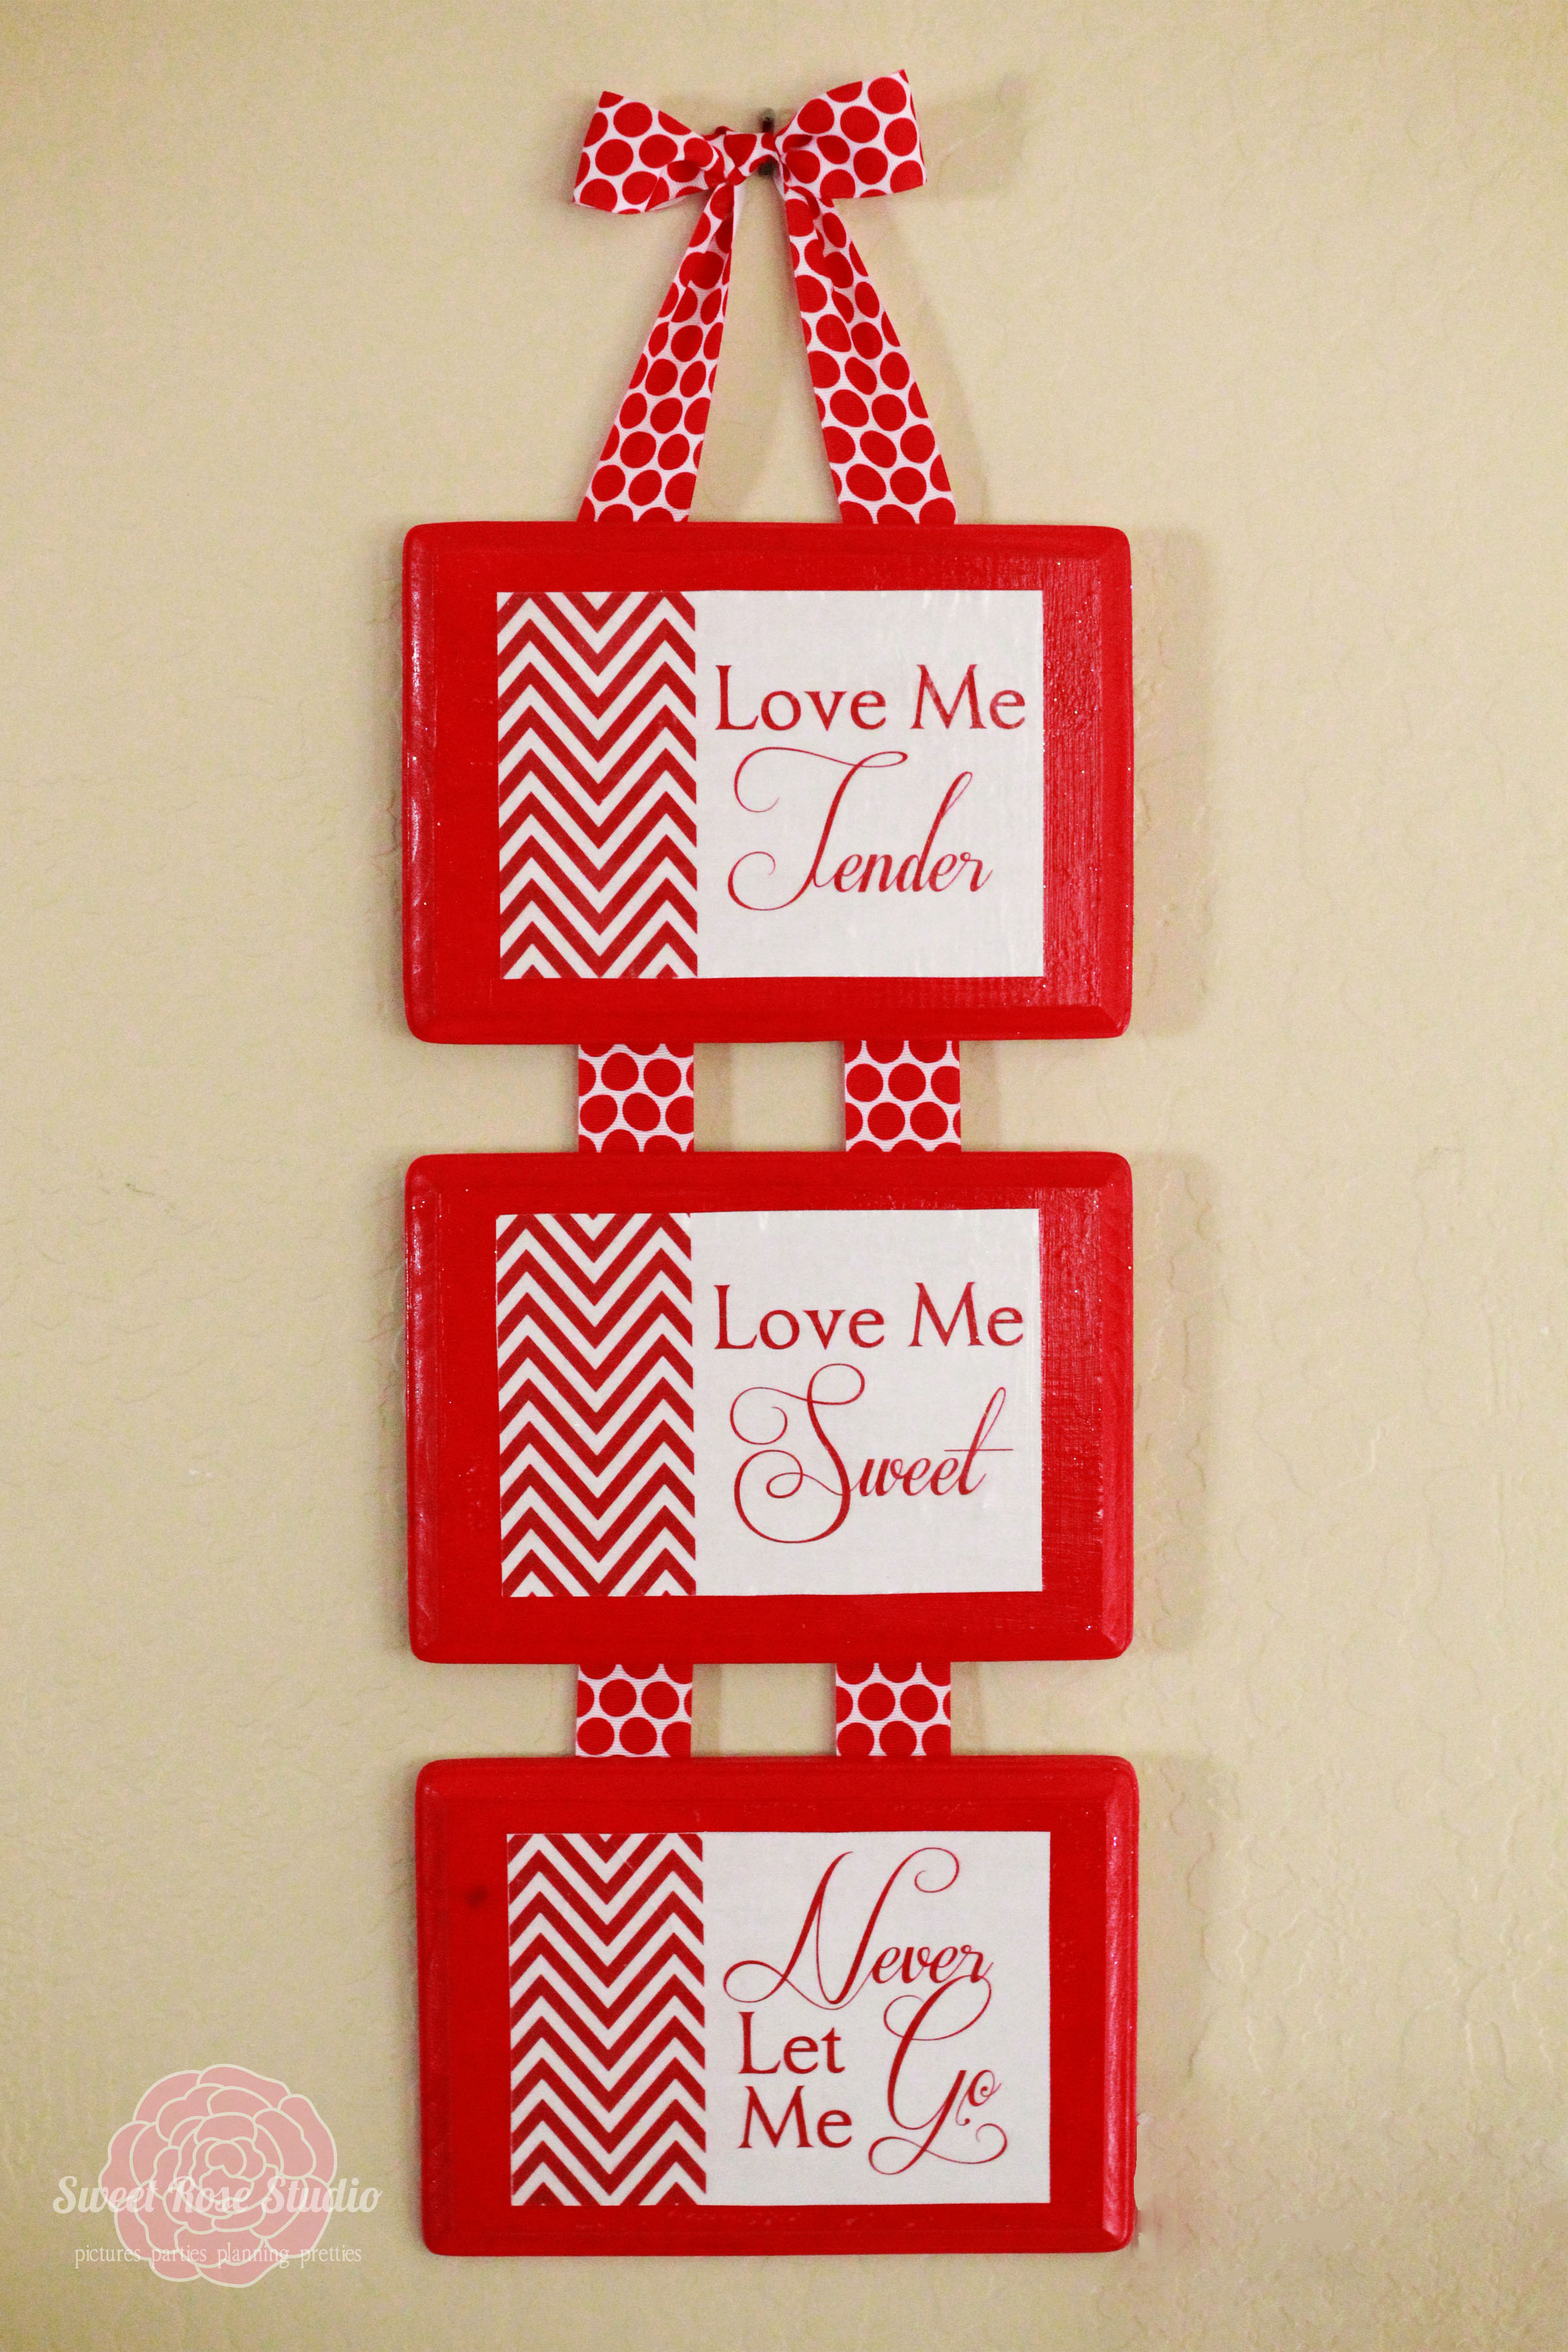
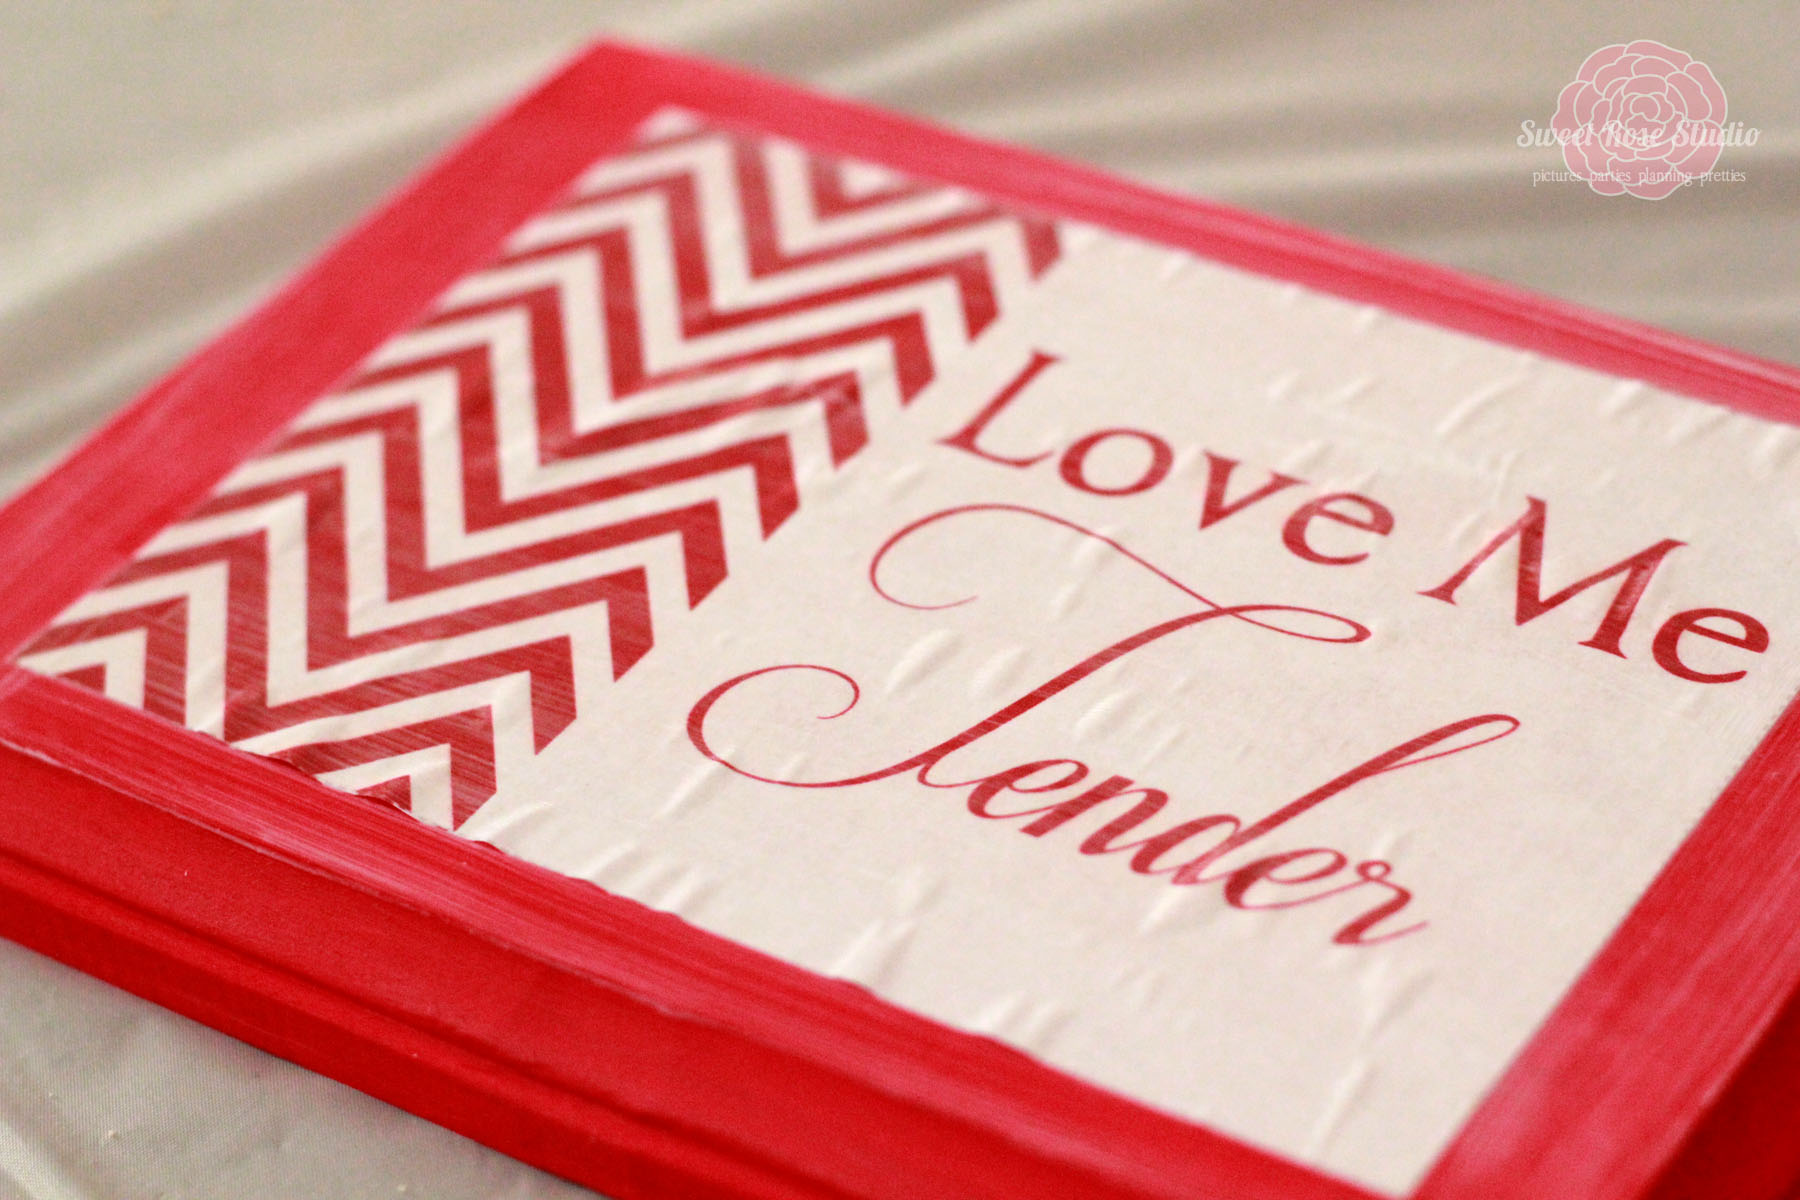
Love Me Tender Valentine Decor
Supply List
3 wood plaques (found at any craft store)
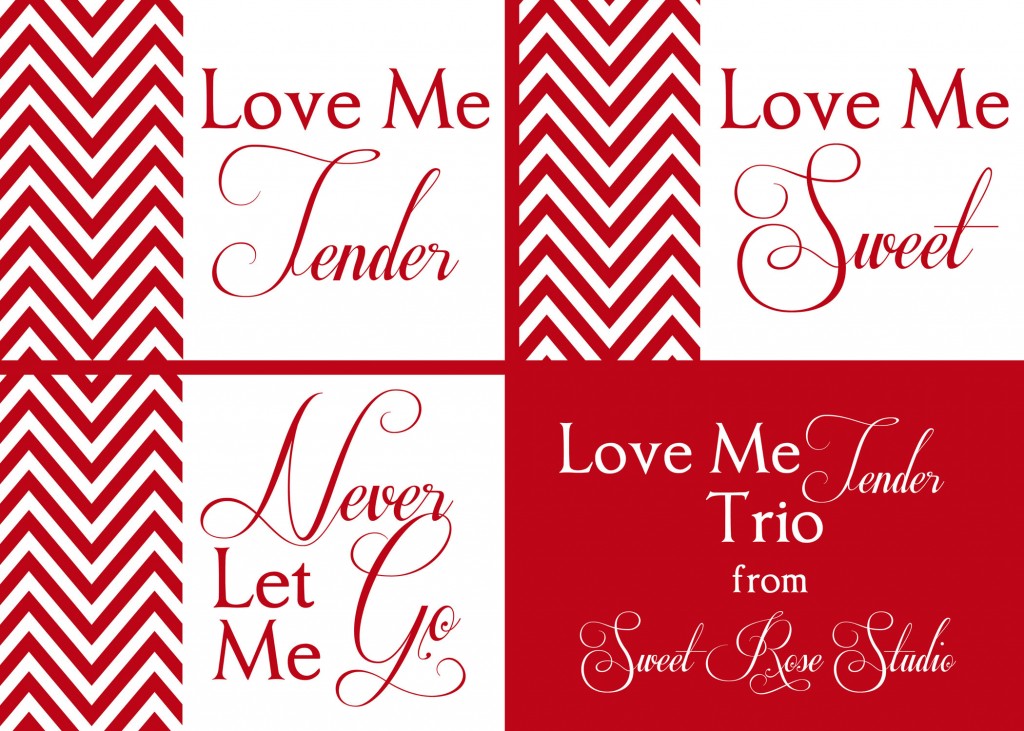
Love Me Tender prints
ribbon
craft paint
Mod Podge
Martha Stewart Crafts Glitter Finish
sponge brush
glue gun (not pictured)
staple gun (not pictured)
I put together these FREE PINTABLES for my readers last week in three different color ways: red, pale pink, and turquoise. I’m using the red option today, but you could make yours in any of the three colors. Click HERE to be taken to the download!
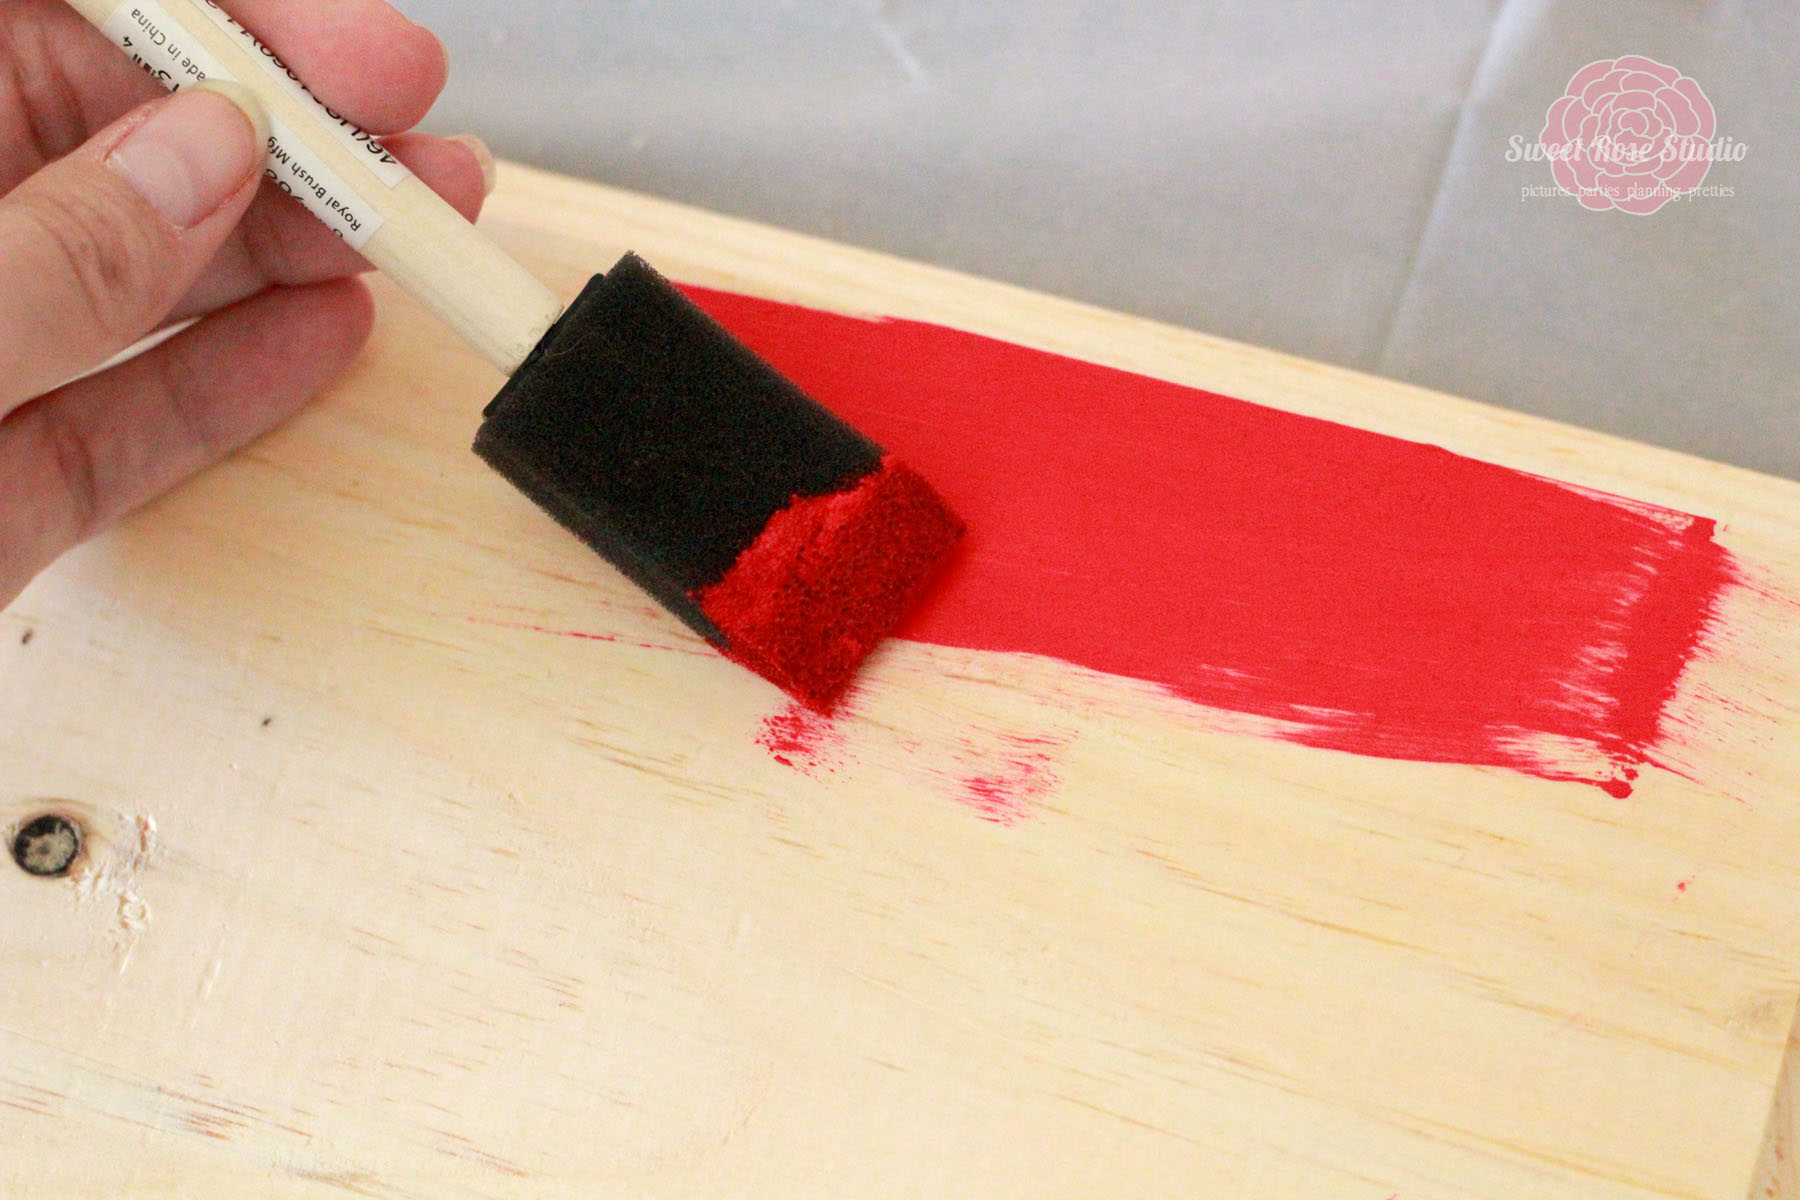
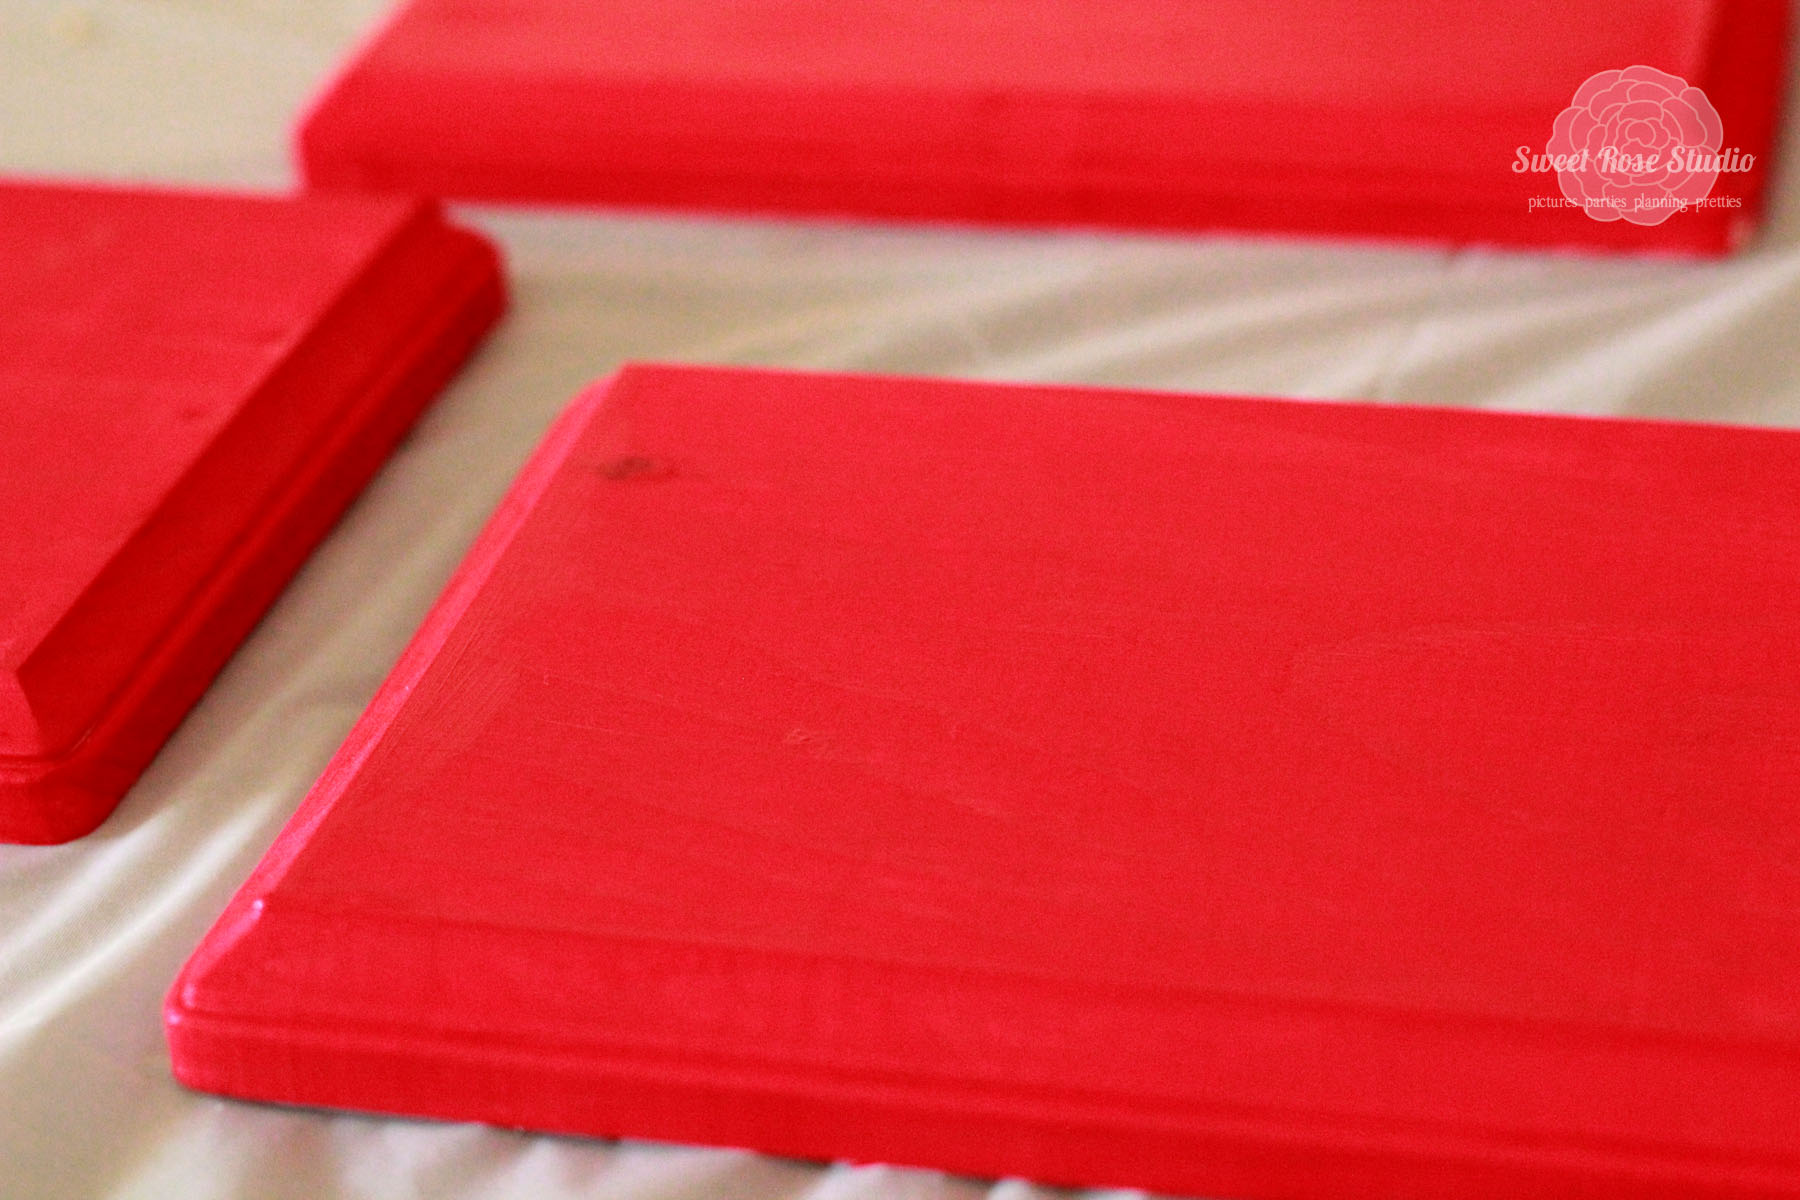
Now the crafting begins! Paint a nice thick coat of the craft paint.
Let the paint dry and paint and apply another thick coat. Allow the second coat to dry. (I painted one coat at the beginning of nap time and the second coat at the end of naptime.)
Let’s get to Mod Podging! Apply a thin layer of Mod Podge to the dried board and carefully place one of the prints on top. Coat the top of the print with a thick layer of Mod Podge and allow to dry. Repeat with the other two boards. The paper will crinkle up a bit, but settles back down during drying time. (Please don’t panic like I did.)
By the time your boards are ready for display, you’ll have two thick coats of Mod Podge and two thick coats of the Glitter Finish. I know I’ve said it before, but it really is important: let your boards dry completely in between each coating!
With the ribbon, tie a nice pretty bow and leave the tails of the ribbon about six inches long on each side. Use the glue gun to inject hot glue into the bow’s center to keep it from unraveling. I have glue in the front, the back, the sides; that center part of that bow is loaded!
Although you could easily use the glue gun for this step as well, I wanted to make sure that this part was sturdy and would last for years to come. Staple the ends of the ribbon to the “Love Me Tender” board.
Line up the connector ribbon pieces directly below the bow ends and staple into place. Repeat this process for the last two boards.
And you’re finished!
Hang this beauty in a place of honor in your home and adore your craftiness!
Thanks so much to Kari for having me here today!
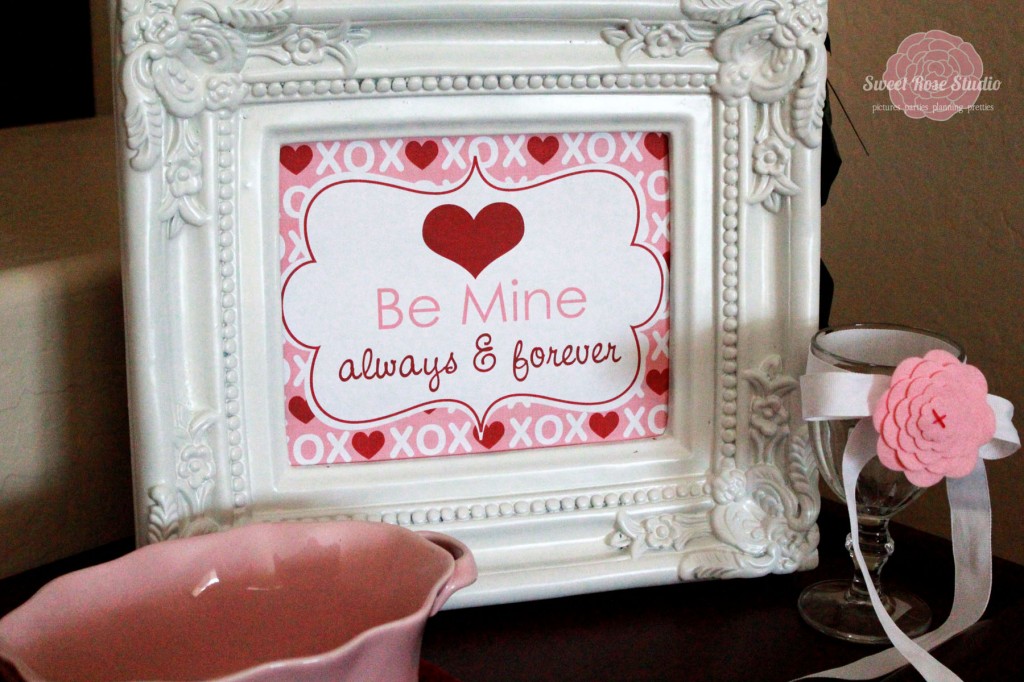
Make sure to check out Sweet Rose Studio to find many projects like this lovely BE MINE Printable!



Beautiful creation.Valentine preparations and decorations are look really wonderful.
Love it! Pinned so I could make it later!
Bright, cheerful and adorable! Thanks so much for sharing with us.
Beth
http://alyssabeth1.blogspot.com/
So adorable! I love it. Mod Podge is one of my favorite things on the planet, you know!
Loved this! And to use an Elvis song? Perfection!
Love it. Great post!