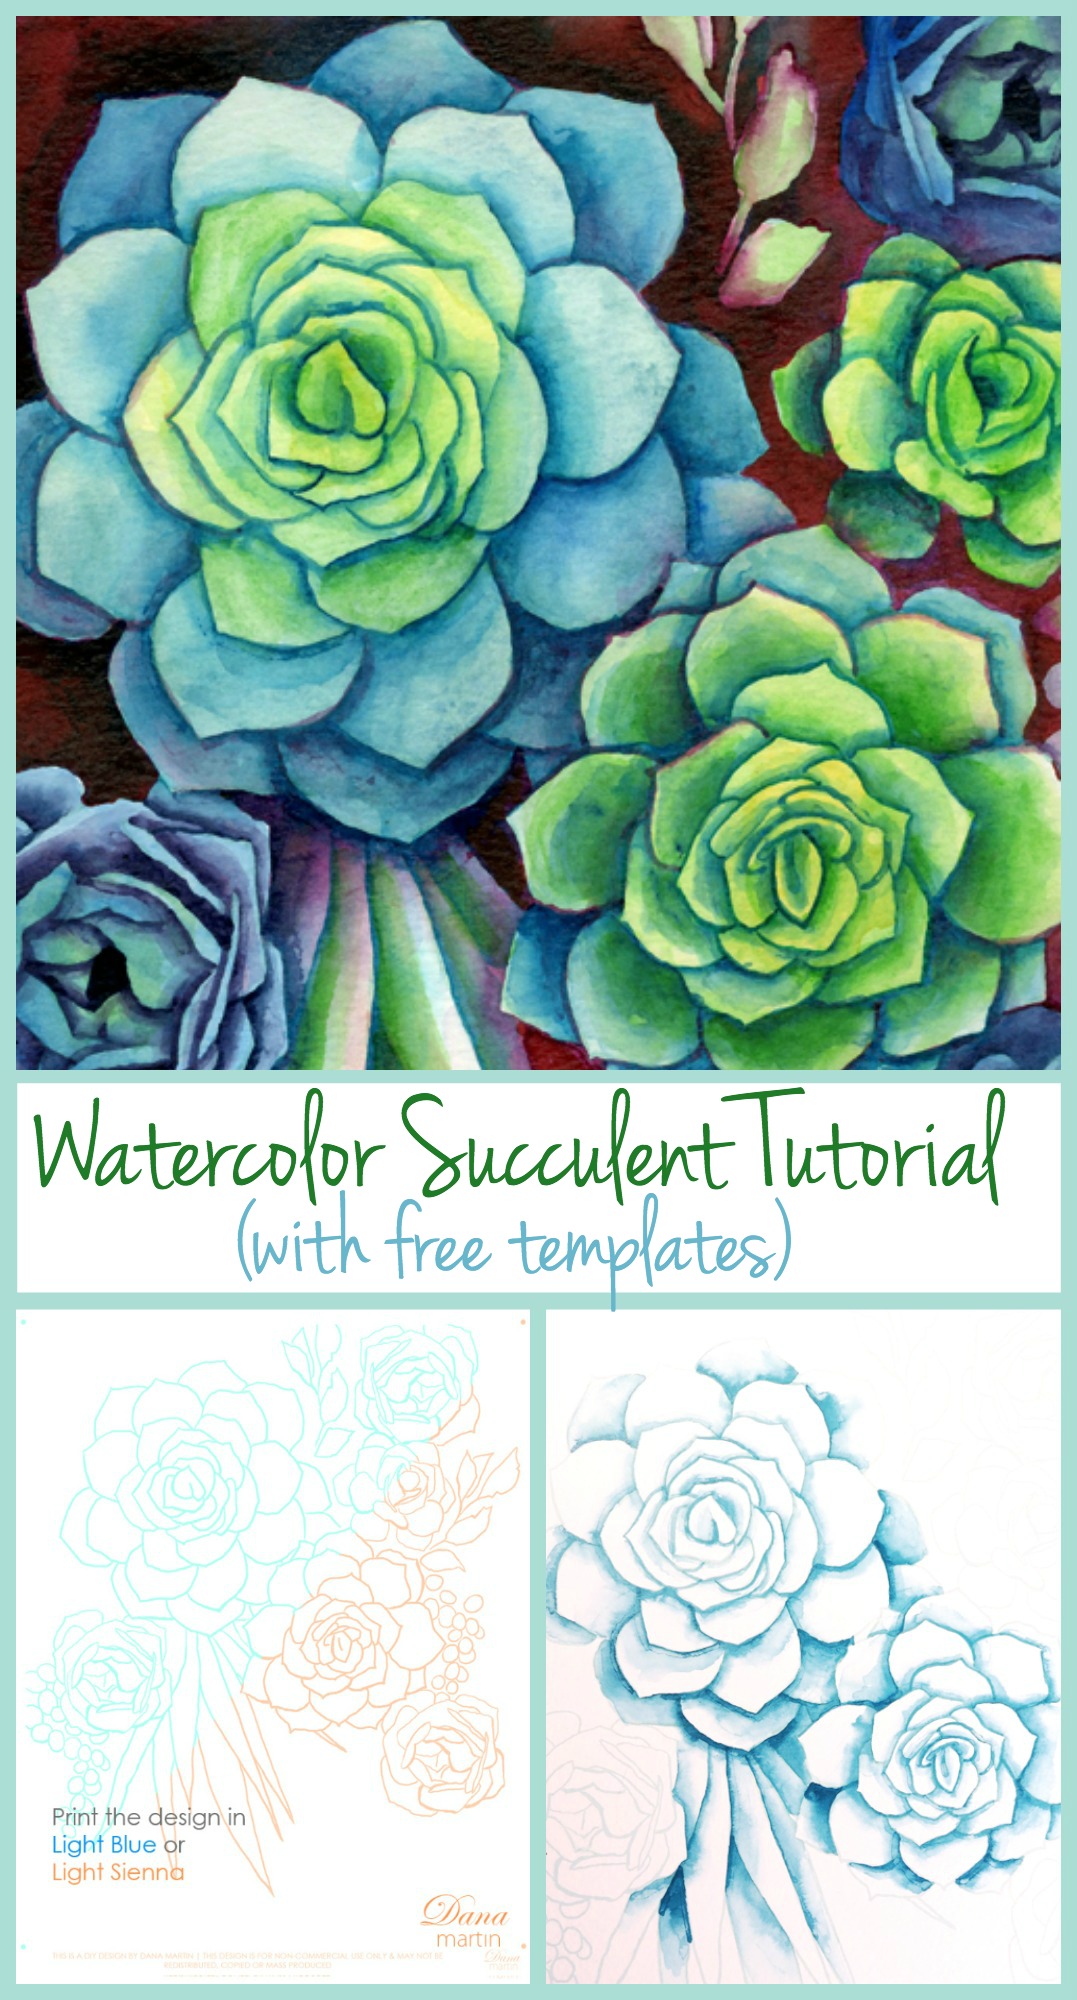
Today we have a very special, creative guest with us who has a love of art and watercolor. Dana Martin who is the owner of the beautiful Etsy shop I’ll Call You From Paris, is teaching us how to create DIY Watercolor Succulents and is even including free templates to help you along the way!
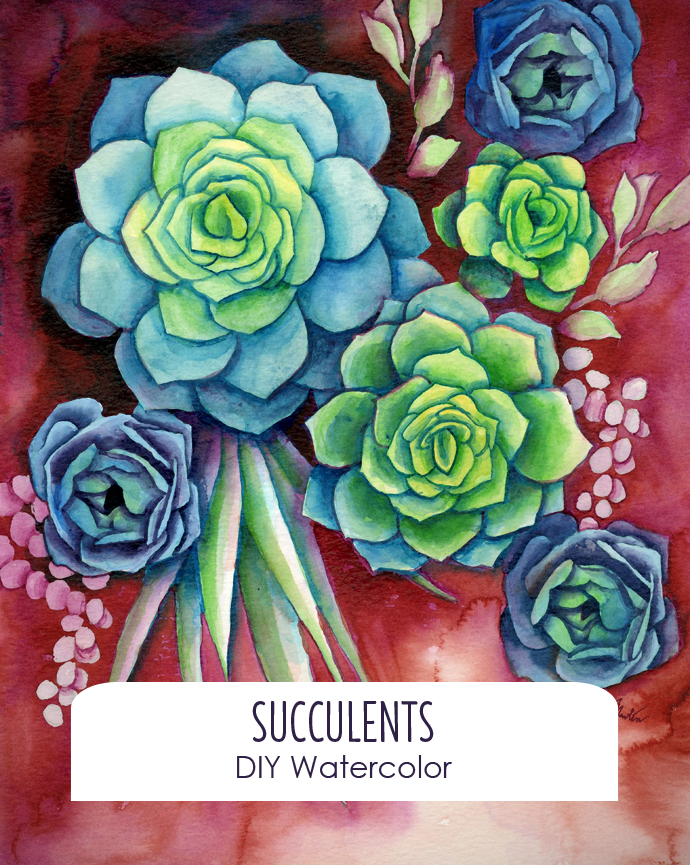
MATERIALS:
- watercolor paints and/or inksFor this demo, I used 4 watercolors (Winsor Yellow, Phthalocyanine Green, Winsor Blue, Perylene Maroon) and 4 Dr. Ph. Martin’s Bombay inks (Grass Green, Green, Teal, Red Violet).Because I like to use rich, dark colors in my art, I work with artist-grade, highly-pigmented paints. I use inks as well as watercolors because the inks are permanent once dry; they won’t bleed if you paint over them. That said, you don’t have to have fancy paint to make art. Use what you have on hand. This project can be done with as little as a basic watercolor pan set. The colors will probably not be as dark as those shown here, but you can still paint a beautiful watercolor.
- 8.5”x11” or 9”x12” sheets* of 140 lb. watercolor paperFor this demo, I used a sheet of Canson Montval.
- brushes
- masking tape or painters tape
- free succulent template available in Light Blue or Sienna
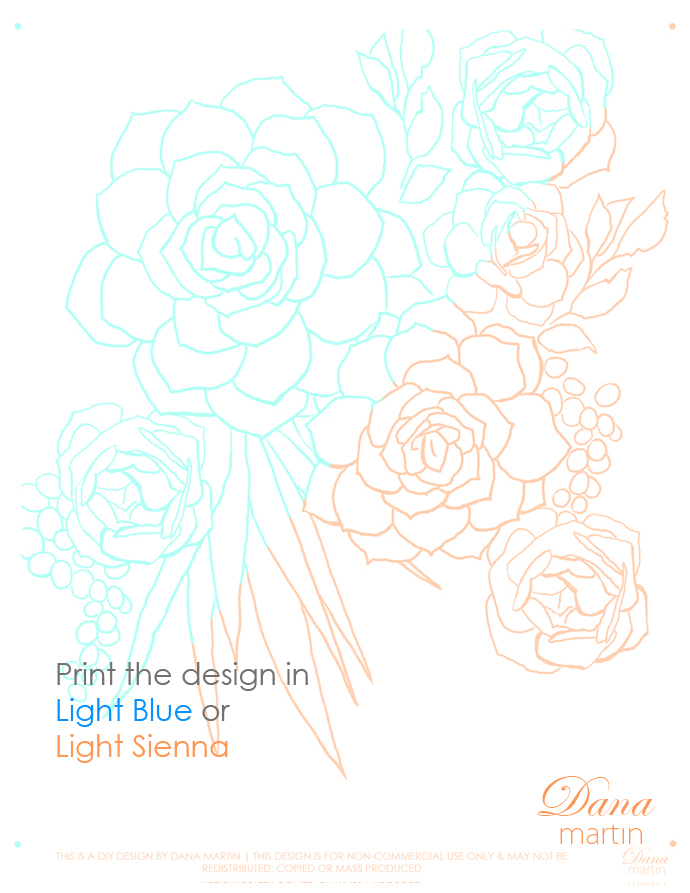 OPTIONAL MATERIALS:• masking fluid (Not recommended for anyone with a latex allergy or for children 12 and under) • 11”x14” mat with 8”x10” opening
• 11”x14” frame*See the printing instructions for more on choosing a paper size.
DIRECTIONS:
In this demo, I describe the steps I went through to create my version of the Succulents painting. But it is just one of countless ways this painting could be done. While I hope this demo is useful to you, it is included as a guide only. There is no wrong way to make art. Every painting is unique, and when you paint, you get to make the choices!

To prep for painting, I tape the paper to my work surface so it won’t buckle when it gets wet. I use the guide dots in the corners to align the tape. The tape should be placed so that it just barely covers the dots. 
Nearly the whole of this painting is done with one basic watercolor technique: fading edges. I make sure I have two brushes on hand for this — a fine pointed brush to apply the color (Teal ink) and a slightly larger brush to apply clean water.
To fade the edges of the succulents, I lay down a brush stroke along the edge of each leaf, and then immediately go over the outer edge of that brushstroke with the clean wet brush so that the color fades out.

I define more of the succulents with Teal ink and the same fading edge technique.

I lay in a little Red Violet ink for contrast.

Then I switch to Green ink for the next succulent.

I mix Teal ink and Red Violet ink to paint the next three succulents.

I have two small areas in the painting with little round leaves. I paint over these with a light
wash of Red Violet ink, and when this is dry, I cover the little round leaves, as well as the two branches of leaves in the upper right corner, with masking fluid. I use cheap old brushes to do this and I wash the brushes immediately afterward because the fluid will ruin them if it dries on the bristles.
Masking fluid saves time, because once it dries you can paint over the entire sheet of paper without worrying about getting paint in the wrong places.
Masking fluid contains latex and is slightly toxic, so be sure to work in a ventilated area while applying it.
If you are doing this project with children or you simply prefer not to use masking uid, feel free to skip this step. You can always paint around the areas where you don’t want color.

Now I wet the entire background with a clean wet brush, before dropping in Red Violet ink.
I paint around the large succulents. Since the small leaves are covered in masking uid, I can paint over them. I leave a small area in the bottom right corner unpainted, to keep the background from looking too at.

When this is dry, I can start giving the succulents a bit more color. I use Winsor Yellow and Winsor Blue for this, as well as a bit of Grass Green ink.

I want the background to look just slightly more neutral, so I brush over it with a wash of Perylene Maroon.
When this is dry, I can remove the masking fluid. I start at one edge and gently pull the masking fluid off the paper. The paper can tear if the masking fluid is removed too roughly.

Now for the finishing touches. The succulents need just a little more color here and there to pull the painting together. Because Red Violet is the main color in the background, I use light touches of it on the succulents to unite the palette. I also add a bit more of the Grass Green ink to the centers of the succulents. Since Grass Green is the brightest color in this palette, it makes those areas pop.
My painting is done! Now all I have to do is put it into a mat and frame and I have a brand new piece of art for my wall.

I hope that this demo has been helpful to you and that you’ve enjoyed creating your own unique piece of art. Feel free to tweet me a shot of your new painting @DanaDraws or upload it with your Etsy review. I’d love to see your results!
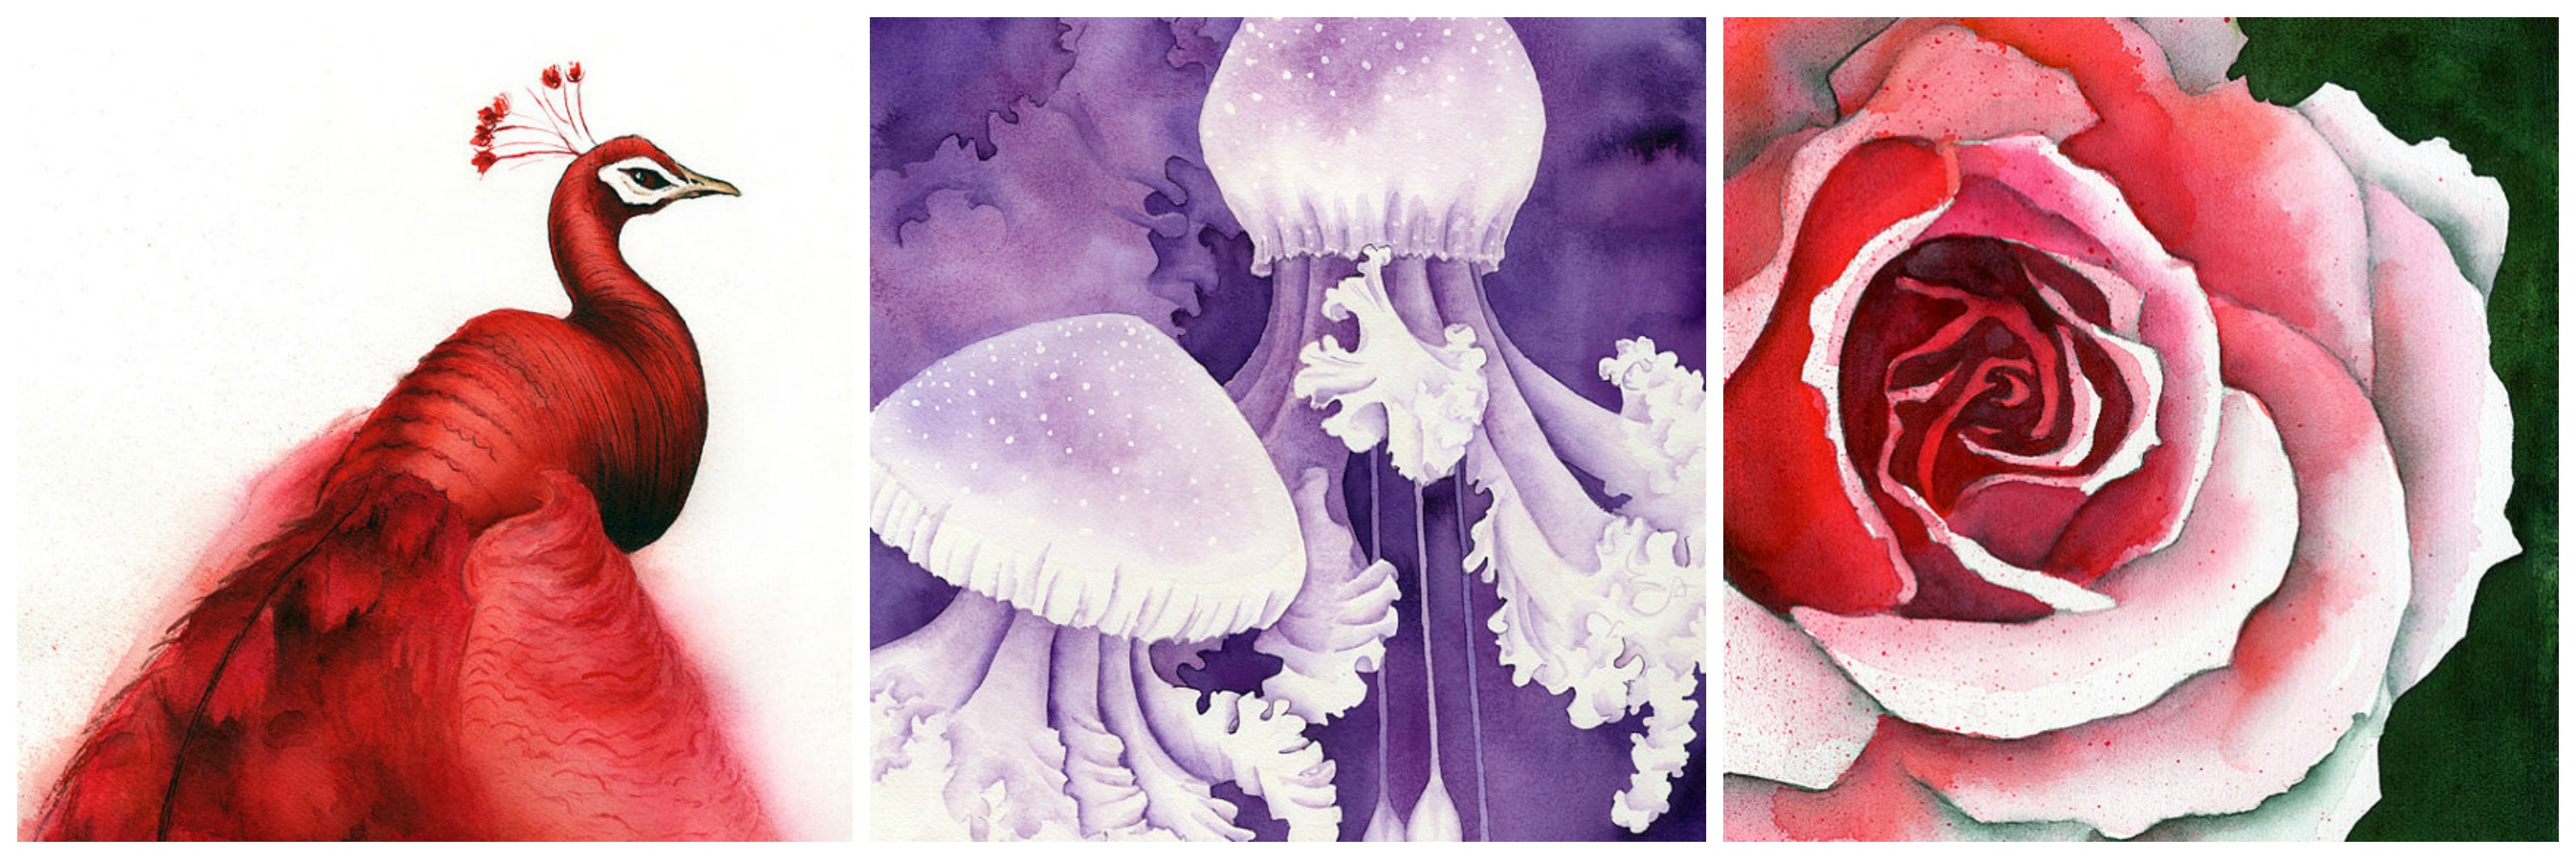
Make sure to check out Dana’s beautiful artwork in her shop…
POST BY:
Dana Martin, the Etsy Shop owner of I’ll Call You From Paris
She is an illustrator and designer who was born in New Mexico and has been roaming ever since. Her work has appeared in several publications and was recently featured in CMYK’s Top 100 Creatives.
Also find here:
Tumbler, Twitter, Facebook, and Pinterest



Thank you so much for taking the time to create this tutorial. I have been wanting to add ink to my watercolors and this was my incentive. Your painting is beautiful.