Hello girls! I’m Javeriya from Sew Some Stuff where I share sewing tutorials and bag sewing patterns. Today I’m sharing an easy Ninja Turtle Pouch tutorial with you all WITH a free pattern for the mask. Yay!
I’m a crazy fan of pouches for so many reasons. They are so easy and quick to sew plus they can be used to store just anything! With the back-to-school season just around the corner I thought it will be great for the kids if they could carry their supplies in their favorite cartoon character themed pouch and hence this tutorial was born.
Alright, onto the tutorial now, let’s have a look at the list of supplies first.
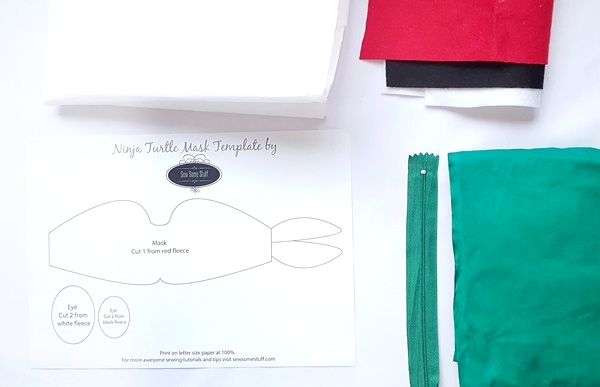
Here are the things you would need for this project:
- Fusible woven interfacing 1/4 yard
- Red, white and black felt
- Green cotton fabric 1/4 yard
- 8″ zipper
- Fabric glue
- Free mask and eye pattern
How to sew the Ninja Turtle Pouch?
Step 1
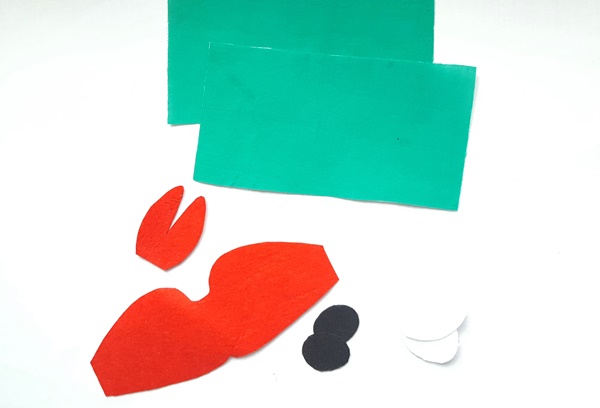
Cut out two rectangles measuring 8″x 4.5″ from the green fabric as well as the interfacing. Fuse the interfacing to the fabric according to manufacturer’s instructions. Also cut out the templates for the mask and the eyes based on the instructions given on the pattern from the respective fleece.
Step 2
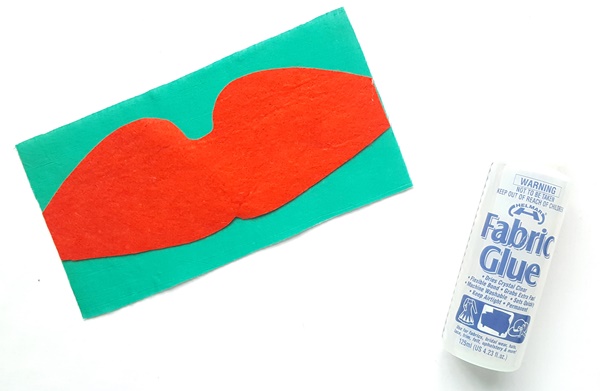
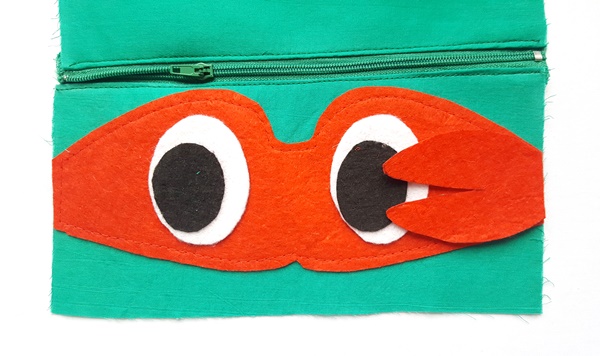
Use the fabric glue to paste the mask on top of the right side of one of the exterior pieces.
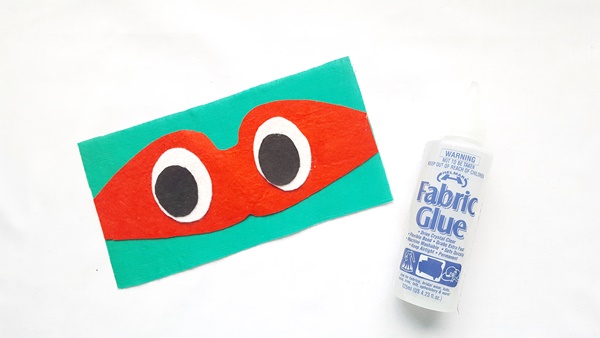
Next, paste the eyes in place using the same glue.
Step 3
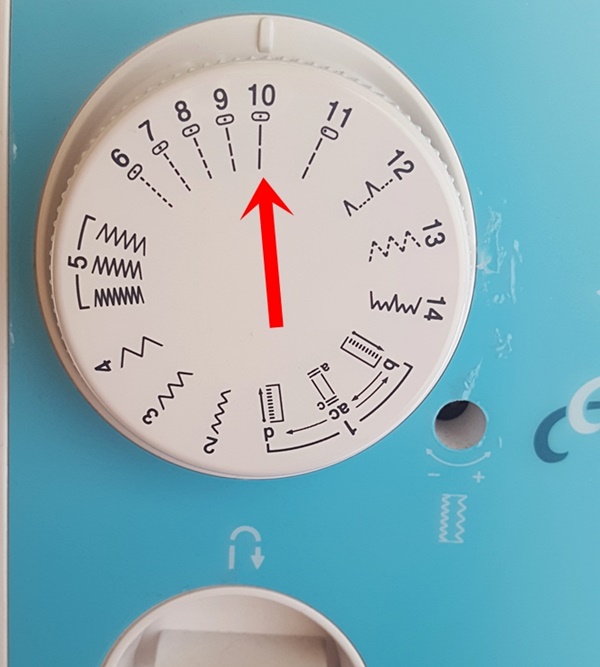
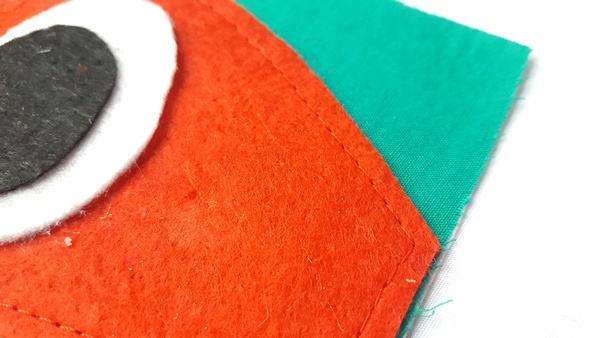
Top-stitch the mask in place using the longest stitch length on your machine and red thread. I used the no.10 stitch on the dial.
Step 4
Place the zipper onto the exterior piece so that the zipper tab is facing the right side of the exterior. Pin in place. Replace the normal foot with the zipper foot and sew the zipper in place.
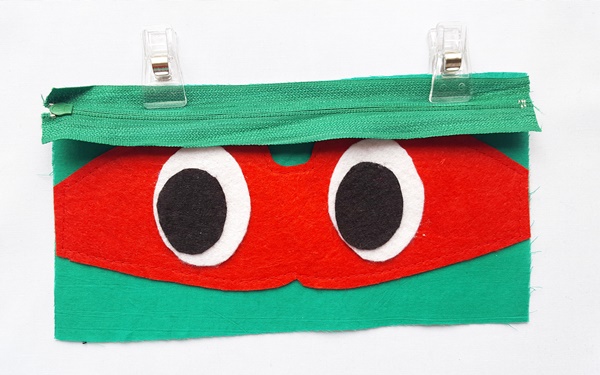
Repeat for the other side.
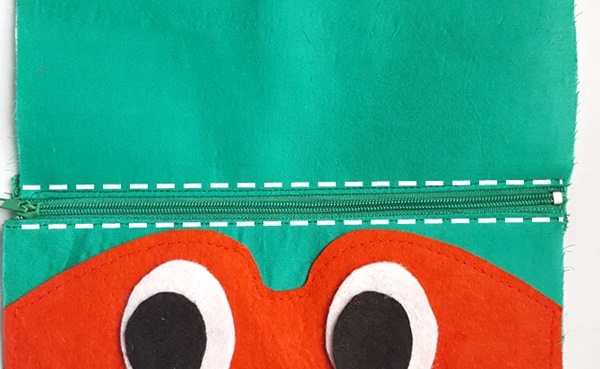
After sewing both the zippers, press the seam in place and do a top-stitch as shown by the white line for a more finished look.
Step 5
Place and pin the other portion of the mask as shown below.
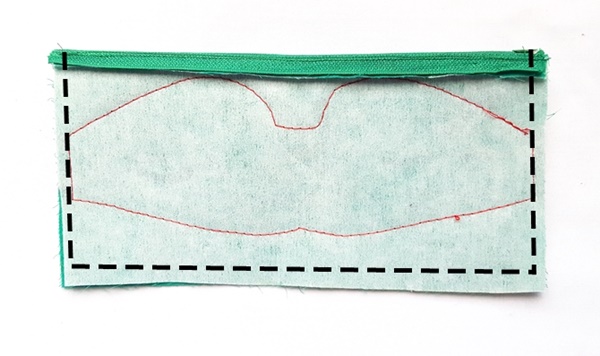
Bring both the exterior pieces together so that the right sides are facing each other and sew around the rectangle as shown by the black lines.
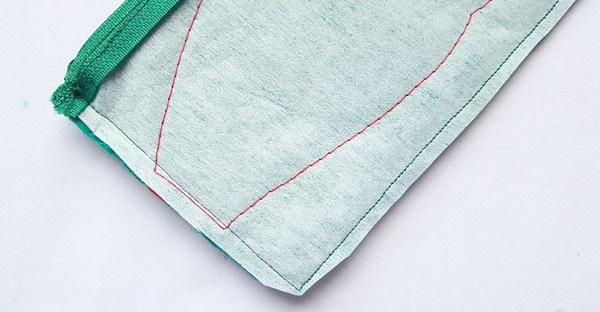
Clip the corners.
Finish off the seams with a zig zag stitch.
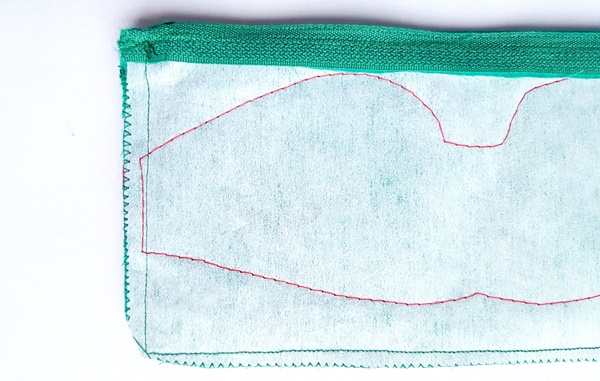
Turn the right side out, give it a nice press and you’re DONE! New Ninja Turtle pouch is ready!
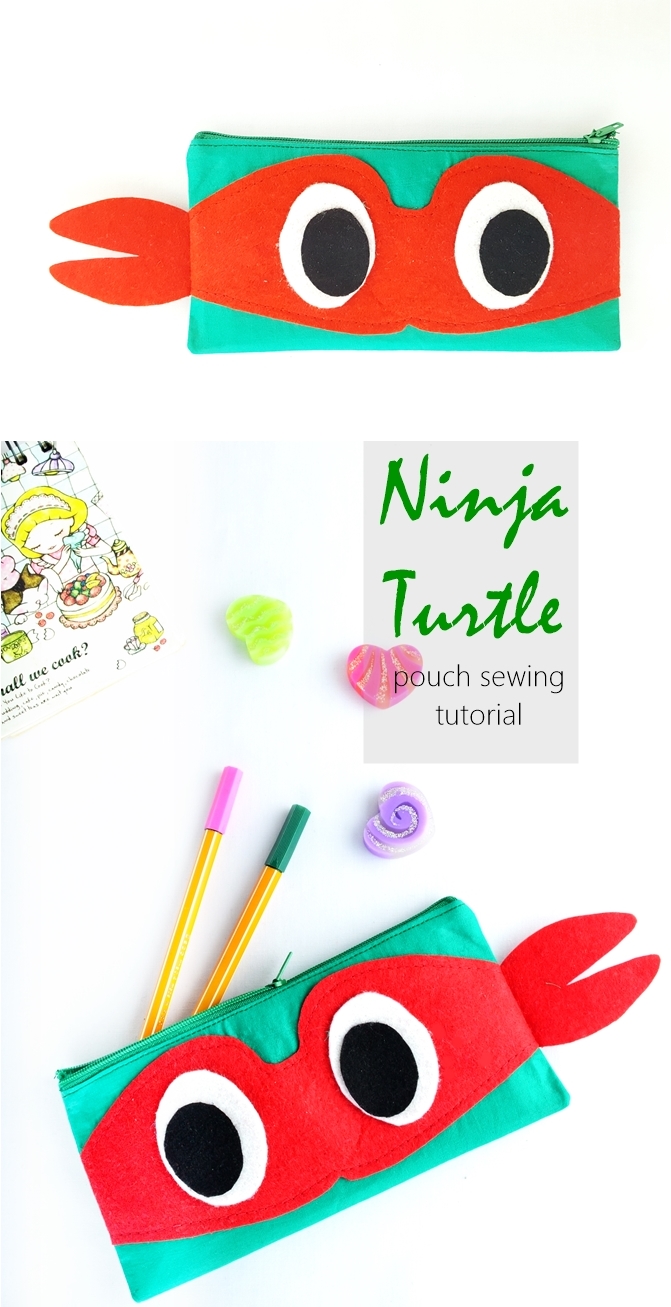
With that we have reached the end of the tutorial, don’t forget to visit Sew Some Stuff for more awesome sewing tutorials and tips.

Psst. Our post on 12 free sewing classes for beginners is the most loved. 😉
POST BY:
Javeriya at Sew Some Stuff




Leave a Comment