Hi crafty people! I feel so honored to be part of Ucreate’s list of Neighbor Christmas gifts.
Today I’m sharing a super EASY method for making lined stockings. I realize not everyone out there feels super comfortable with their sewing mojo (yet!) but I promise you this project takes minimal sewing abilities and comes together really fast.
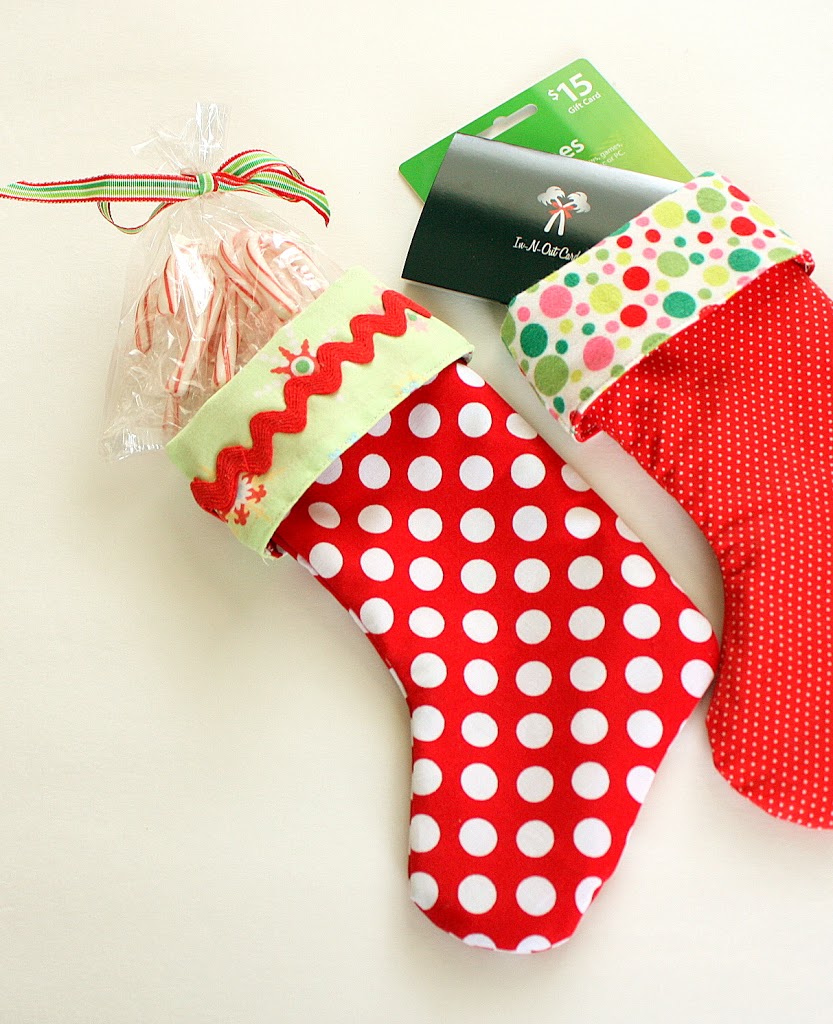
This little stocking is a festive way to hold gift cards, some treats, or any other small gift you want to dress-up a little. The great thing about this method though, is that you can blow-up the stocking pattern and make stockings as big as you want by following the same, easy process. (And who doesn’t sometimes want new, hip stockings to impress Santa?) So start by printing the stocking pattern (click here for template) -or designing one of your own. Fabric requirements need to be enough fabric to cut two stocking shapes from two different fabrics. For this size stocking you will need an 11″ x 14″ piece of fabric for front and back outside pieces and another 11″ x 14″ piece for front and back lining pieces. (1 Fat Quarter would be enough for all four pieces, but they would all be the same.)
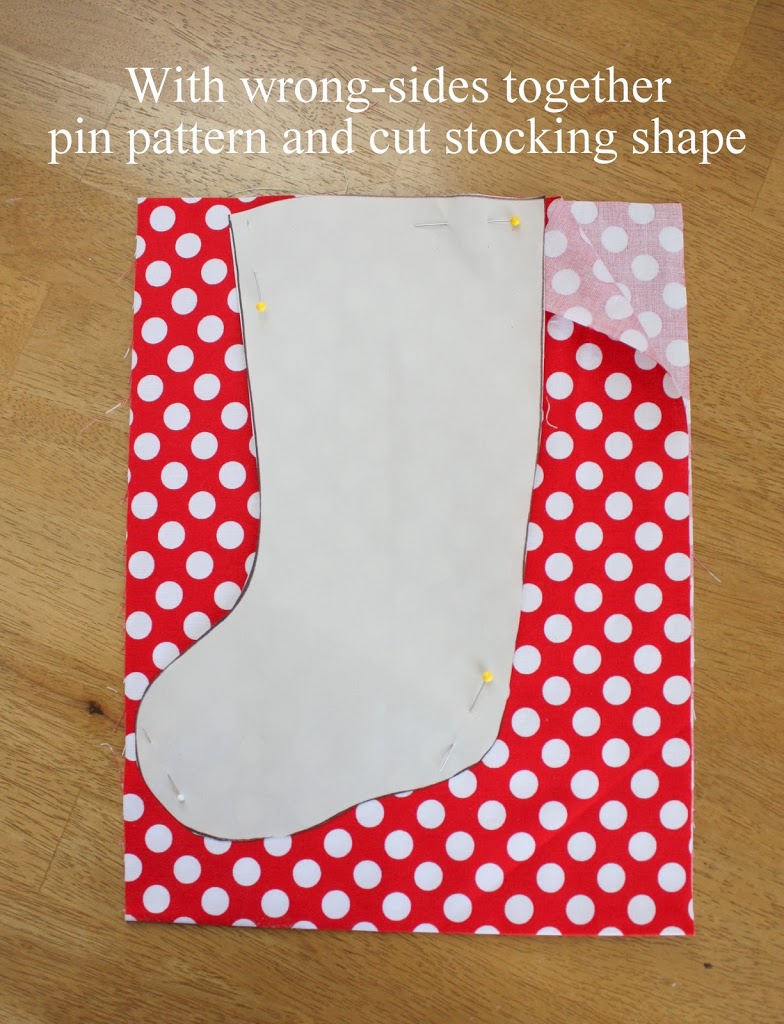
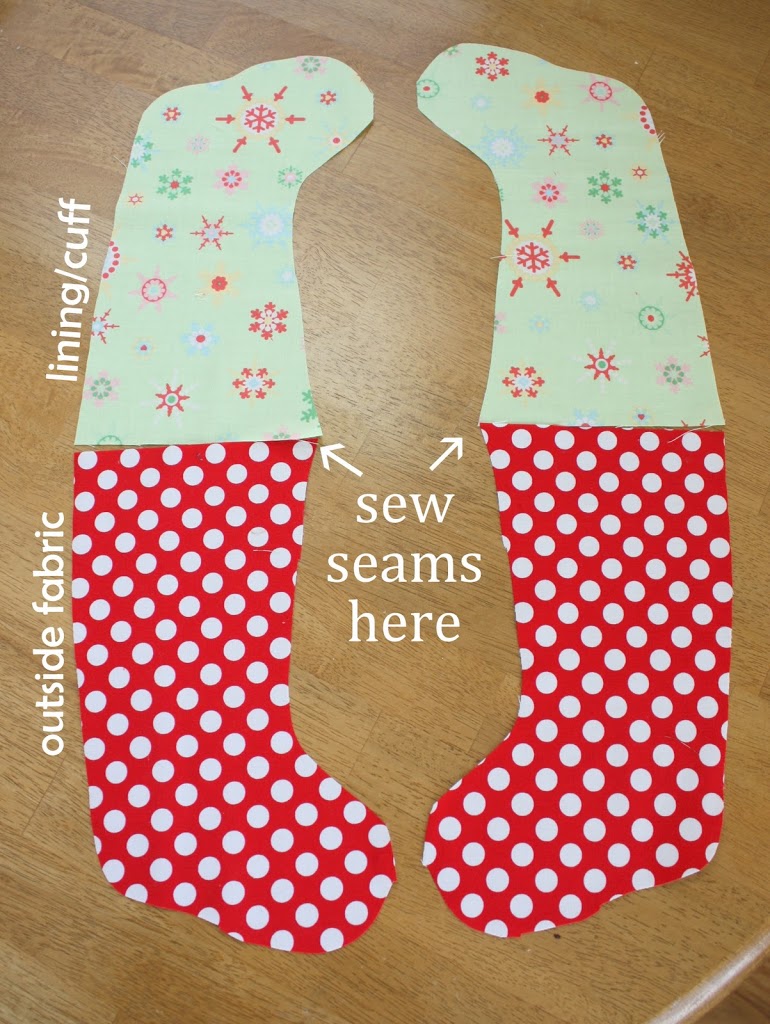
With wrong sides together, cut TWO stocking shapes of both your outside fabric and your cuff/liner fabric. IMPORTANT: make sure your toe faces both directions for each fabric. (This is why matching wrong sides together will help you get pieces facing both directions.)
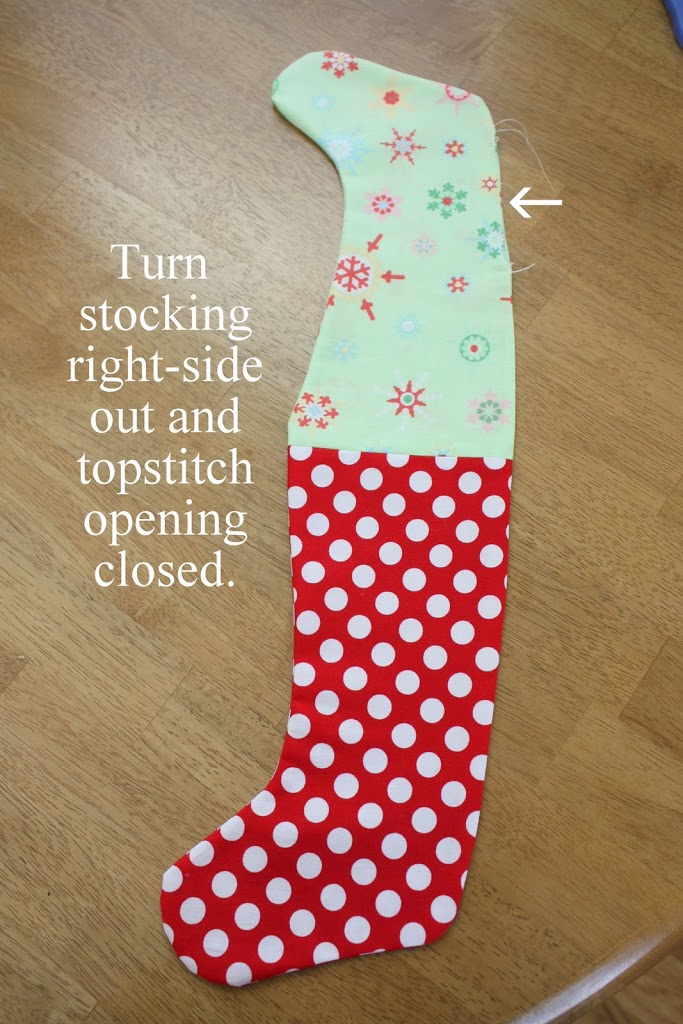
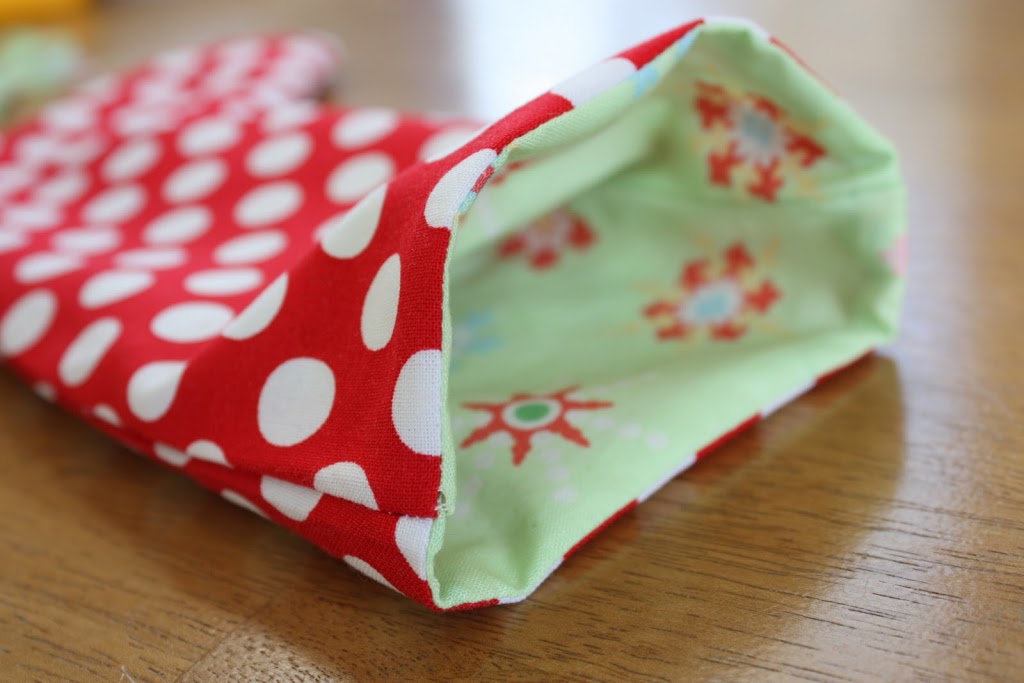
Now pair up one outside fabric with one lining/cuff fabric with the toes pointing the same direction like this. (See picture above.) Match the outside fabric and lining fabric from each set right sides together and sew a 1/4″ seam along the top of the two pieces. Open pieces up and press seam open. Repeat for back side.





Great tutorial! I’m going to make some for my utensils for my Christmas dinner table!!
Stef
Thanks for idea!!!
My daughter wants a stocking for her (stuffed)kitten which means my son will want one for his dog….and kid #3 will need one whether she wants one or not just so she can’t complain in years to come. This will make it so easy! Thank-you!!
oo fabby tutorial and great gift idea thanks x
This is a perfect tutorial and so easy! I wish I had this last week when I made mine! xoxo Debbie @ Inspired Honey Bee
Perfect! I am WAY behind on making stockings for my children and this looks like a quick and easy way to whip them out! Thanks so much for sharing!
Love this tutorial! Made one and it turned out great! Thank you!
Awesome, and totally reversible- I love it! Thanks
Thanks for sharing this! This seems like a pretty easy way to make a stocking.
Your stockings are perfect! Thanks for sharing this tutorial.
Awesome tutorial… thanks for the help!
Thank You! Mine are almost done. I just need to figure out how to incorporate a hook so they hang …. any suggestions?
So simple! Thanks for the great tutorial 🙂
So simple! Thanks for the great tutorial 🙂
I thought making my sons first stocking would me a right fiddle but your fab tutorial made it really simple. I knocked it up really quickly and even managed to embelish it with his initial and some ribbon trims. Prooud Mummy but this time I am proud of myself 🙂
I thought making my sons stocking woukd be a fiddle but your tutorial made it really easy. I knocked it up really quickly and even managed to add some embellishment including his initial and some rikrac. Proud Mummy but this time I’m proud of myself! Thank you.
Thanks for the great tutorial. Love that it’s lined hiding all seams! I wrote my grandson’s name in ribbon on the cuff and hand stitched it on. I’m really happy with it. Also added a loop for hanging.