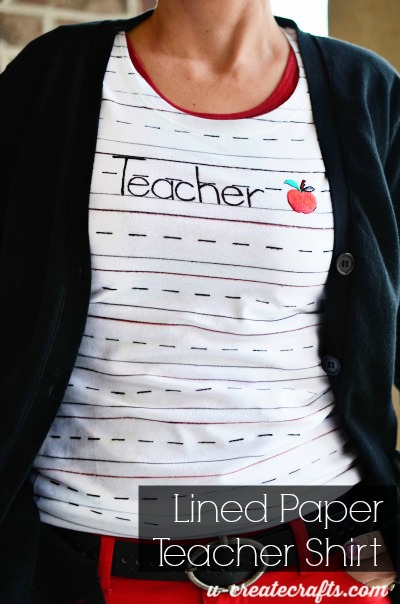
 Kari and I have always enjoyed making teacher gifts for those who help shape the minds of our children. Good teachers truly do shape young minds and it can be a thankless job at times. I am so grateful for a 10th grade math teacher who not only taught me how to understand math, but to LOVE it when I thought it was useless and hard. I look back now and I can link my love of science to my love of math which was fostered by her! {Thank you Ms. Ivie}
Sometimes, however, I find it hard to come up with something useful and fun. I have always loved this Lined Paper Tee Tutorial from our friend, Rachel, at Maybe Matilda. My little one is in Kindergarten so I wanted to make a lined paper shirt that resembled that early-learning lined paper. Check out how easy the tutorial is and how adorable the finished project!
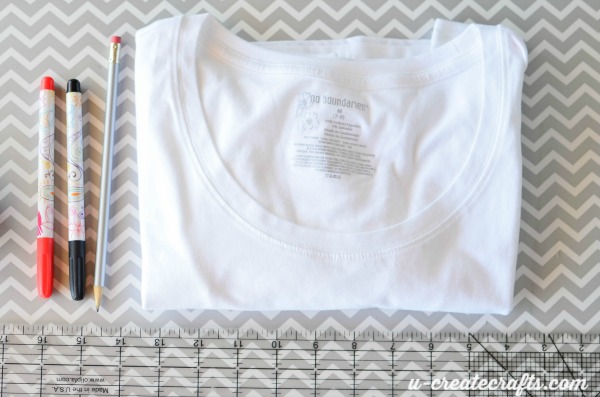
Supply List:
-White Cotton T-shirt
–Tulip Fabric Markers (Black and Red)
-Clear Ruler
-Iron-on Apple Patch (Joann Crafts)
-Cardboard/Cardstock
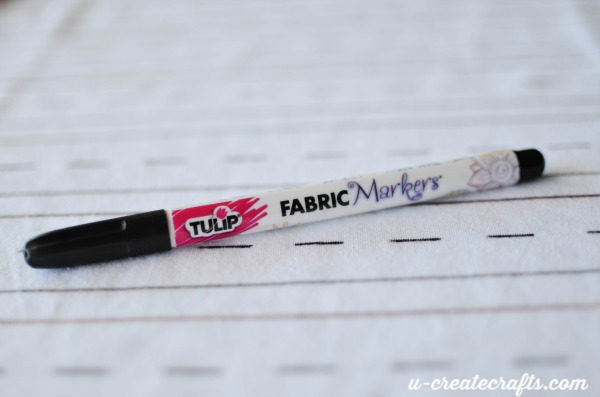 PS: This tutorial is NOT an advertisement in any way. I REALLY like these Tulip fabric markers. I have used them on canvas shoes a bunch and I love them. They are worth buying, in my opinion. So there is an honest review for you. 🙂
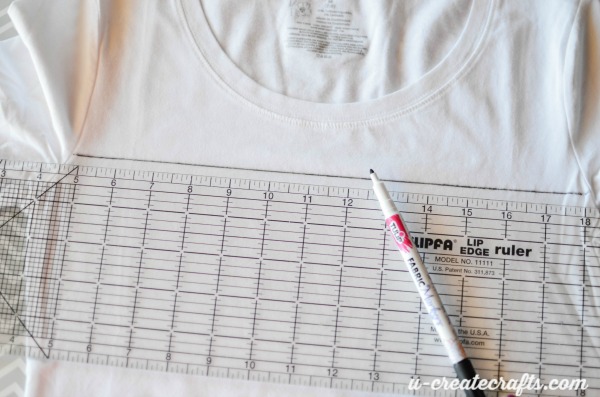 #1: Put a piece of cardstock or cardboard inside the shirt to prevent the markers from bleeding to the other side. Start the first line an inch or so below the neck line. If you start at the shoulders you might not have the “Teacher” be where you want it. I would hate to have it end up in the neckline or too low…if you know what I mean.
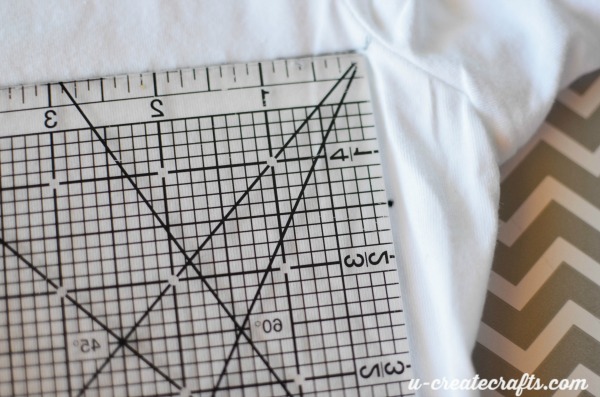 #2: Measure down 1 1/2″ from the top line and put a dot on the right side. Do the same on the left side and use the ruler to connect the dots and make a straight line.
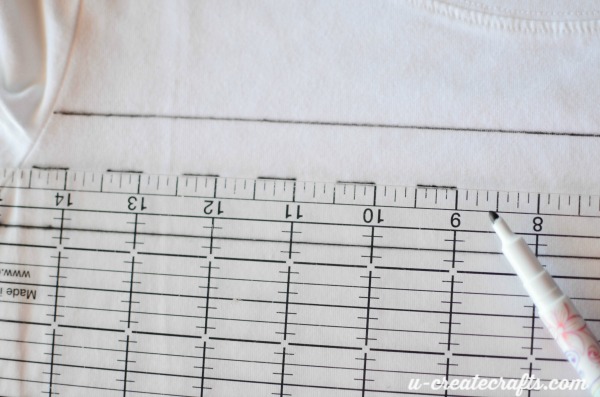 #3: Measure 3/4″ from the bottom line and starting at one end (right or left, doesn’t matter), make dashes 1/2″ apart.
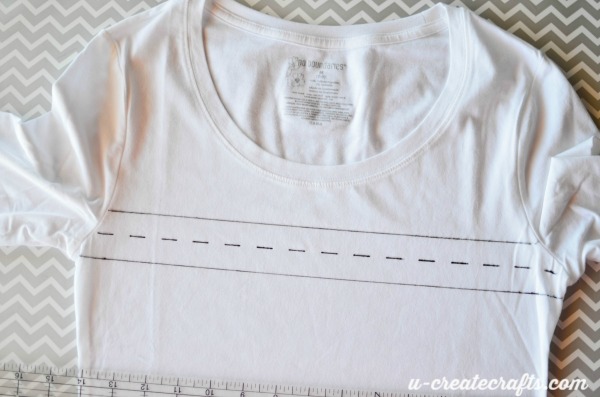
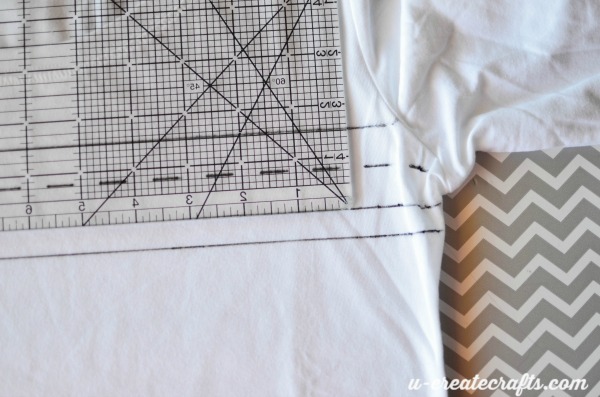 #4: After all three lines are completed (two solid and one dashed line), measure half an inch from the bottom line to start the top line of your next set of three lines (two solid and one dashed). I meant to do the red line as the top line of the set of three, but totally spaced it…so, I tried to go over the black line a bit with my red, but it only made the black sort of bleed into my red marker. ugh!
 #5: Once you have the entire shirt “lined,” go to your first set of lines and write “Teacher” or Mr. or Mrs. so-and-so. IMPORTANT: Let the ink dry for 24 hours! It will rub onto your skin if it’s not dry.
 #6: Iron on the little apple patch and package it up for teacher.
Check out our other Teacher Appreciation Gift Ideas for even more inspiration. We would love to see what you create! Send us a picture at u-createcrafts@gmail.com, post it to our Facebook page or tag us in Instagram @ucreateblog.




This is so cute! Pinning!
Made this today! Super cute, thank you for the idea!!!
Awesome! I love to hear that!
Is there anyway that I could order a shirt like this that is already made?
Sorry, I just made the one. It was just a fun gift for my daughter’s teacher. 🙂
How do you keep the markers from fading in the wash?