Hi everyone! My name is Jamie and I have a blog called Scattered Thoughts of a Crafty Mom. I am so thrilled to have the chance to be a guest post at one of my favorite blogs, Ucreate! Here is a little bit about me: I am a Central Texas based stay at home mom of 2 (5 year old girl and 6 year old boy.) I love all things crafty; cooking, sewing , diy projects and kids crafts. I also love to read and spend time with my family. When not focused on my children or hubby, I can be found either in my craft room sewing and crafting up a storm or in the kitchen attempting to cook up simple, family friendly meals.
A Tablet PC has been on my wish list for quite a while. With the money I saved combined with some Christmas cash, I was finally able to buy one! Whoo hoo! I’ve been researching tablets online for a while, and the Samsung Galaxy Tab 10.1 was the one I wanted. I ordered it from Amazon.com and it was delivered right before the end of the year. I have really been enjoying it. (Not a single moment of buyers remorse…)
I’ve bought a few accessories for my tablet. A silicone skin cover (hot pink of course), tablet stand and screen protector. The only thing I still needed was a protective case for when I wasn’t using it or when traveling.
I looked around on Amazon, but I wasn’t finding anything I liked online. (Gotta get my money’s worth out of the Amazon Prime membership I just paid for.) After contemplating what I wanted, I decided to just make my own padded Tablet Cover.
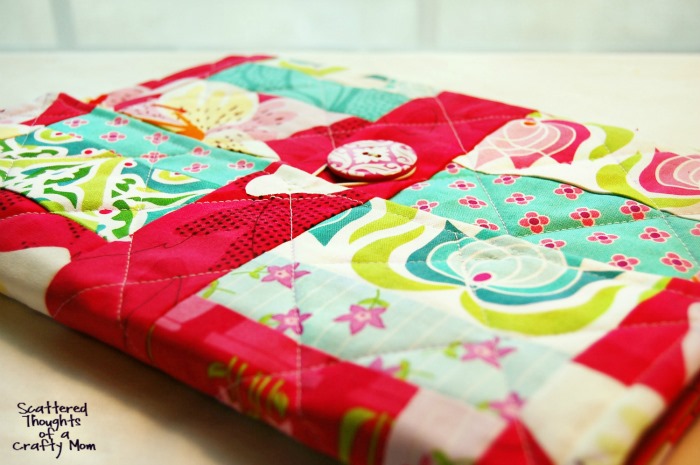
Here is how I made the tablet cover:
Materials needed :
-2 Fabric pieces, one for the outside and one for the inside. For my outside fabric I pieced together some fabric scraps I won from giveaway on the Modkid Blog by Patty Young. This fabric is from her new line, “Lush”.
-Quilt Batting (You could also use fleece or felt)
-Elastic cording
-Button
-Thread
-Cutting mat and ruler with bias markings (you can manage without bias marking, but it sure makes it easier)
-water soluble marker
-scissors
-fray check
First, you need to determine the width to cut your fabric. Here is how to get measurements for your device:
I could give you a long mathematical computation for the length of fabric needed, but it will be a lot easier if you just cut the fabric to 3.5 times the length of your device. Then just play with how big you want your pocket and how much you want the flap to fold over. Once you have the pocket and flap size to your liking, add one inch for seam allowances and trim off any extra fabric. (I did work out the formula, so if you work better that way, leave a comment and I will send it to you.)
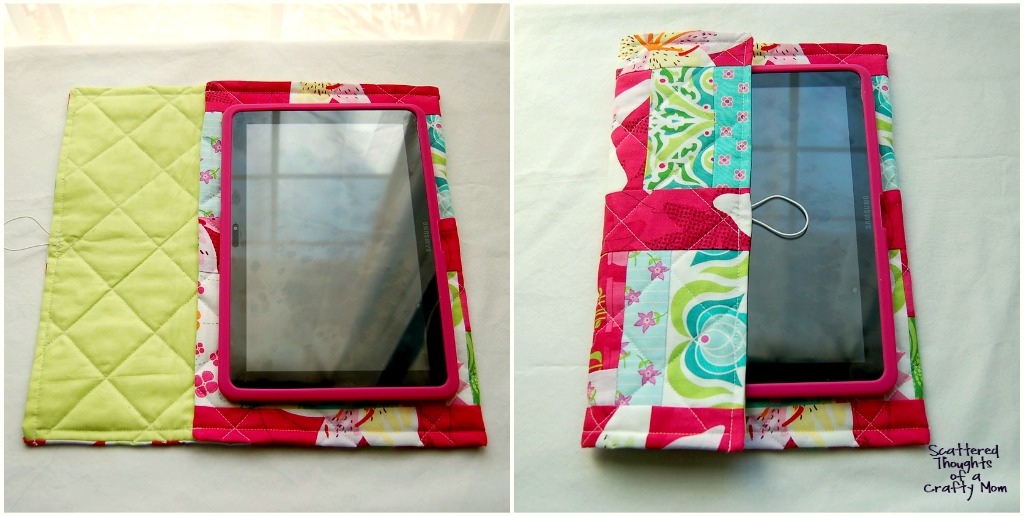
I didn’t take a picture of this process, but here is a close up of how mine looks in the pocket and with the flap folded over:
Lay your fabrics together in this order:
Next, sew the 3 edges together, using a 1/2 inch seam allowance, leaving the top open as shown:
Clip the bottom corners and trim away extra fabric from the sides.
Then flip the cover right side out, so the batting is on the inside, sandwiched between the top and bottom layer. Use a pencil or point turner to help get a crisp corner.
Iron the seam edges flat.
Remember how you cut the batting 1/2 inch shorter and left the short edge open? Fold the fabric edges in 1/2 inch all the way around the opening and press the edges as evenly as possible. Pin in place.
Cut your elastic cord to about 7 inches. Find the center of the pocket flap and mark it. Fold the cord in half and tuck in about an inch between the folded edges at your center marking. Pin securely.
Sew the edge closed 1/4 inch from the edge.
When you get to where the cord is tucked in, back stitch over the cord 2 times, so it is extra secure.
Next, we will mark the quilting lines with our disappearing ink marker. Line your fabric up on the cutting mat, then line up your ruler using the 45 degree bias markings.
With your marker, draw lines 2 inches apart all the way across the fabric.
Then flip your fabric around and draw more lines going the other direction. You will end up with a criss-cross pattern like this:
Sew all the way across, edge to edge, along each line you drew. Pull all your treads to the back/inside piece, tie securely and trim. Use fray check on the knots to ensure they are extra secure.
Next, lay out your fabric out flat. Use your to judgment on how much room you want in your pocket and how much overlap you want with the flap. Mark the edge of the pocket and pin in place.
Start sewing from the top of the flap to the bottom edge of the pocket, about 3/8 inch from the edge. Repeat on the other side.
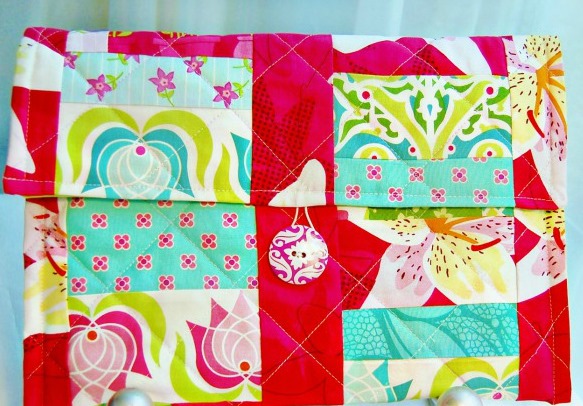
You’re almost done, the only thing left is to sew on the button. Just close the flap and use the cord loop as a guide for button placement.




This is a really cute idea! Thanks for the tutorial.
süper olmuş 🙂 siteniz harika! görüşmek üzere…
Hello, Jamie. Thank you for your tutorial, including and especially about the bias lines on our cutting mats. Disclosure: being a newbie quilter, I’ve had no idea that those cutting lines are called bias cutting lines. I hope to make this sooner than later because my Tablet truly needs the protection. Barbra
Love the fabric choices! So colorful!
It’s s pretty!! I’ve keep telling myself to make one to carry my laptop. I love the pattern of that fabric, awesome post!!
-kelly
Super awesome! Love the colors!
This is a fantastic tutorial and will be very helpful when I make some covers for my family! Thanks so much!!!
This is a great idea to use some of my smaller pieces of fabric. I also need a new ipad cover, so this post is timely! Thanks for sharing this tutorial!
Have a wonderful, creative day!
~~Vickie
Oh my goodness! This is so cute! Too late for me to whip up one for mother’s day but my mom’s birthday is in July….
Thanks for the inspiration!
xoxo
Thanks for the great tutorial! I’m from central Texas too!